In today’s class we will explore the role of technology in our lives – how do we use it, how does it impact us, what works (what doesn’t) and implications for teaching and learning in the digital age.
Students will work in teams to interview one another and distill some answers to our questions. We will work through a consensus building process to develop shared class point of view (POV) on the role of tech in our lives.
We will conclude by discussing how technology impacts teaching and learning.
Students will develop a web post that builds on or responds to our class discussion of our tech lives. You might be inspired by ONE of the following prompts.
Don’t forget your clever title and featured image. Feel free to use images and embeds to illustrate your writing. And it’s a chance to be creative – instead of an essay – why not write a poem or record (and embed) a TikTok? Or a Pinterest
What is your personal relationship with the technology in your life? Here’s a chance to reflect on a personal level. Are you addicted to social media? Does tech improve your life?
Interview people from other age groups (younger siblings, parents, grandparents?) What role does technology play in their lives? How is it similar / different from other age groups?
How does technology impact teaching and learning?
Another prompt / approach to explore the role of tech in our lives or schools
TIP: If you want to add poetry or formatted text use the “Verse Block”
There was a farmer who had a dog,
And Bingo was his name-O.
B-I-N-G-O!
B-I-N-G-O!
B-I-N-G-O!
And Bingo was his name-O!
This class will focus on how to teach with images. We will brainstorm some image teaching ideas. And we’ll learn how to find public domain / copyright free image and how to add image blocks to a WordPress post.
FINDING PUBLIC DOMAIN / COPYRIGHT FREE IMAGES
For more information on public domain searches visit our Working with Images page.
FEATURED IMAGES IN WORDPRESS
Students will learn how to make a “Featured Image” for their WordPress posts. Then they will create one to add to last week’s post. A WordPress “Featured Image” should have a portrait format image. It appears in the top of the post and serves as an “icon” for the post on WordPress and social media.
Option: Students MAY add text “over” the featured post image using a variety of apps – Canva, Adobe Spark Post, or any other app like PowerPoint or Keynote that lets you add text over images and save as a JPG or PNG file.
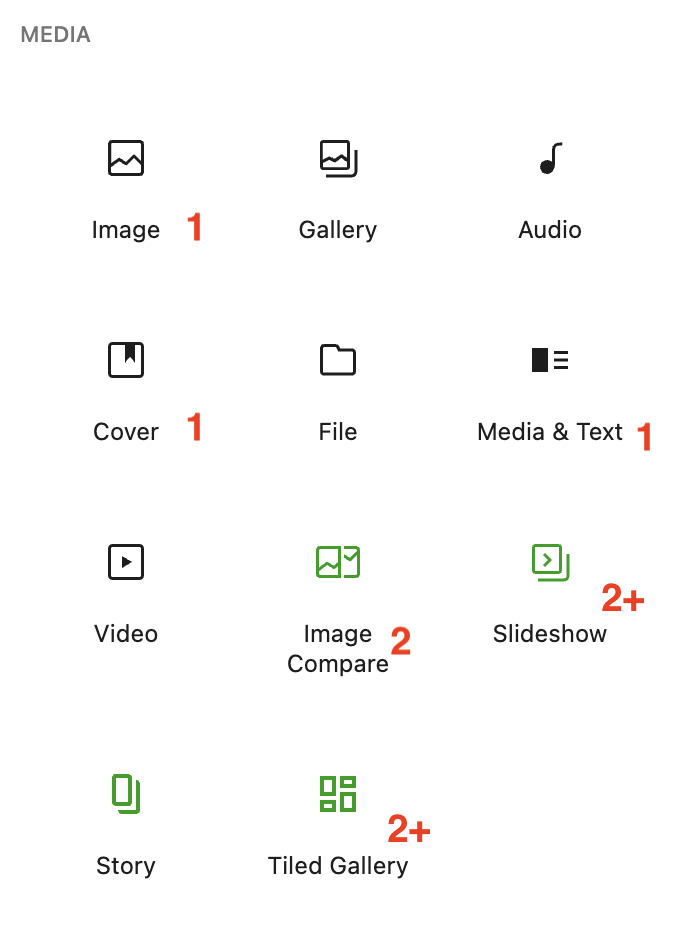
WordPress Image blocks
Students will be introduced to WordPress image block styles and how to work with each one.
Image, Cover and Media and Text use a single image.
We will use this assignment as a chance to practice our public domain search skills. It will also involve a bit of curation to decide which images to use. Plus we can explore ways to use images to support instruction.
Students should design a post that features at least two image blocks. (For example a Gallery and an Image compare.)
Most of class will consist of one-on-one meetings with students and instructor – while rest of class works on their first post. Students will also receive an overview of the course and expectations.
See screencast video below: “Get Started with WordPress Blocks“
Intro to WordPress web publishing
All classes and student work will be published to this site. We do this to motivate both the instructor and students to do their best work – since “the world is watching.” WordPress is a simple and popular way to create a website. And it’s a great skill to have – because WordPress is used by roughly 1 out of every 3 websites in the world.
Assignment 1: “Tell an Ed Story with Web Content” | Ed Stories 22-A1
Students will create their first web post and have a chance to get familiar with WordPress platform. Guided practice time will be provided during class, so that students can get personalized assistance.
The goal of this first assignment is learning to work with WordPress Blocks – choose them, insert them, move them around and edit your post.
While the content of the post is secondary to the process, you should choose a theme that lets you “tell” an educational story. For example a theme such as:
My student life …
My old school / or teachers that inspired me.
Best or worse ideas for teachers (or students).
Letter to my future (teacher) self.
An education-related story or fairytale.
Any other education -related prompt that supports the task.
While much of your post will be text, use at least 6 WordPress embeds from other sources to illustrate or elaborate on your narrative. Embed can include:
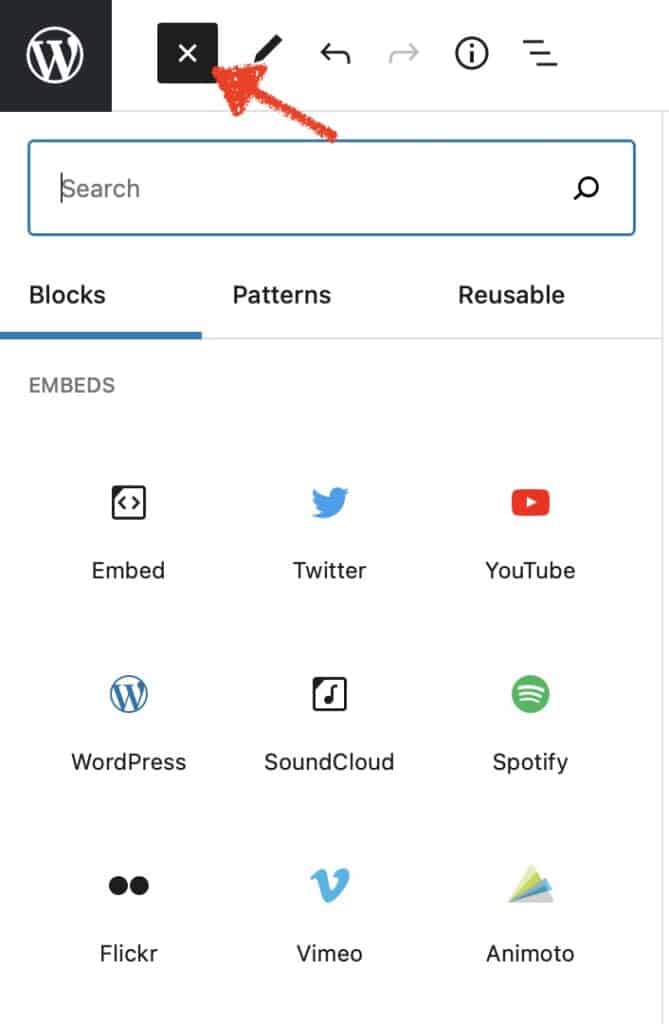
Click “Plus” icon and long list of blocks appear. Scroll to bottom for embeds.
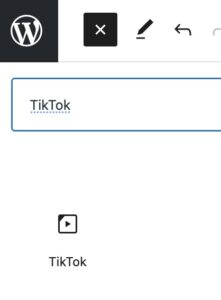
Or use the search form to search for box. For example “TikTok”
You can find WordPress Embed blocks at the bottom of the block list. You might try:
GIFs from Giphy
Posts from Facebook, TikTok, Instagram, Twitter, Reddit, Imgur, Pinterest
Videos from YouTube, Vimeo, TED
Audio from Spotify or MixCloud
Other embeds supported by WordPress
Note: Only GIFs have a built in search by topic. All others require first finding the content on the destination platform and then copy the URL into the appropriate WordPress embed block. Most platforms have a share button that leads to a URL you can copy.
Your post should include:
Clever title – be creative with this.
Some explanatory text using Paragraph or Headings blocks.
At least 8 embeds from list above (use as many as you want from any one source)
NO IMAGES for now – next week we will learn how to find public domain images and add them to your posts.
When someone clicks on your author link, they will see all of your posts in reverse chronological order. This is a great portfolio to show prospective employers. (And you can bet that in these times, ed tech skills will be highly valued.) Here’s your chance to add one last post that will introduce your work to your viewer.
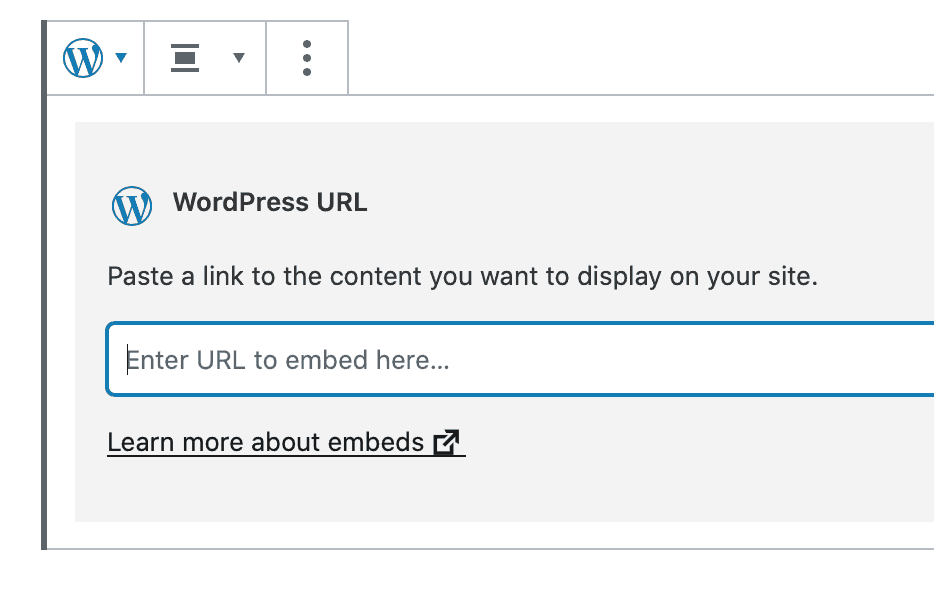
You can “illustrate” this post with a few of your favorite posts using a WordPress embed. To embed one of your previous posts, just add a “WordPress Block” to your post and add the URL of the post you want to add.
Get WordPress Block
Paste URL of yourpost you want to embed
Your embed will look something like this. It will have your featured image plus the beginning of your post. It will also be an active hyperlink to the post.
In this class we will explore three different digital storytelling tools. Each could be used by teachers to share information with students. Or they could be used by students to share their thinking and creativity with an audience beyond the classroom.
Student will get a brief introduction to each app and spend some time exploring each. Then they will work in teams to brainstorm a ideas for using each app in both settings: used by teacher and used by student.
Then each group will create a Google Drawing to capture their ideas for using the app in what will be a total of six different uses. They will share their Drawings which will later become part of this post.
Flip Grid
Flipgrid – is a simple, free, and accessible video discussion experience for PreK to PhD educators, learners and families. Create a Topic and engage your community…together!
Toontastic
Toontastic – is a Google project for creating animated stories. Choose from cast of character and backgrounds. Narrate and create a story. It runs on iOS and Android phones and tablets. Also select Chromebooks. No social network sharing features.
Anchor
Anchor is a free podcast app by Spotify. Download the app for your iOS or Android device.
In this class we will explore Book Creator – a simple tool for creating awesome digital books. Create your own teaching resources or have your students take the reins. Combine text, shapes, images, audio and video to make a book that can be viewed online or printed out. There is a paid iPad app, but you can also use the free online version in Safari or Chrome browser.
With a free account, you can get 1 library and create up to 40 books to use in your classroom. There’s no cost per student, and there’s no limit on the number of students that can join a teacher’s library. Also you can delete unused books and keep going.
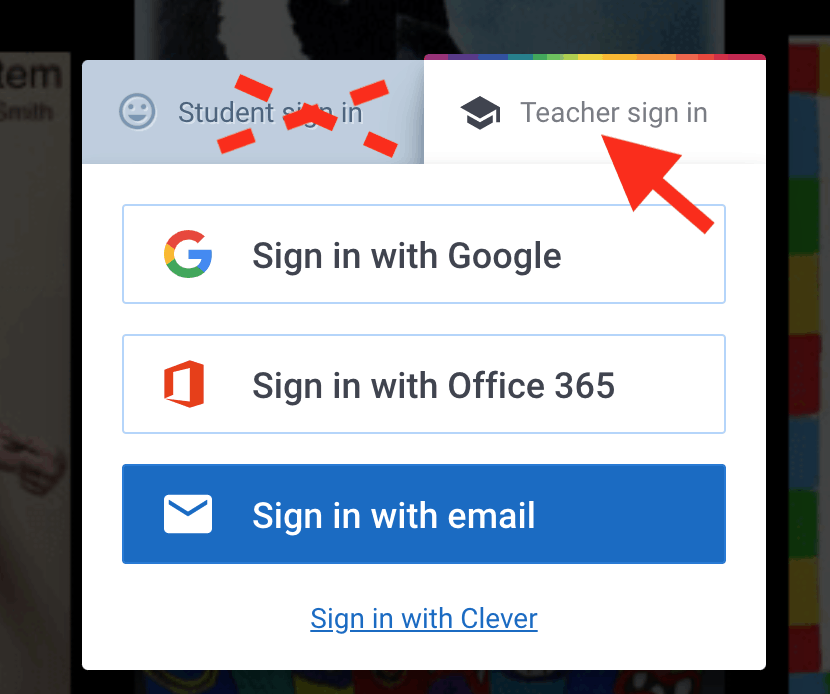
For this lesson, you should log into Book Creator Online and sign up for a free Teacher Account.
It’s a very easy app to use. Start a new book. I recommend a Landscape 4:3 Comic book. Looks good on computer screen and you to get comic elements even if you don’t use a comic book grid.
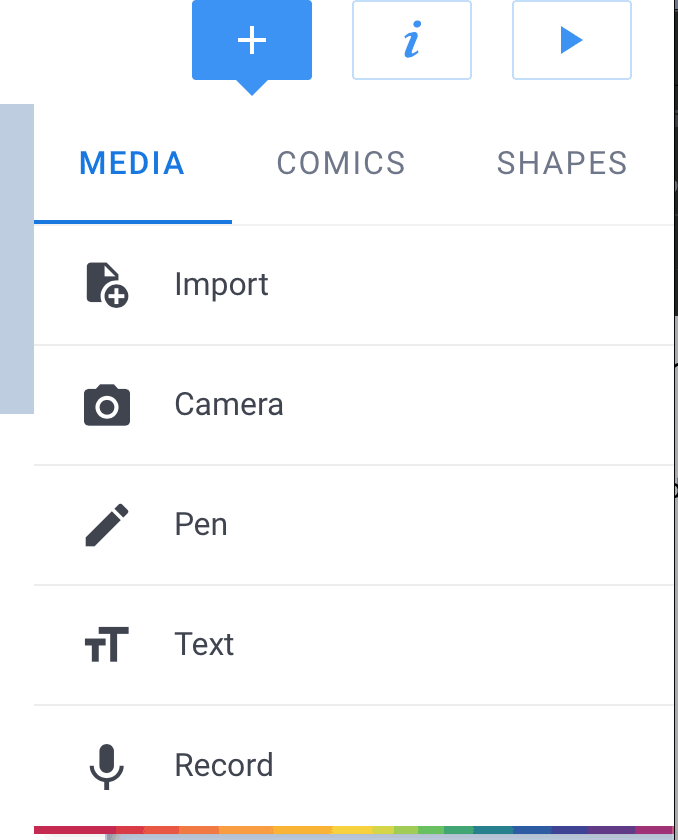
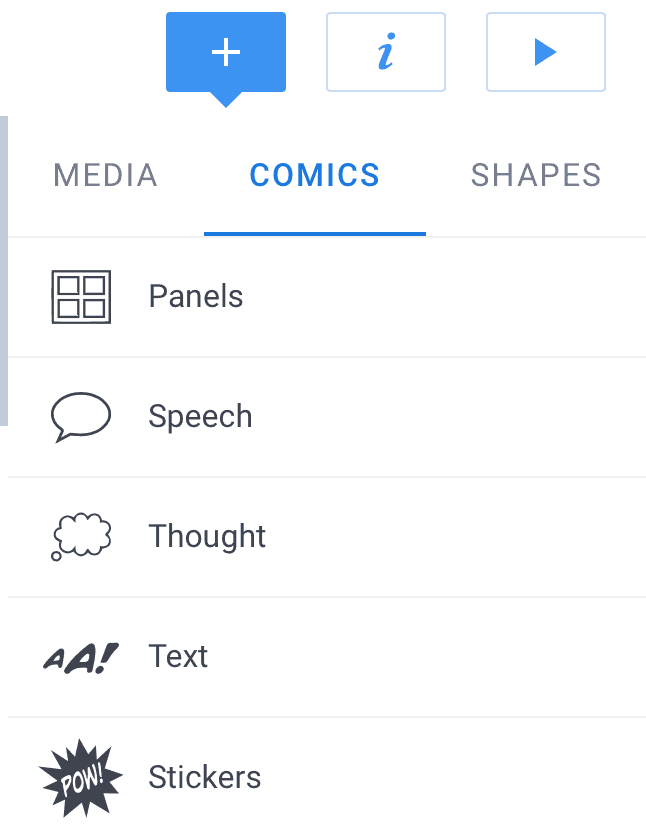
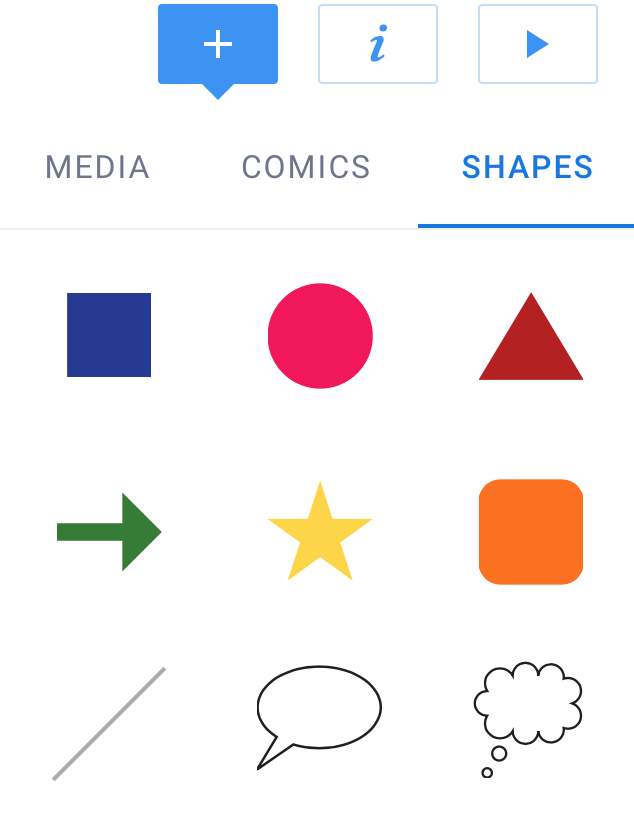
Here’s a quick intro to adding media, comic, shapes and backgrounds for your paper.
Add media
Choose to make a comic and get these extra options.
Add shapes
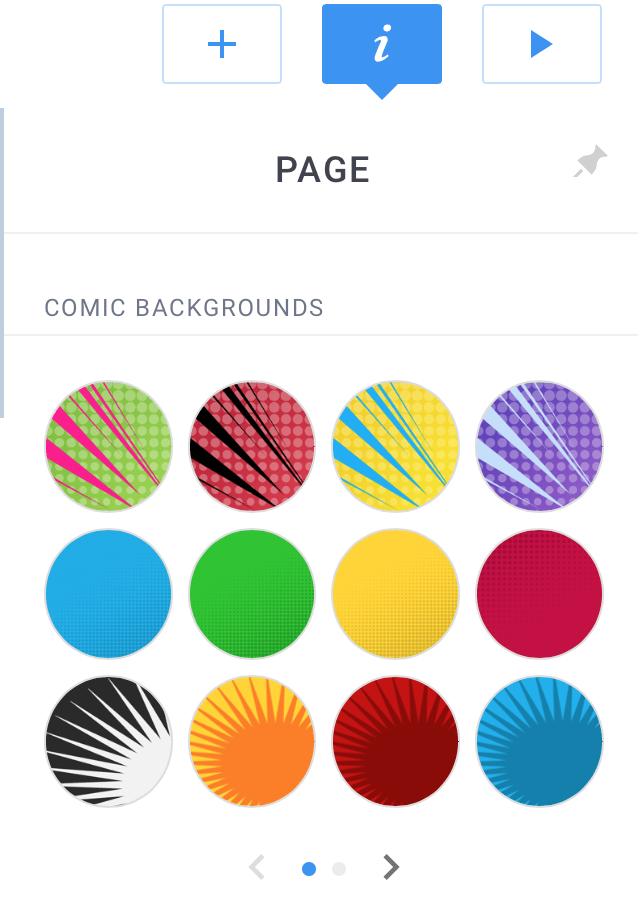
Click on page and get lots of backgrounds, borders and patterns
Use Book Creator to make a book and embed in your post. Your book could either be a resource for students to use or a model for books students would make. Or you might want to make something to share with parents.
Have fun with it. Tell a story or create a lesson or resource for students. You could convert your Google site or re-purpose some of you previous posts into a book.
Embed your finished book into a WordPress post that includes a written description of the audience and purpose of your book.
As always, be sure to include a featured image and clever title for your post.
The book should be a minimum of 8-10 pages. Try a variety of content:
Text, shapes, sticker, backgrounds.
Photos: your own or from the built in public domain search
Google map, video and a recording
Embedded content from another source (for example a pre or post quiz on a Google form)
RESOURCES
The video below takes you through how to add content to book, how to “publish” and get an embed code to use with WordPress “Custom HTML” Block.
Jump to 4:17 to see how to get embed code. Then paste code into “Custom HTML” Ignore my HTML Snippets comment at the end
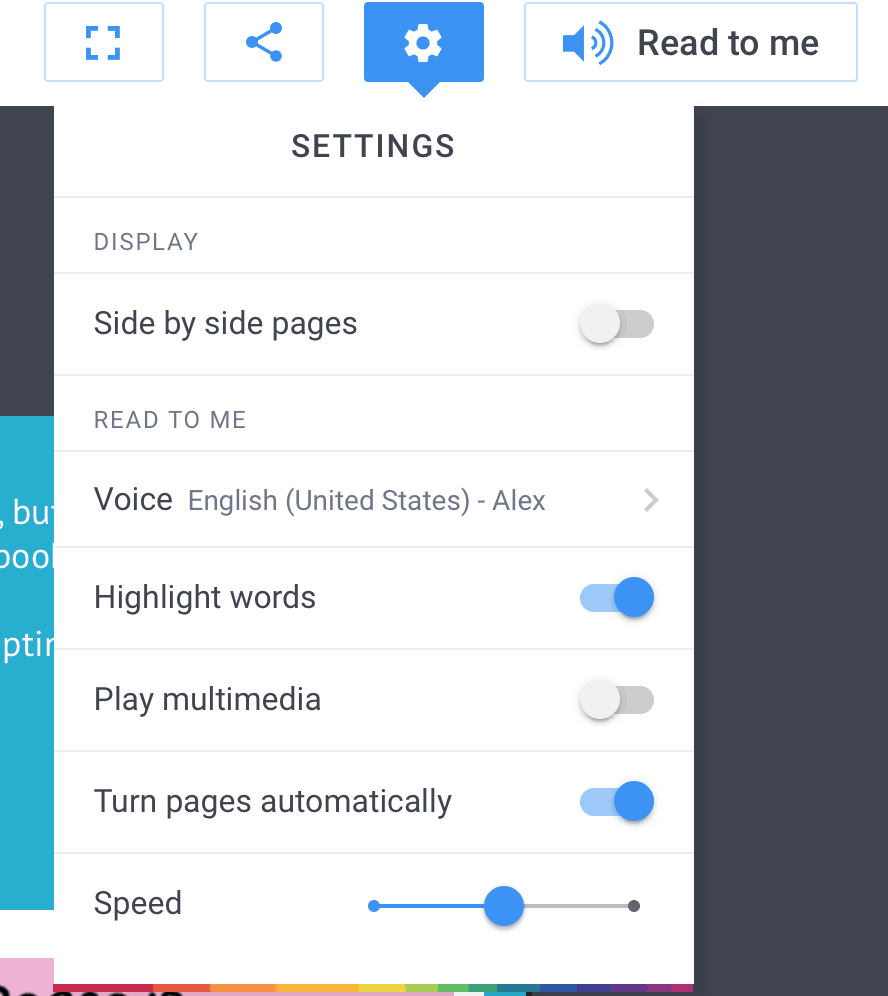
Left: Screen shot of presentation settings
Below left: sample embedded book with lots of ideas. You’ll see how it displays online with page flips. Below right: Guide to embedding content from other sources.
In today’s class we will look at using video to share content with students. As an in-class activity students will first look at two options for using existing video content. Then we will turn our attention to creating how-to video using screencasts and paper casting.
First – take a quick look at ViewPure – share video content with students without related sidebar video suggestions. This is a great tool to shelter your students from nasty YouTube content that may only be a few clicks away.Click here to “purify” a video.
EdPuzzle is a free web-based tool that you can use to pick a video, add your magical touch and track your students’ understanding. It allows you to add questions, audio and notes to existing videos from Y ouTube, Khan Academy, Crash Course and more. If you’d rather record and upload your own video, go for it!
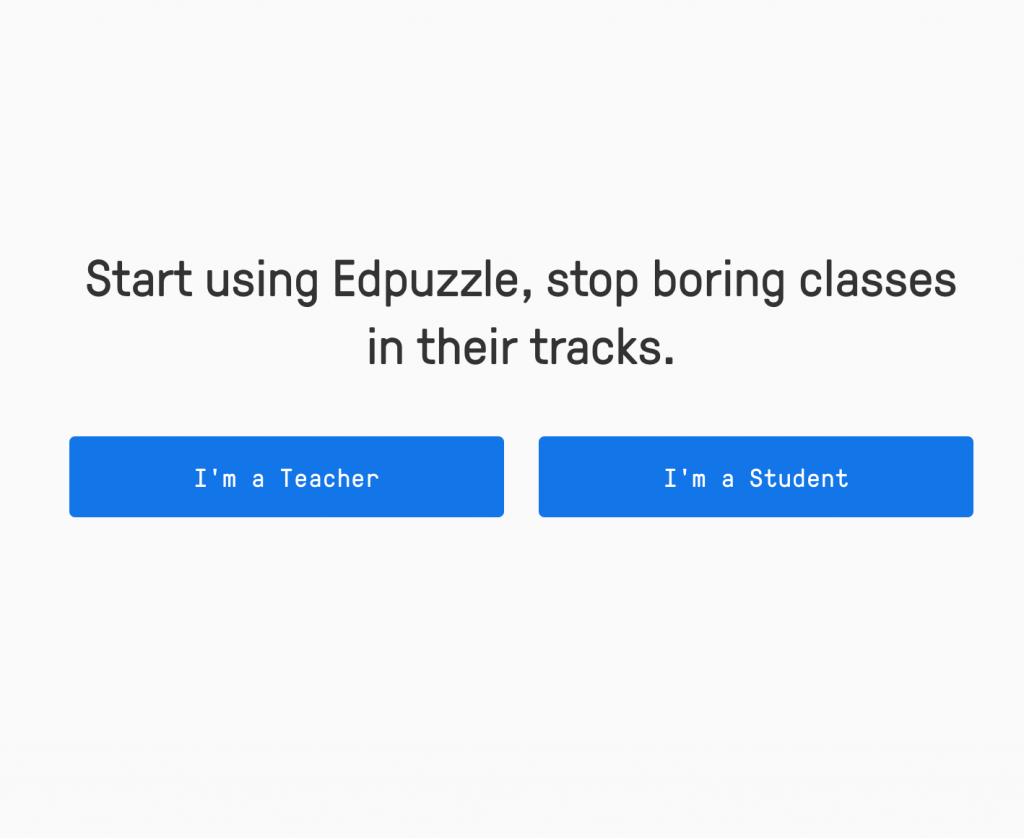
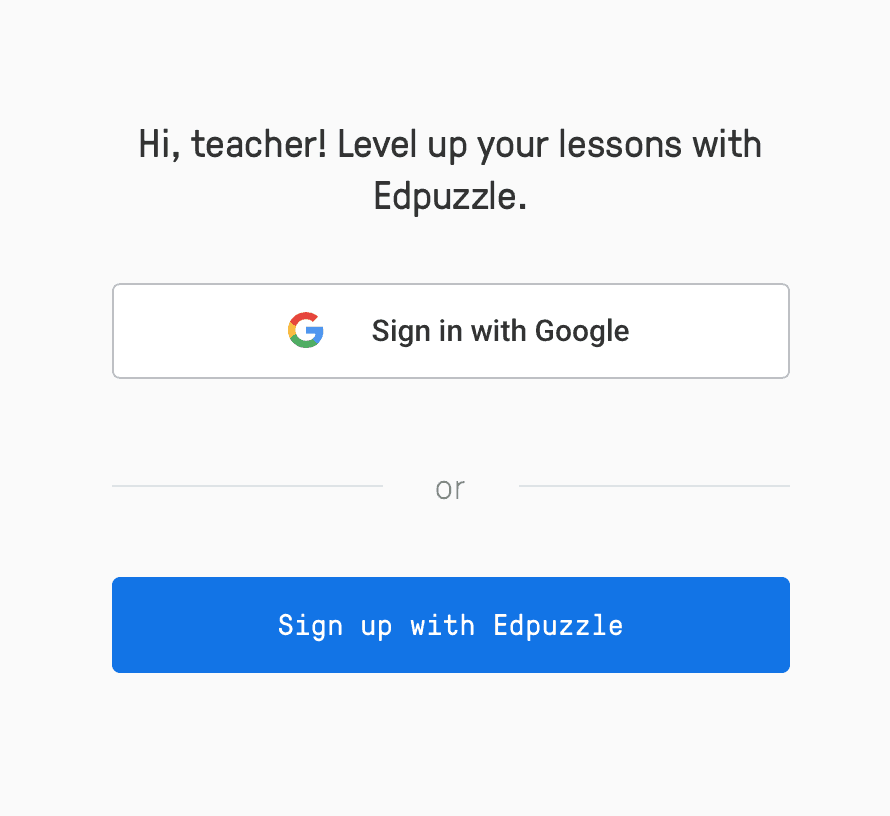
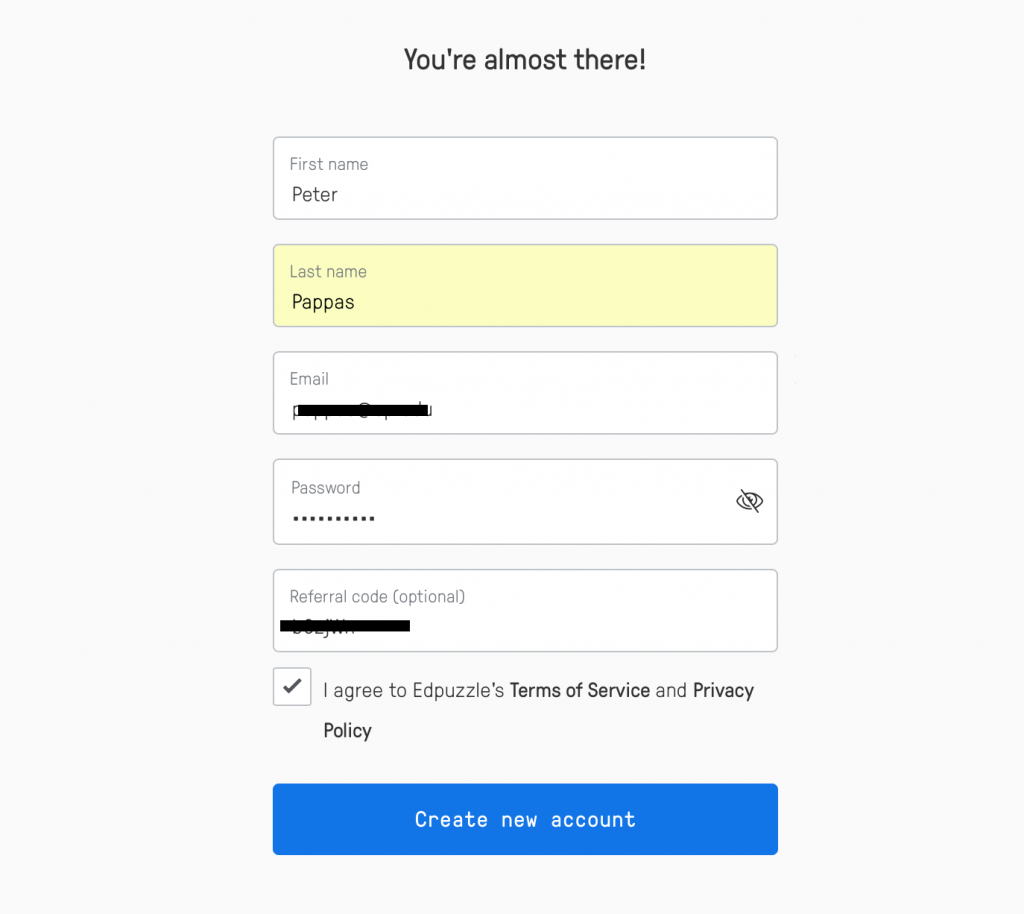
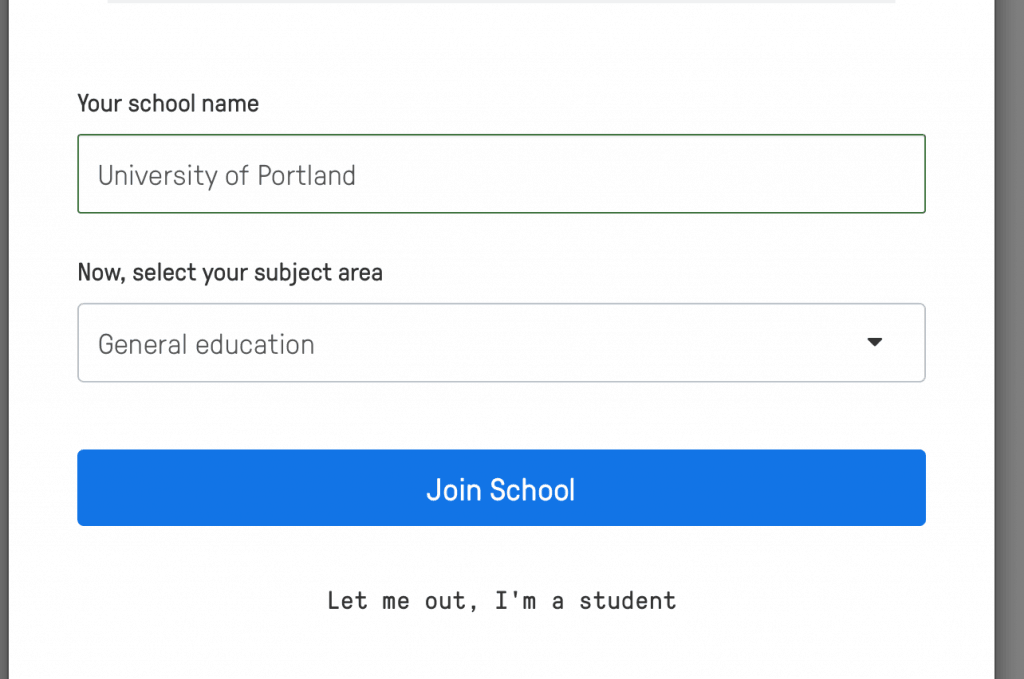
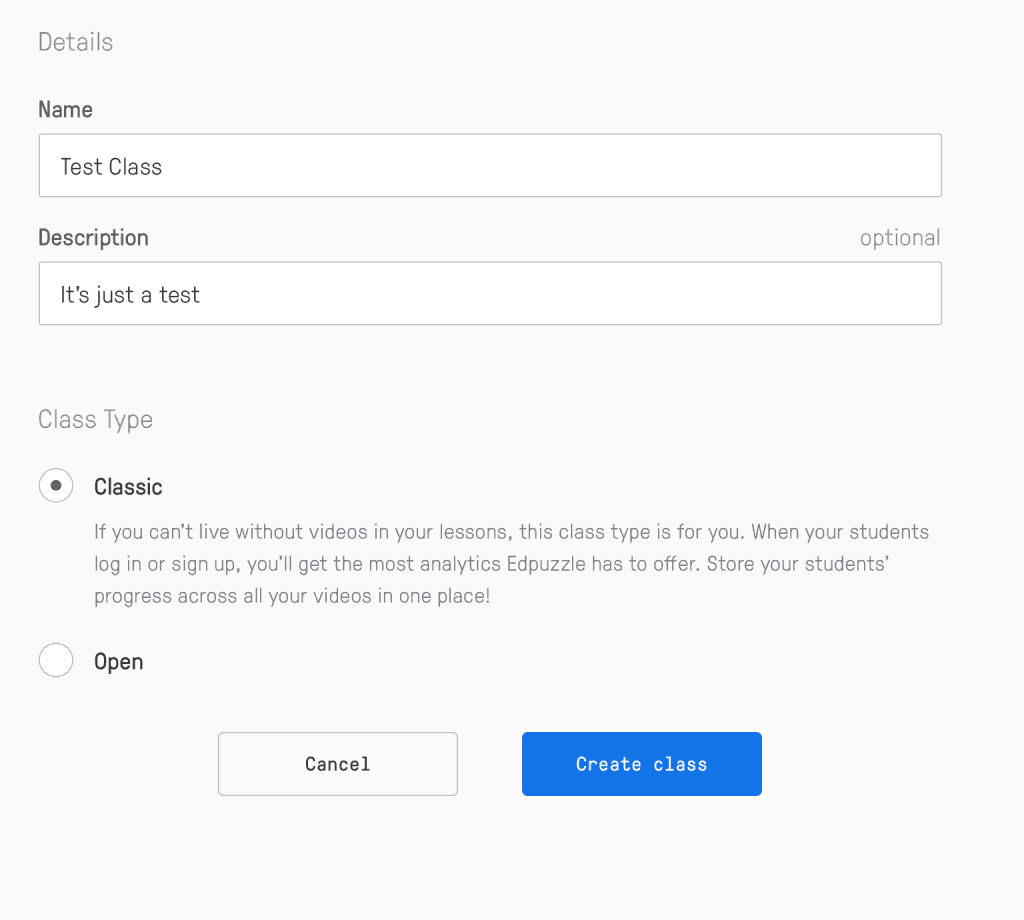
Follow these steps to create an account, a test class, and make content.
1. Sign up as a teacher
2. Sign up with Google or use email
3. Fill out form
4. Add your school and subject
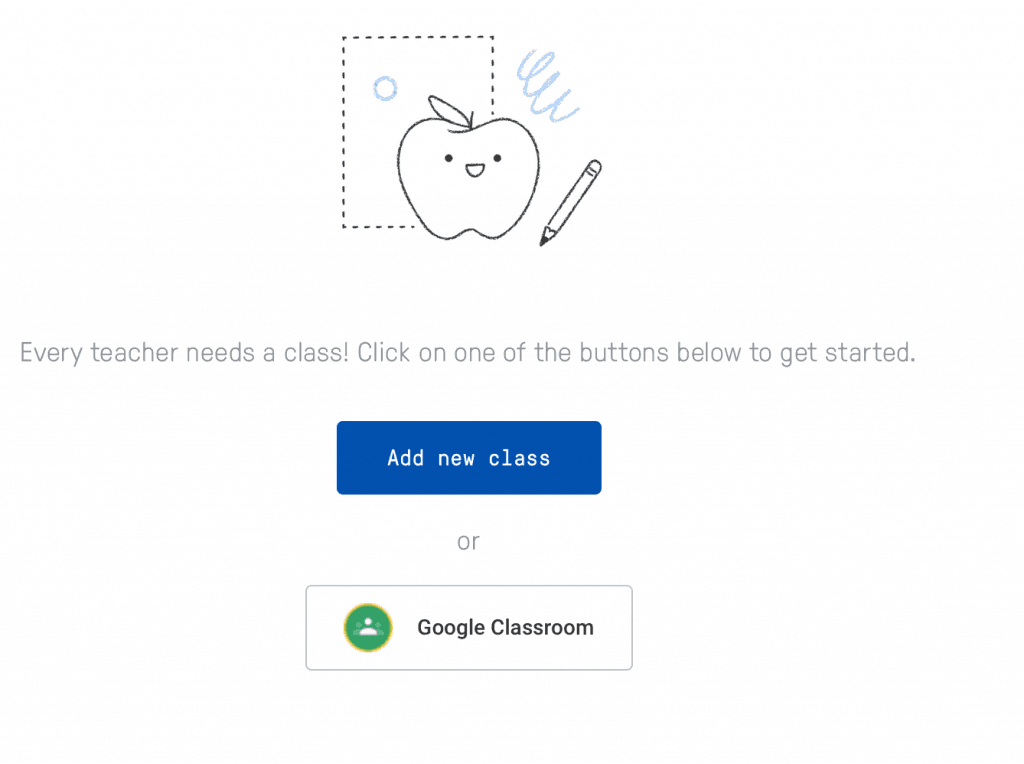
5. Add a test class
6. Create a classic class
7. Don’t invite students – just create content
Creating Screencasts and PaperCasts
HERE’S A FEW TIPS FOR VIDEO CREATION:
Keep it simple. Think of audience and purpose.
Keep it short. Why make students sit through a long how-to?
If you can, use a plug in mic (just a standard smartphone earbud mic works well). Do a quick test to check the volume level and mic position first to get sound level right.
Practice a few times to find efficient ways to demonstrate and describe what you’re doing.
If you will be entering much text as part of the task, I create a text document first so I can copy/paste text into what you’re demonstrating ( I hate watching videos of people typing).
1. Mac users can make screencast use QuickTime Player – it’s built into Macs. You can easily capture your screen with narration. How to Use on Mac Here. You can upload your video to your YouTube account. You can then get the URL to embed in a WordPress “YouTube” block.
2. Make a screencast with Loom – a free Chrome browser plug in. To get Loom open your Chrome browser and get the Loom extension here. How to Use Loom Here Loom hosts your video. You can get an embed code from Loom and use it with a WordPress “Custom HTML” block to embed into your WordPress post.
3. Sketch out a lessonand videotape it. Shoot a video using your smartphone. You can use little slips of paper or you could draw. If you’re not an artist, you could also shoot a video of you reading a picture book. You can upload your video to your YouTube account. You can then get the URL to embed in a WordPress “YouTube” block.
Students will design and record a screencast as an element of a lesson. If you have already made a screencast as part of a lesson from your placement, feel free to use it here. Note: It does not need to be a full lesson via the screencast – just one of the tools you might use in a larger lesson.
Your post should include:
Embedded screencast
Lesson context, audience and purpose.
How the screencast might assist you with the lesson or your communications goal. For example, is this to help parents with homework?Or to provide students background for a new unit. Or an explanation to students on how to do something.
Featured image and title.
If you use Quicktime Player, you should plan to load it up to your YouTube account and embed using the YouTube block built into WordPress. If you use Loom, then you should get the embed code from Loom and embed in WordPress with “Custom HTML” block.
If you shoot a sketch video on your phone, you can transfer it to a computer and then upload to YouTube from there. Embed using the YouTube block built into WordPress.
Note: Feel free to use another screen casting tool if you like.
Our course has been hosted on our WordPress site. But here’s another option to design learning via Google Sites. This is a free tool that is especially useful when you want to showcase more content than what “fits” into a WordPress post.
Google sites are free and become part of your content stored in Google Drive. Sites can easily feature text / images and showcase content you have created using Google docs, slides, forms, Google Drawing, MyMaps or YouTube videos.
As a follow up to last week’s geography focus, we will take a look at a few geo- related sites: Landlines | Timelapse | True Size Of
Next we will introduce Hyperdocs (collection of learning activities designed using the Google Suite.) Then we will have some basic instruction on creating a Google site and importing content from a variety of sources.
Working solo or with a partner, design a learning activity that is supported by a multipage Google site. Note: Partners should include their names prominently on start page of Google Site and on the WordPress Post. They can upload one post and notify Peter to make them co-authors.
1. Google site –Start Page (Home Page) Be sure to include:
Unique header image
Title of the lesson
Author (s) of the lesson
Target student group. Grade, course
Lesson context? – for example – introduction, pre-assessment, part of bigger unit, etc
Goal for lesson and how the site helps you meet the goal.
2. Google site – At least 5 additional pages that provide resources and activities for the students Be sure to include:
Unique header image for each of the pages
A scored pre-assessment and exit ticket using a Google form
At least 10 content elements: Images, Slides, Forms, Docs, MyMaps, Google Drawings, YouTube Videos (made by someone else?)
NOTE: Feel free to use content from Hyperdocs or other sources.
3. A WordPress post that showcases the site. Be sure to include:
Fun title and featured image
An image of the site that serves as hyperlink
Repeat the material from your start page (#1) above
“Places are locations having distinctive features that give them meaning and character that differs from other locations. Therefore, places are human creations, and people’s lives are grounded in particular places. We come from a place, we live in a place, and we preserve and exhibit fierce pride over places.” ~ National Geography Standard 4: Place
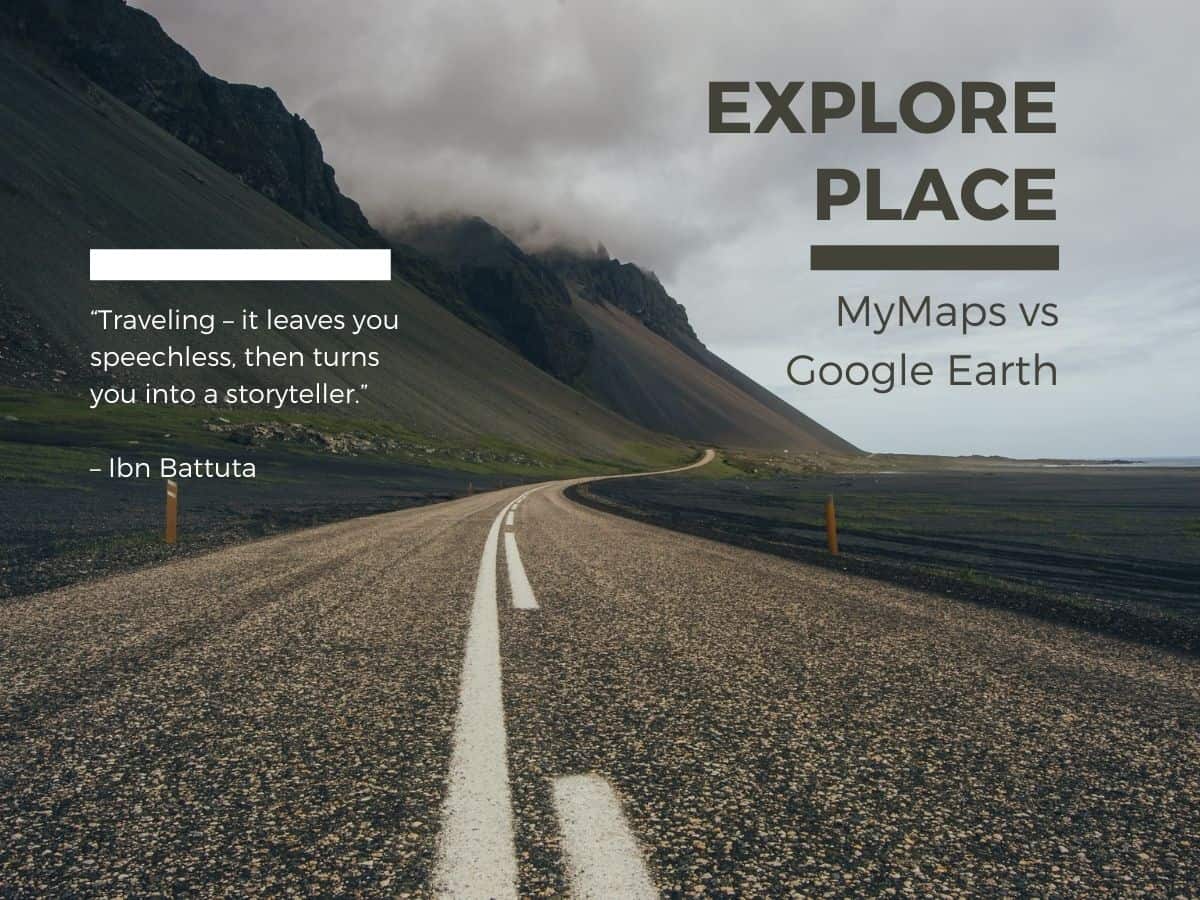
Today’s class will explore interactive images with Google MyMaps and Google Earth. Both apps provide tools for teachers and students to create and share interactive maps that tell a story of place.
Google MyMaps is a great tool for visualizing place with a variety of content and locational tools. You can easily add photos, video, text, routes and shapes. You can collaborate and share your maps via email. It can be easily embedded in WordPress. MyMaps gets saved in your Google Drive account for easy cataloging.
Google Earth is now a web-based tool that can easily create engaging stories maps that tell a story. With creation tools, you can draw on the map, add your photos and videos, customize your view, and share and collaborate with others. You cannot embed in WordPress. Use a screenshot of you map as a hyperlink from your WordPress post to your map project.
Students will one of the apps to design a map-based learning activity. Be sure to have multiple locations and some text or visual content at each location. Try these prompts:
A community tour around school.
A real or fictional journey.
Explore the setting of a story.
Plot locations of habitats / geographic features.
Share an interactive map of a field trip with parents.
Make a map of authors you’ve read
Any other good idea
Your post should include:
Title and featured image
Target student group for lesson – grade level or subject
Instructions for students
Goal for lesson and how the map helps you meet the goal.
Be sure to include student feedback via correct answers / differentiated path.
MyMaps can be embedded in WordPress. Get an embed code and use with Custom HTML block Also include a direct link to your MyMap in your post.
Google Earth cannot be embedded. So pick an area of your map to use for a screenshot and hyperlink.
Resources
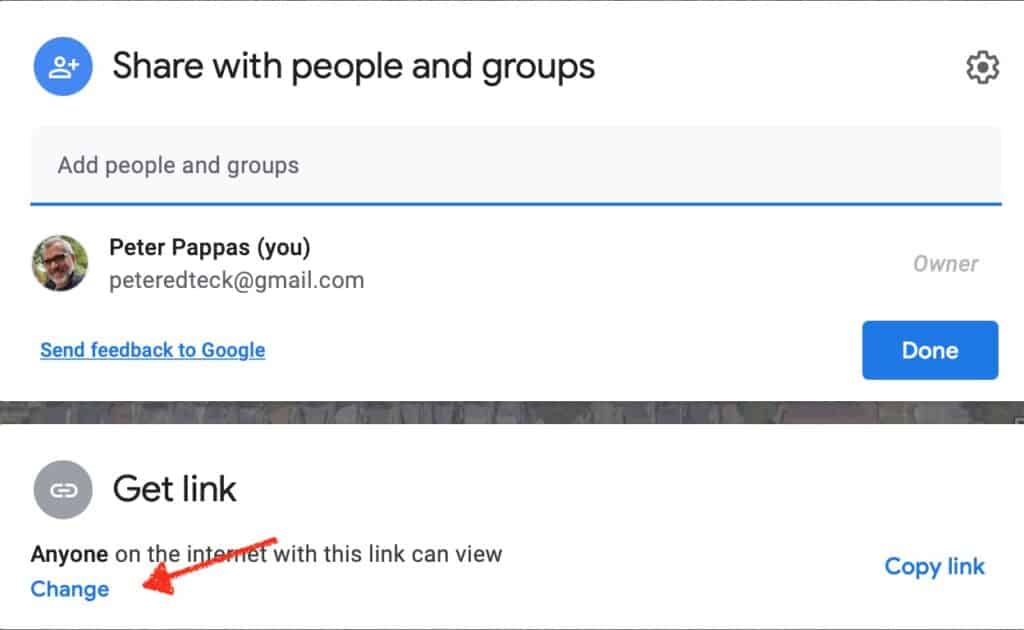
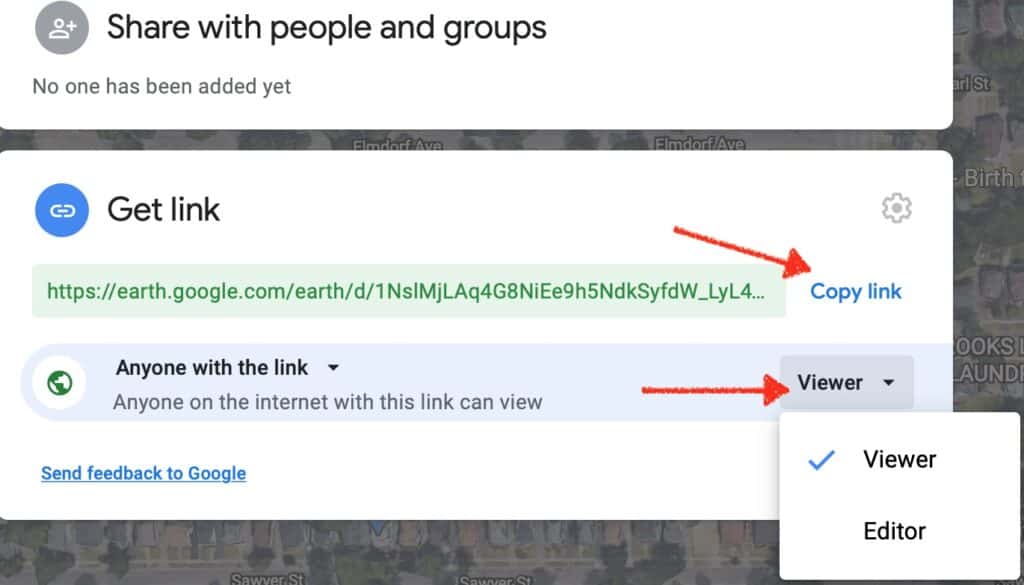
How to set sharing and get embed code from MyMaps
1. Click on Share icon
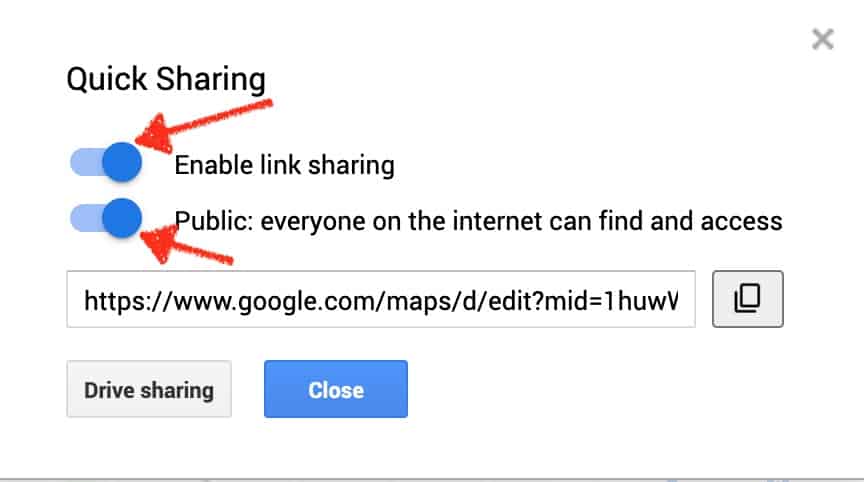
2. Enable link sharing and public view
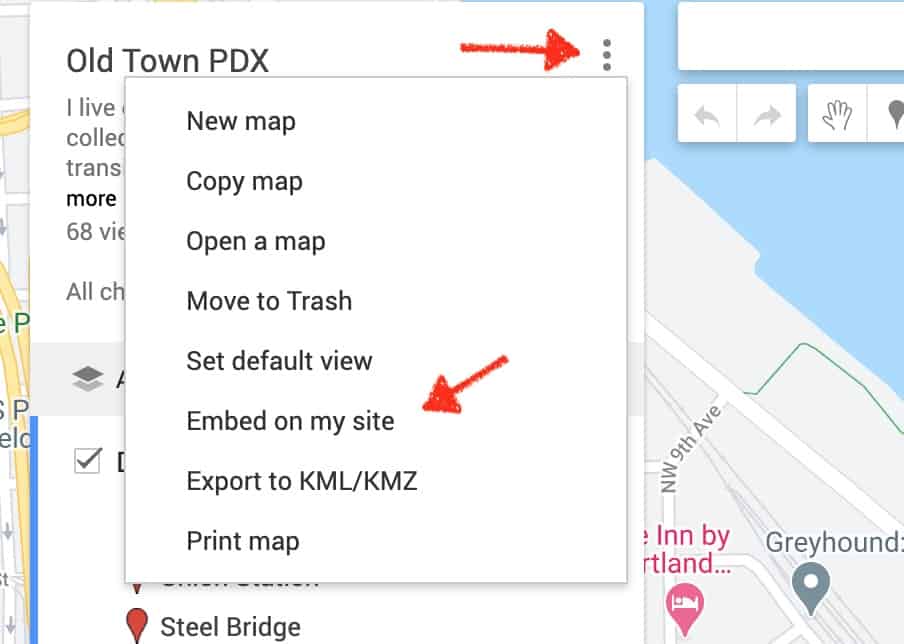
3. Click 3 dots and choose “Embed in my site.”
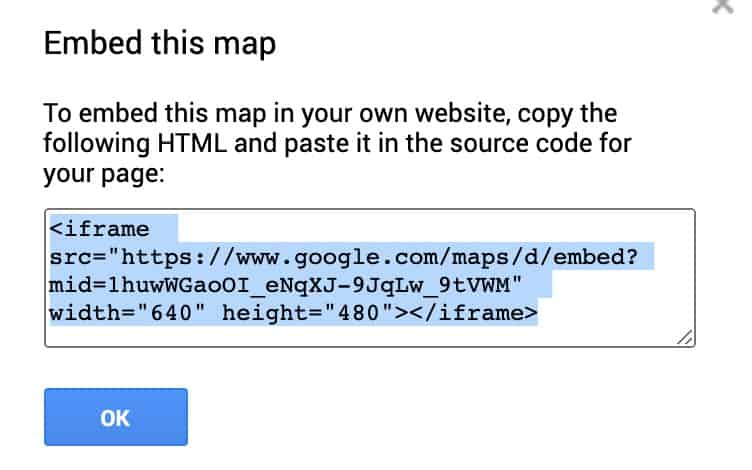
4. Copy the embed code into WordPress “Custom HTML” block.
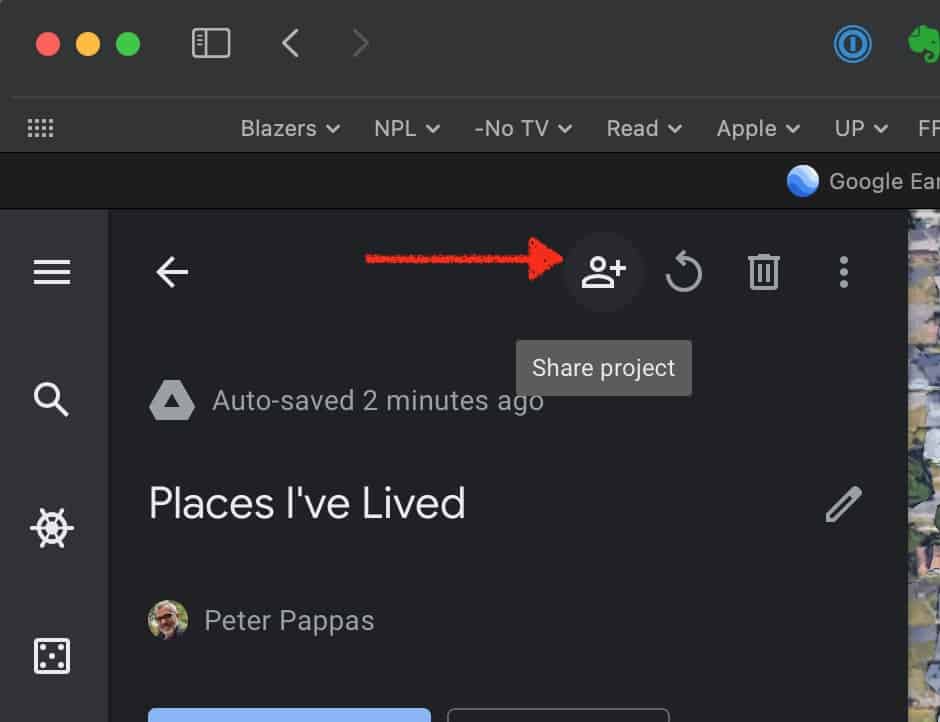
How to set Sharing in Google Earth – use a Screenshot of a portion of your map with a hyperlink in WordPress
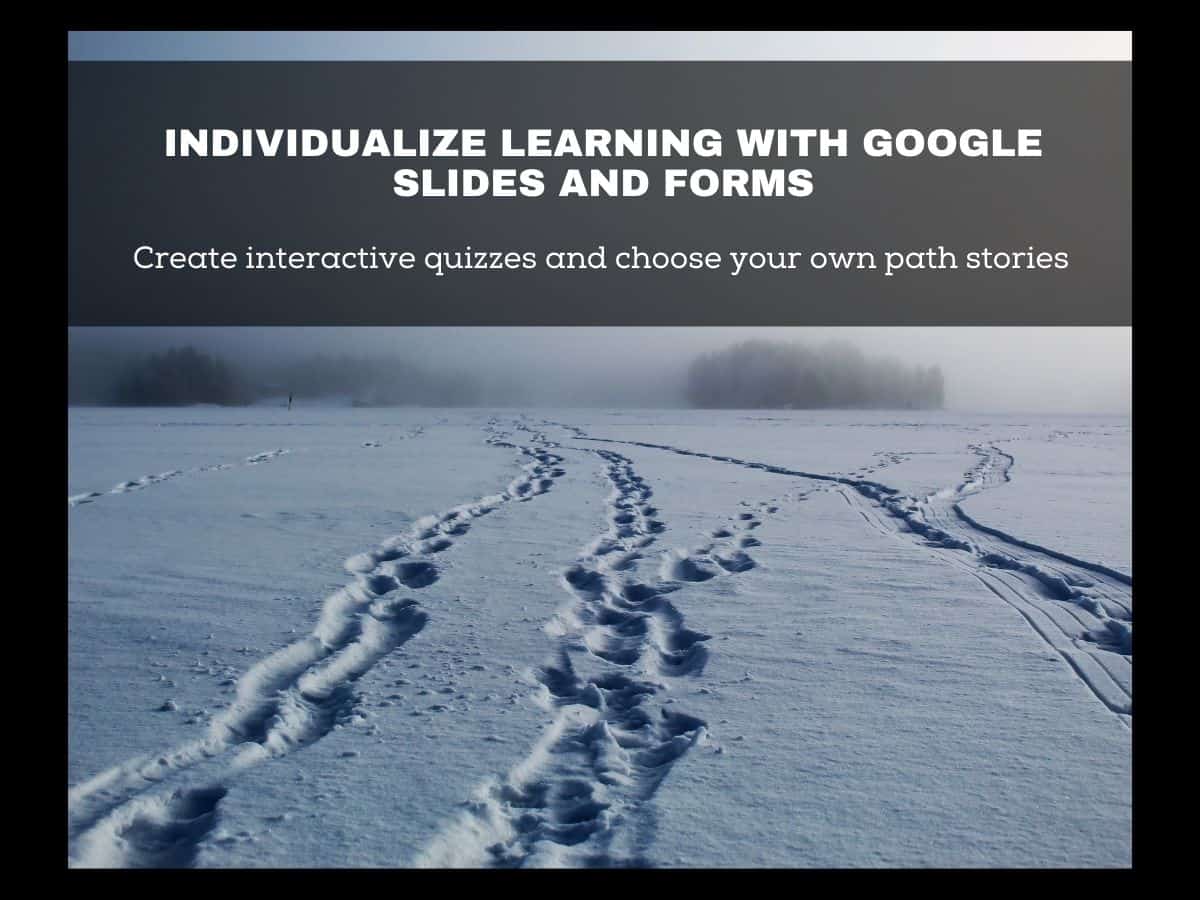
Today’s class will be a deep dive into using Google Slides and Forms to individualize learning. We will explore techniques to use both formats to create learning experiences that allow student responses to direct students to new content. With modification they can be used to create quizzes that give students immediate feedback and remediation. Similar techniques can be used to give students a chance to choose their own path through content.
Differentiated Google Slides
1. Interactive quizzes via slides
Sample Interactive Quiz Link Interactive Quiz Template Link
2. “Choose your own path” slides (also called “If /Then Adventures”)
The Secret Village Link African Safari Link Go for a Ride Link | Here’s how it was made Link
3. Self grading form – students will see how they did on each question. And you can provide feedback and “reteaching” for questions they missed.
Sample Self Graded Quiz Link How to make Self Graded Quiz Link
Here’s a good how to on created a self-grading form
4. Differentiated form – it is self graded, except if as they get correct or wrong answers they follow different paths. For example if they miss question 1, they go to instructional info and then retake the question. If they get question 1 correct, they go directly to question 2.
Sample differentiated quiz Link Here’s one that adds images Link Here’s one in French Link(scroll down) Here’s a good planning tool for “choose your own path” Link
How to use Google Forms so students can choose their own path through content.
Assignment 6: Design an Interactive Lesson Using Google Forms | Form Lesson 21-A6
Design an interactive lesson for your next post – using Google Forms. It could be a self-graded form or a differentiated form. Your post should include:
Title and featured image
Target student group for lesson – grade level or subject
Instructions for students
Goal for lesson and how the form helps you meet the goal.
Be sure to include student feedback via correct answers / differentiated path.
Google Form can be embedded in WordPress. See instructions below for how to embed your Form in your post.
Also include a direct link to your Google Form in your post.
Resources
You will need to get an embed code from your Google form to use with the “Custom HTML” block in WordPress and embed in your post.
Team project: Then students will break into teams to explore Google Drawings independently and consider how it compares to Google Jamboard. Teams will be tasked with designing a teachers’ guide to that compares the two apps from the perspective of their grade level / disciplinary team. Students should check back with our criteria for judging tech tools.
Task: Each team should design a Google Drawing that compares the two apps with a focus on use in your grade level / discipline. Audience / purpose? Other teachers who might consider using either or both apps. Those Drawings will later be embedded in this post.
Grade Level Comparisons Google Drawings or Jamboard?