My screencast assignment is intended for a 3rd grade Spanish Immersion class. A screencast is helpful for this assignment because it provides these students who are learning a new language the opportunity to hear the instructions in Spanish. This also allows them to replay any parts of the instructions. It will be helpful for students to re-hear any unknown words and use the context of the other sentences to make meaning.
Lesson Context: This video is intended to supplement instruction during my students’ asynchronous class period. It is in the middle of a unit on Supply and Demand, and we just learned about the Law of Supply in the previous synchronous lesson.
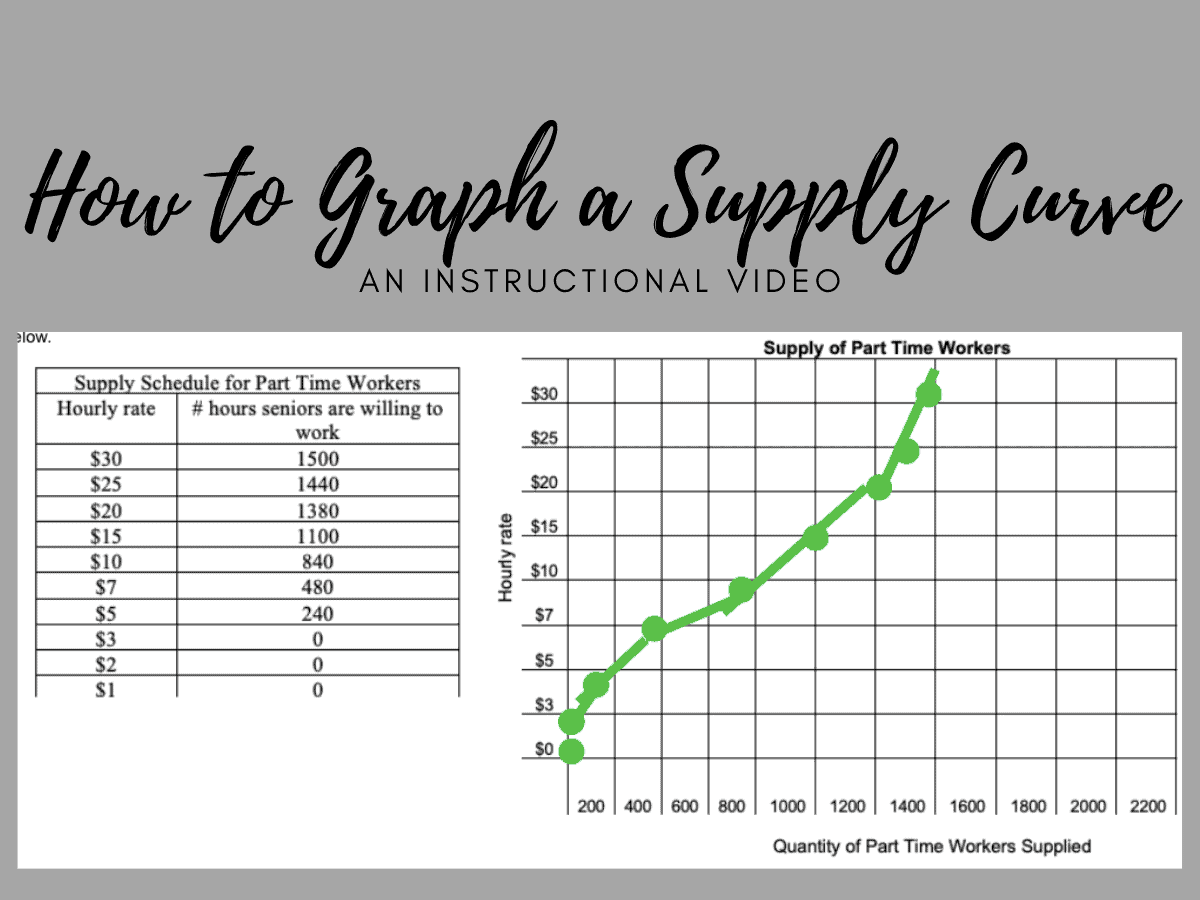
Audience: The audience for this video is students in my 10th grade Economics class or anyone else who wants help learning Economics.
Purpose: The purpose of this video is to aid my students in understanding how to take information from a supply schedule and graph it to create a supply curve. This is intended to help them with their asynchronous assignment, which asks them to graph supply curves.
Using A Screencast: Recording a screencast of this process helps my students’ understanding of their assignment because to illustrates the step by step process they should follow. This is especially helpful during asynchronous classes where I am not there to help them in person.
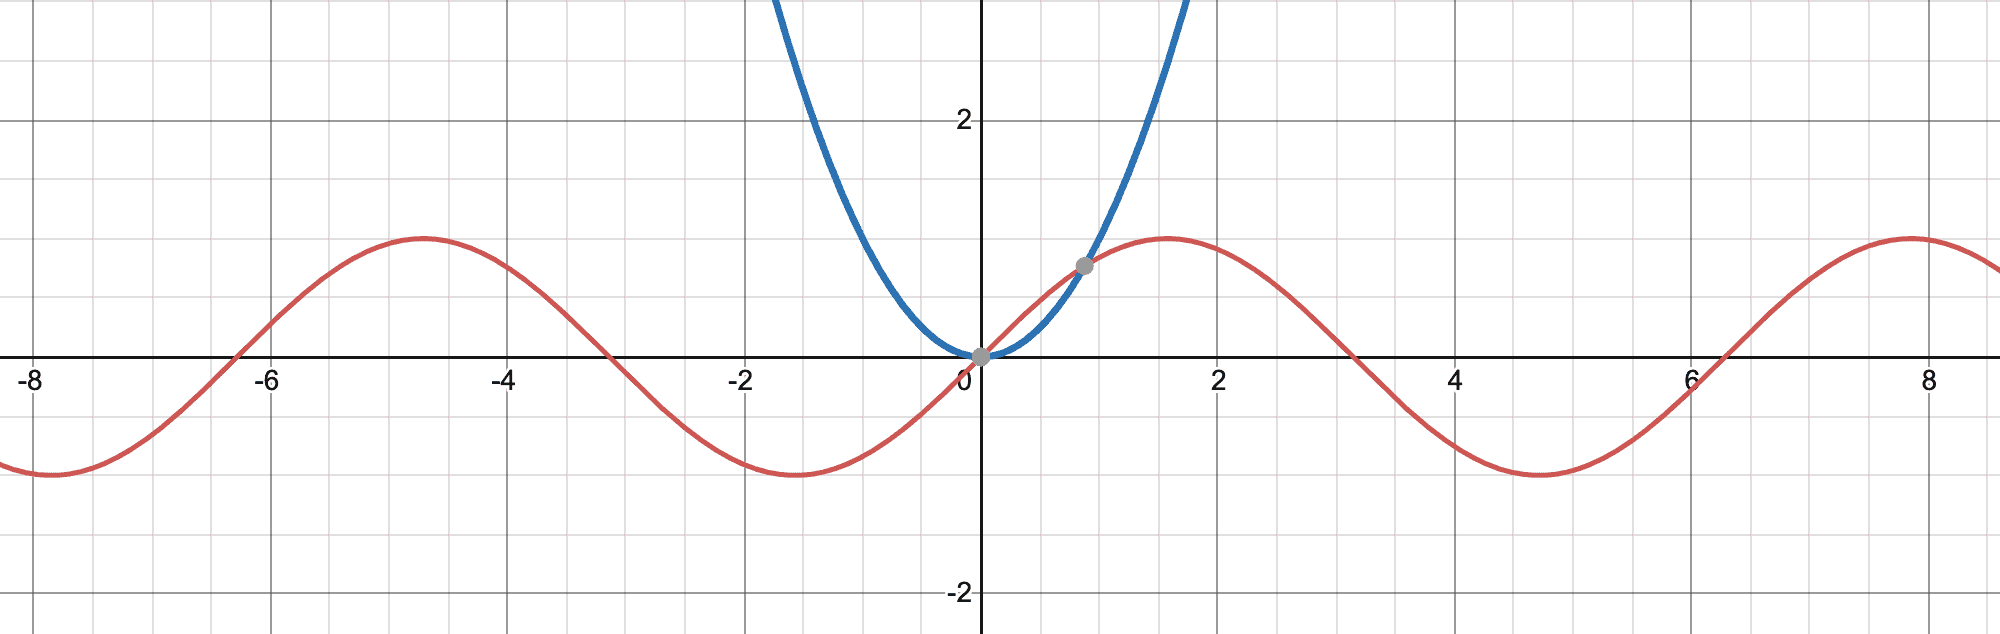
For my activity, I used a screencast to demonstrate how to use a feature of Desmos that will be helpful for their activity. I showed how students can use a slider to see the effect that a constant value has on a given graph of f(x). I demonstrated the effect that c, a constant, has on a graph of f(x) = c x2. I showed how once a constant is used in an f(x) function in Desmos, there is an option to add a slider for c.
Once the students have watched the demo, I would ask them to do the same for the functions, f(x) = a + b x + c x2. I would ask them to describe the effect of a, b, and c as they become greater, smaller, and negative. I would also ask them to look at f(x) = sin(a x) vs f(x) = b sinx and compare the effect of a vs. b.
This screencast helps students understand how to use this feature in Desmos if they do not yet know how to use it. The activity goal is for student be able to understand visually the effect that constant have on the f(x) functions they have been looking at.
Target Student Group: 5th Grade | Social Studies/History
Instructions: 1.) The teacher will give students the MyMaps link marking some of the points throughout Lewis and Clark’s expedition. They should remind them that each marker is numbered, so they need to go in numerical order from 1 to 15. 2.) Let students know they will need to explore, read, and take notes on what they learn from the Map so that they can complete Google Forms Quiz at the end. 3.) Give students the link to the Google Form and let them know they can look back at the Map and work with others to fill it out. For Groups: Give students autonomy – let them decide whether they want to work together or with a partner(s). Preferably no more than three.
After you’re finished exploring, reading, and taking notes, please work on the Google Form Quiz below! Please let me know if you have any questions! 🙂
Lesson Goals: – As 5th graders wrap up the Native Americans Unit, they will be able to add on to their knowledge about them by learning more about Lewis and Clark’s expeditions and interactions. – By exploring and reading the markers on the Map, students can learn more about the struggles Lewis and Clark faced, along with the impact they had on our knowledge of various animal and plant specimens and geographical areas (Louisiana, Mississippi River, and the Pacific Ocean).
Featured Image by Kalen Emsley on Unsplash Information Source: https://www.history.com/topics/westward-expansion/lewis-and-clark
This mini-lesson would be included in a math lesson that talks about different ways and strategies to add single digit numbers, such as using your fingers, number lines, and the dot method.
How can screencast assist you with the lesson or communicate your goal?
Screencast allows easy access for teachers to give visuals in their lesson while also narrating. These videos are easily accessible, and could be sped up or slowed down, depending on the student’s skill level. Parents also have the accessibility to pull up these videos to give their child a refresher when practicing addition problems or finishing up their homework.
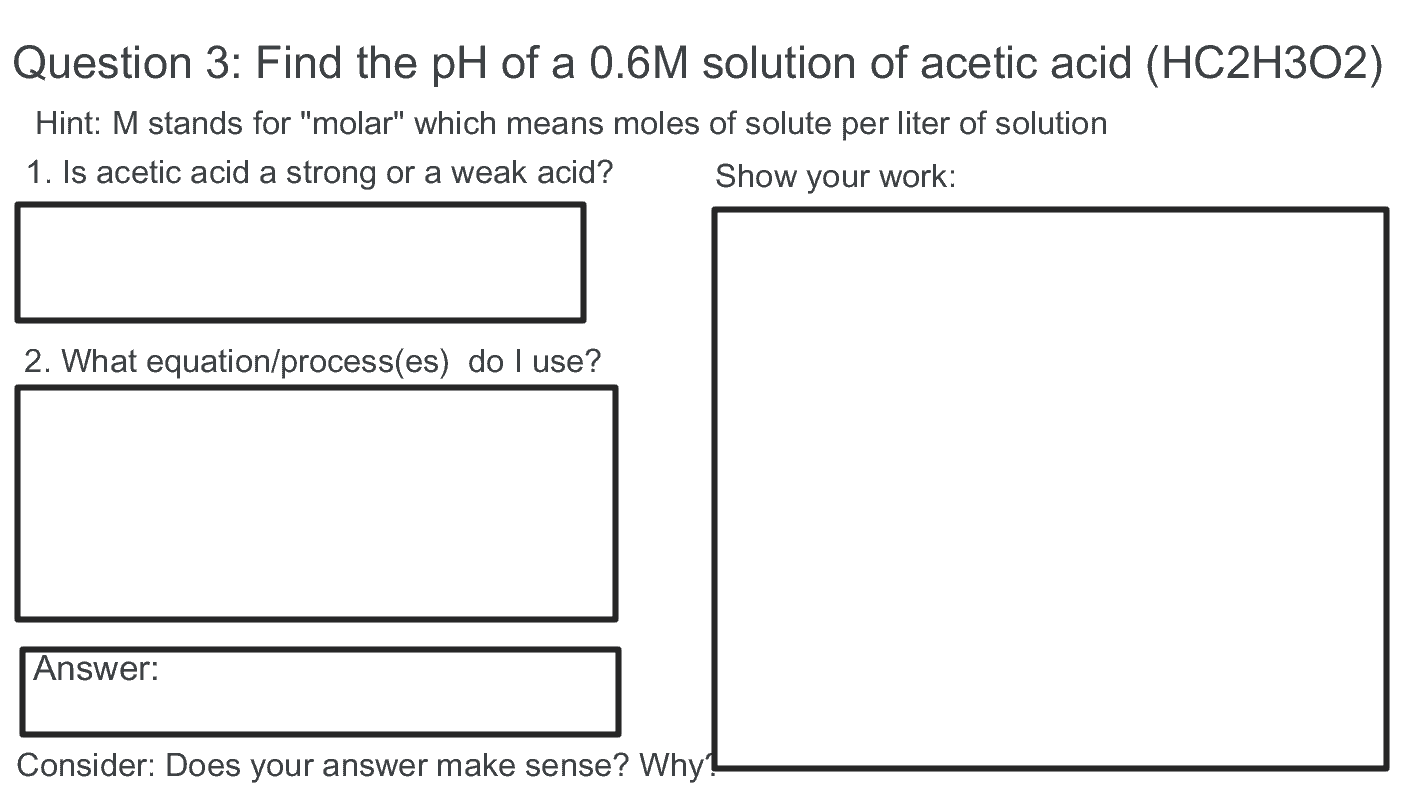
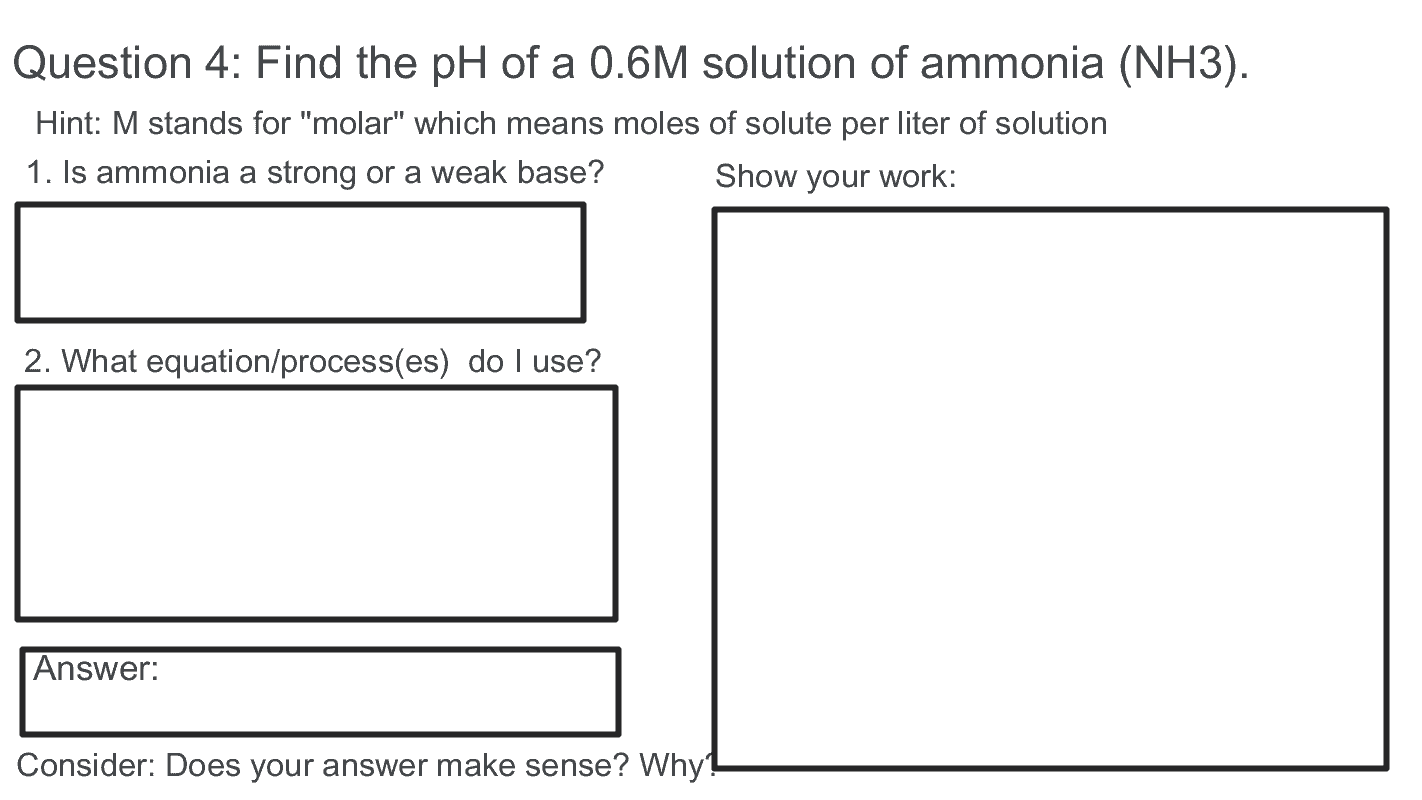
Previously, we learned about acids and bases (you can view the post HERE or be taken directly to my Google site by clicking HERE). One property is based on the pH value, where bases have a pH greater than 7 and acids have a pH less than 7. But how do we find the pH of an acidic solution? Or a basic one? Does acid/base strength matter? This lesson aims to answer all of these questions through the use of Loom screen-casting. Thus, this lesson is for chemistry students with a general understanding of acids, bases, and pH.
Directions to students:
Watch the lesson videos on how to find the pH of an acidic/basic solution
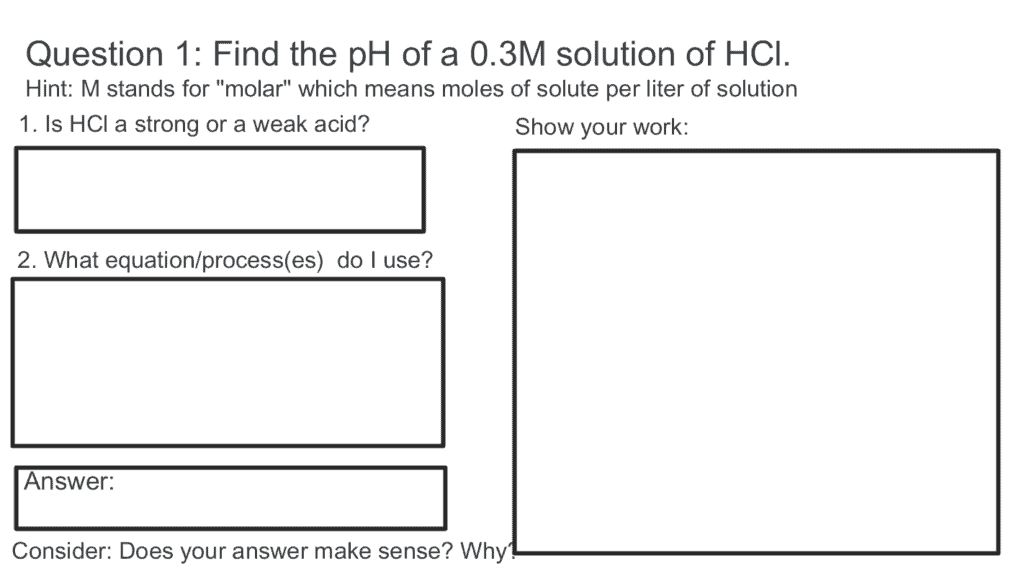
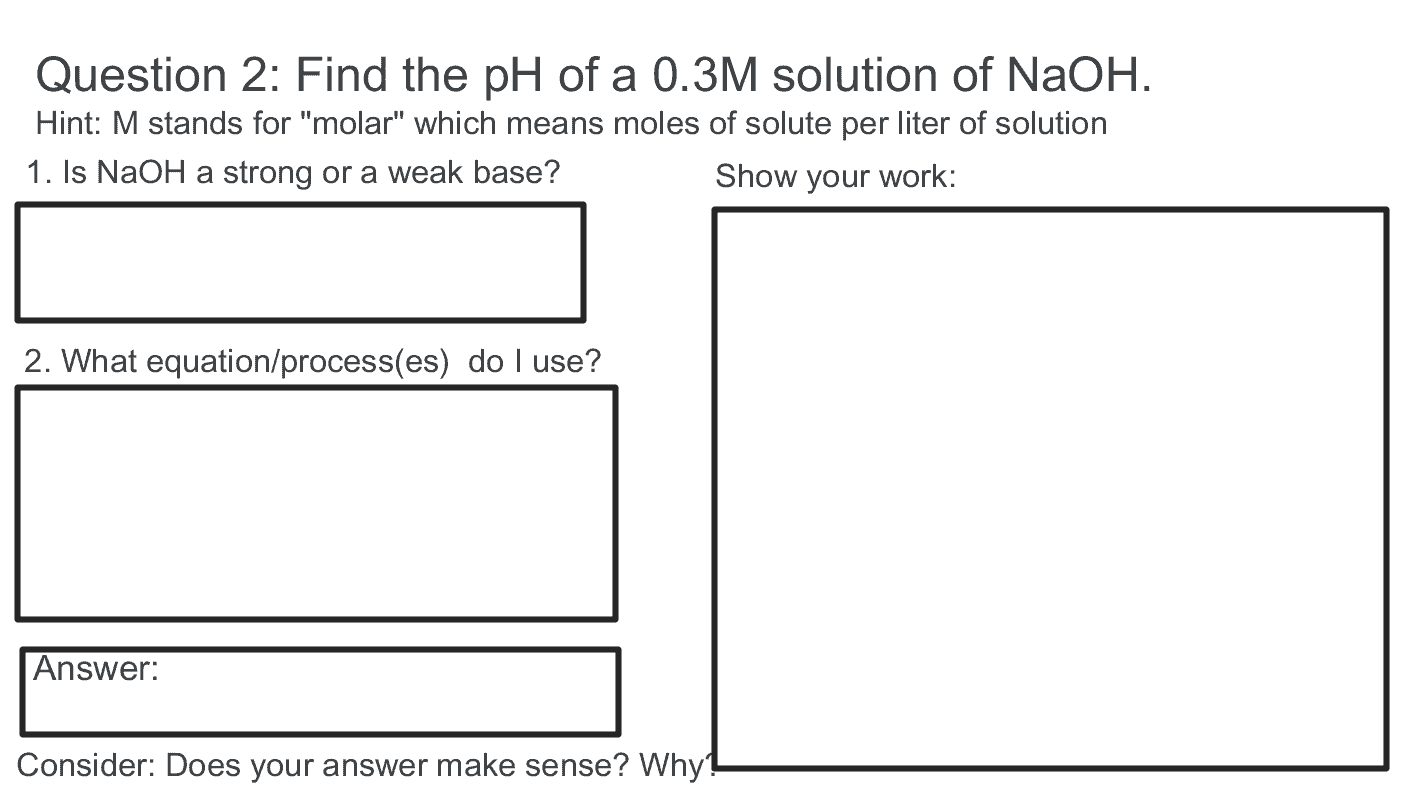
Download a copy of the Jamboard and complete the problems
Check your responses by watching the corresponding videos for each question.
If you still have questions, try watching the lesson video again. You can also review the Google site for more information on pH and acids and bases.
The Lessons: Watch these two videos. One covers how to find the pH for STRONG acids/bases and the other explains the process for WEAK acids/bases.
Here are the videos showing the correct process for each question from the Jamboard activity:
Why Loom ? Loom allows for easy recording. I can have any given document on my screen and viewers can watch as I interact with that document. Since it records whatever is on my screen, I can easily switch between documents (like a Jamboard activity and a whiteboard) to better relay information to students. Screen-casting is really useful for explaining the process behind a given chemistry problem. It can also be used as a study tool at a later date. Since the screen-casting provides a video, the content can easily be shared as well, which might be handy for parents.
Instructions: This activity is part of a lesson I am designing for my seventh grade class, which is currently working on a food unit. To add both practical application and an element of culture, students will explore the website for Monoprix (https://www.monoprix.fr/courses-en-ligne), a French grocery store similar to our Fred Meyer. The video above is an explanation of how students will navigate the site and do imaginary shopping for themselves. They will create a shopping list with the names of all of the items they wish to purchase (food, clothing, home goods), as well as the price. After they have completed the activity, students will be able to share their shopping lists with others, discuss new vocabulary, comment on cultural differences and costs, etc. This activity should be done entirely in French (as are the directions).
Goals: -Students can navigate a [virtual] French grocery store to shop for necessities and desired products. -Students can use their food vocabulary and context clues to successfully identify foods, clothing, home goods, etc. -Students can gain experience with shopping in a French-speaking environment, anticipate costs relative to in the US, and understand associated cultural expectations.
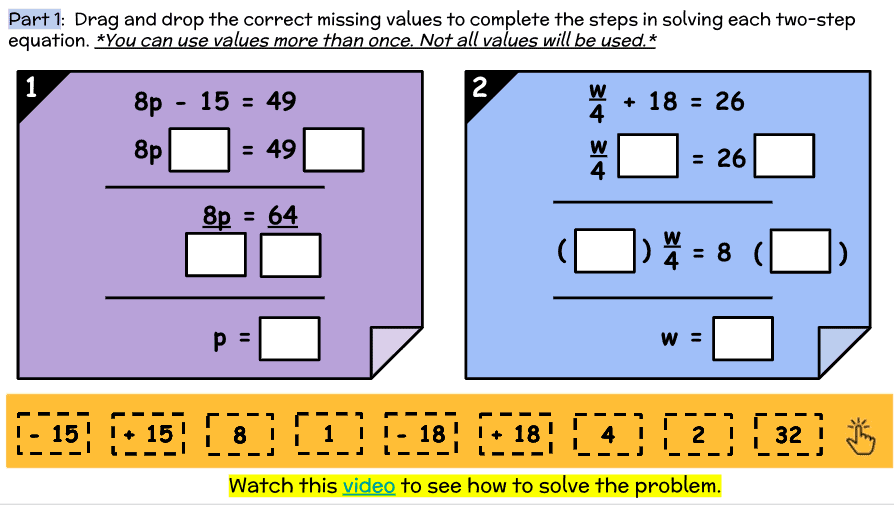
Hi 7th grade mathematicians! We learned how to solve two step equations today using addition, subtraction, multiplication and division. Remember that when we are solving for the variable you start with addition or subtraction and THEN you do multiplication or division.
Your assignment:
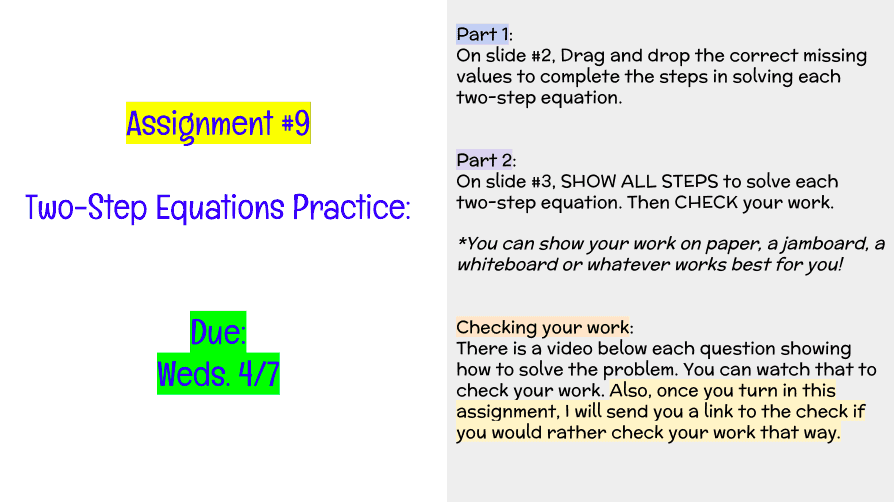
Create a copy of the Google Slides. Follow the directions below to fully complete the assignment. Make sure to watch the Loom videos to check your work.
Part 1: On slide #2, Drag and drop the correct missing values to complete the steps in solving each two-step equation.
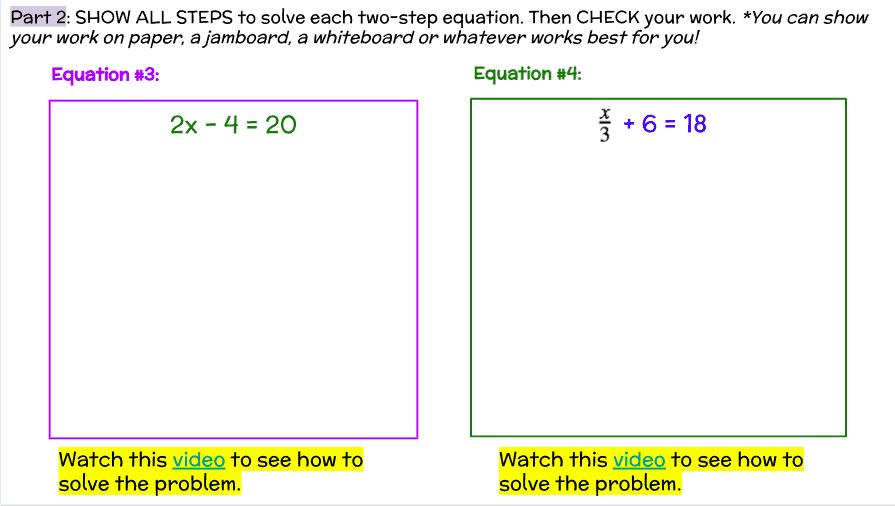
Part 2: On slide #3, SHOW ALL STEPS to solve each two-step equation. Then CHECK your work. *You can show your work on paper, a Jamboard, a whiteboard or whatever works best for you!
These Loom videos allow for the students to see an answer key for each problem. Rather than just typing or writing the correct work the videos allow for the students to see each step on each problem. Because two-step equations have multiple steps to finding the correct answer, the Loom videos allow for students to see the steps and to rewind and pause if they missed a step on their work. You could also use Loom videos like this if you were doing a flipped classroom where you taught the students new content on asynchronous days and then did practice on synchronous days.
In this class we will explore Book Creator – a simple tool for creating awesome digital books. Create your own teaching resources or have your students take the reins. Combine text, shapes, images, audio and video to make a book that can be viewed online or printed out. There is a paid iPad app, but you can also use the free online version in Safari or Chrome browser.
With a free account, you can get 1 library and create up to 40 books to use in your classroom. There’s no cost per student, and there’s no limit on the number of students that can join a teacher’s library. Also you can delete unused books and keep going.
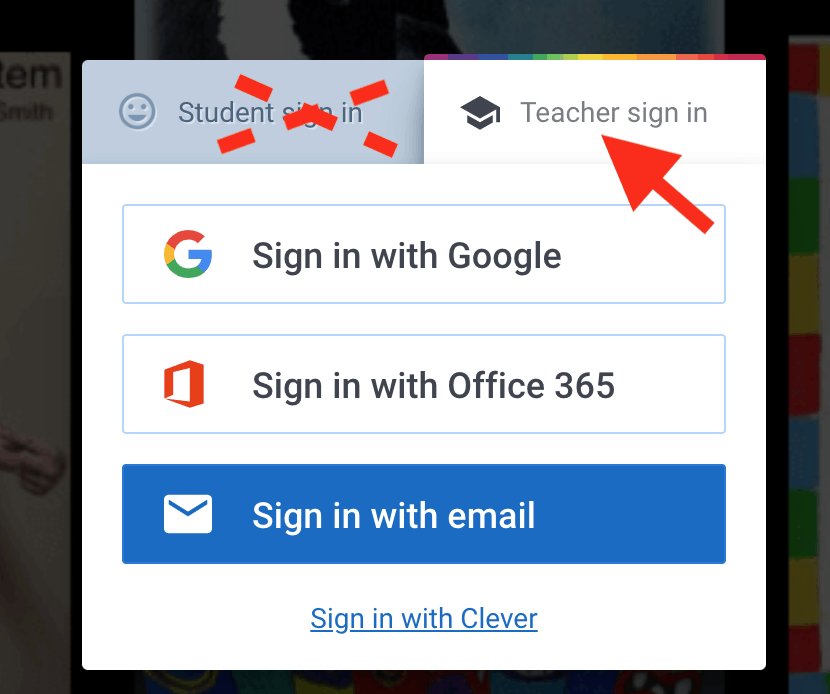
For this lesson, you should log into Book Creator Online and sign up for a free Teacher Account.
It’s a very easy app to use. Start a new book. I recommend a Landscape 4:3 Comic book. Looks good on computer screen and you to get comic elements even if you don’t use a comic book grid.
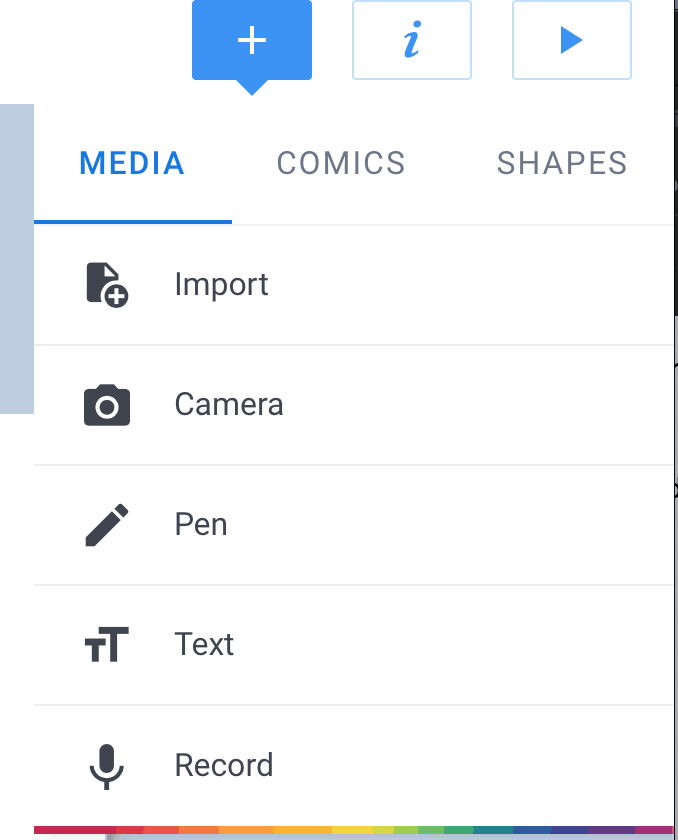
Here’s a quick intro to adding media, comic, shapes and backgrounds for your paper.
Add media
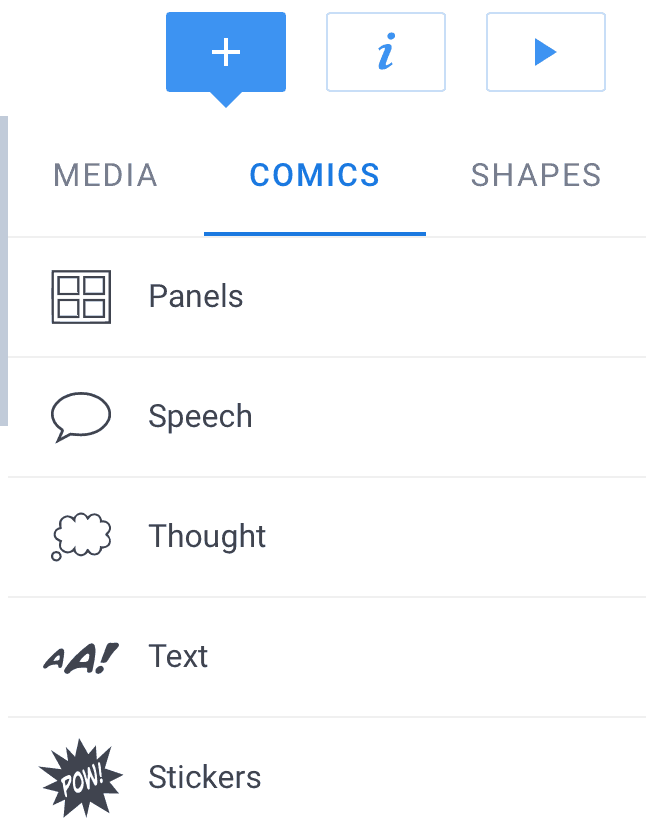
Choose to make a comic and get these extra options.
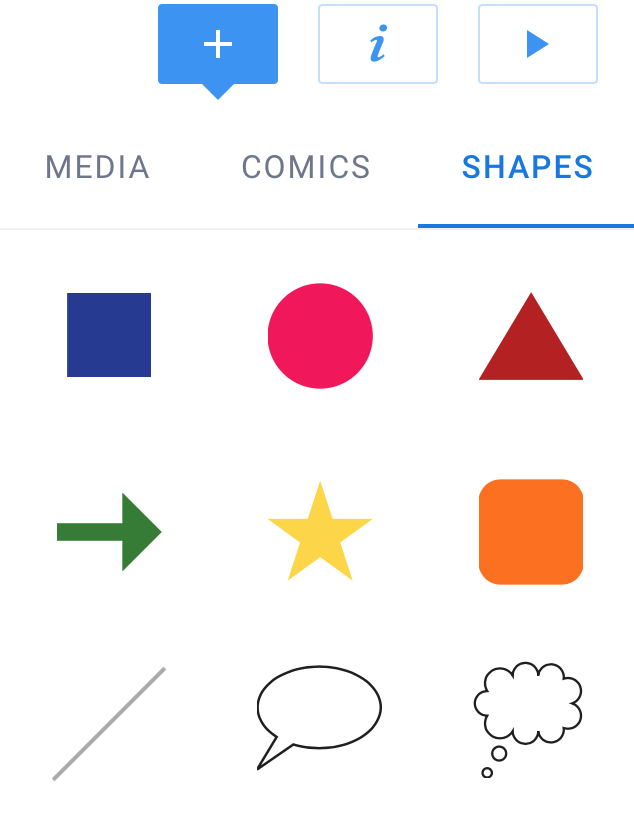
Add shapes
Click on page and get lots of backgrounds, borders and patterns
Use Book Creator to make a book and embed in your post. Your book could either be a resource for students to use or a model for books students would make. Or you might want to make something to share with parents.
Have fun with it. Tell a story or create a lesson or resource for students. You could convert your Google site or re-purpose some of you previous posts into a book.
Embed your finished book into a WordPress post that includes a written description of the audience and purpose of your book.
As always, be sure to include a featured image and clever title for your post.
The book should be a minimum of 8-10 pages. Try a variety of content:
Text, shapes, sticker, backgrounds.
Photos: your own or from the built in public domain search
Google map, video and a recording
Embedded content from another source (for example a pre or post quiz on a Google form)
RESOURCES
The video below takes you through how to add content to book, how to “publish” and get an embed code to use with WordPress “Custom HTML” Block.
Jump to 4:17 to see how to get embed code. Then paste code into “Custom HTML” Ignore my HTML Snippets comment at the end
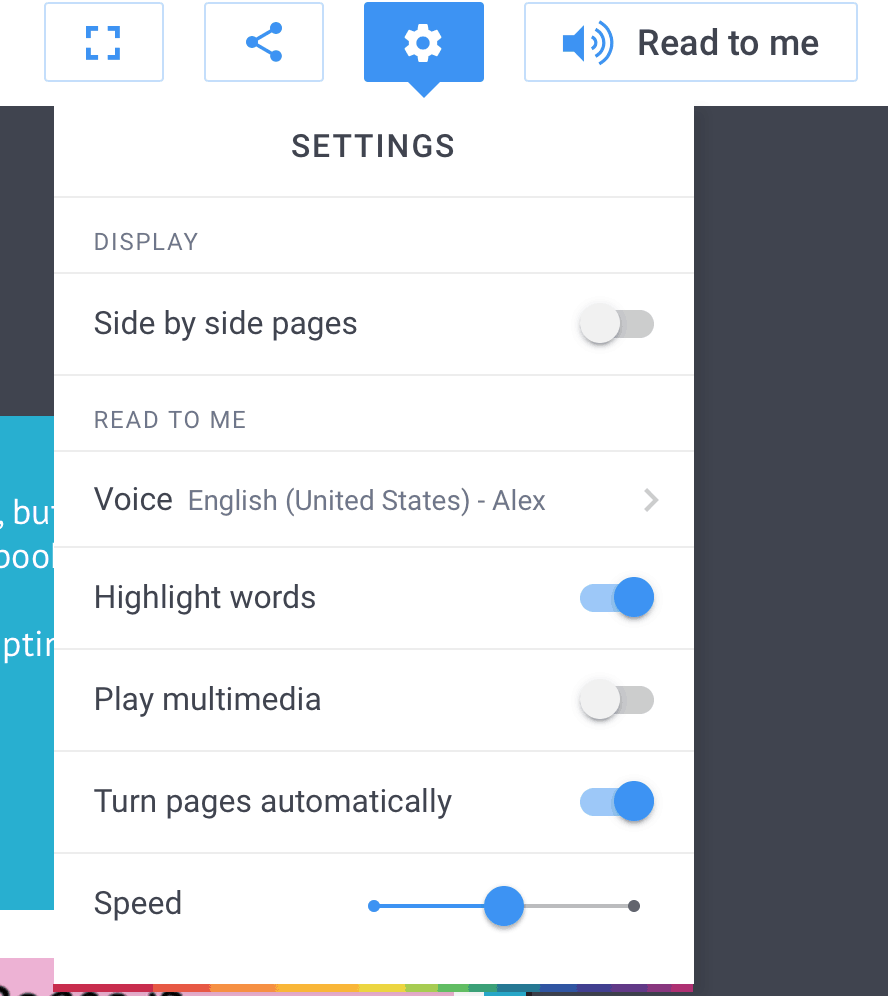
Left: Screen shot of presentation settings
Below left: sample embedded book with lots of ideas. You’ll see how it displays online with page flips. Below right: Guide to embedding content from other sources.
I decided for my screencast I would read the story Are You My Mother by P.D. Eastman which as a kid was one of my favorite books. The video can be used to have kids follow along with the book or even used in a online classroom since its a little difficult to read picture books online and make sure the kids can see the pictures. I would use this screencast for either a kindergarten or 1 st grade class to help teach them their phonics as well as learning how to read simple sentences. Below is the video and the slideshow of the book as well!
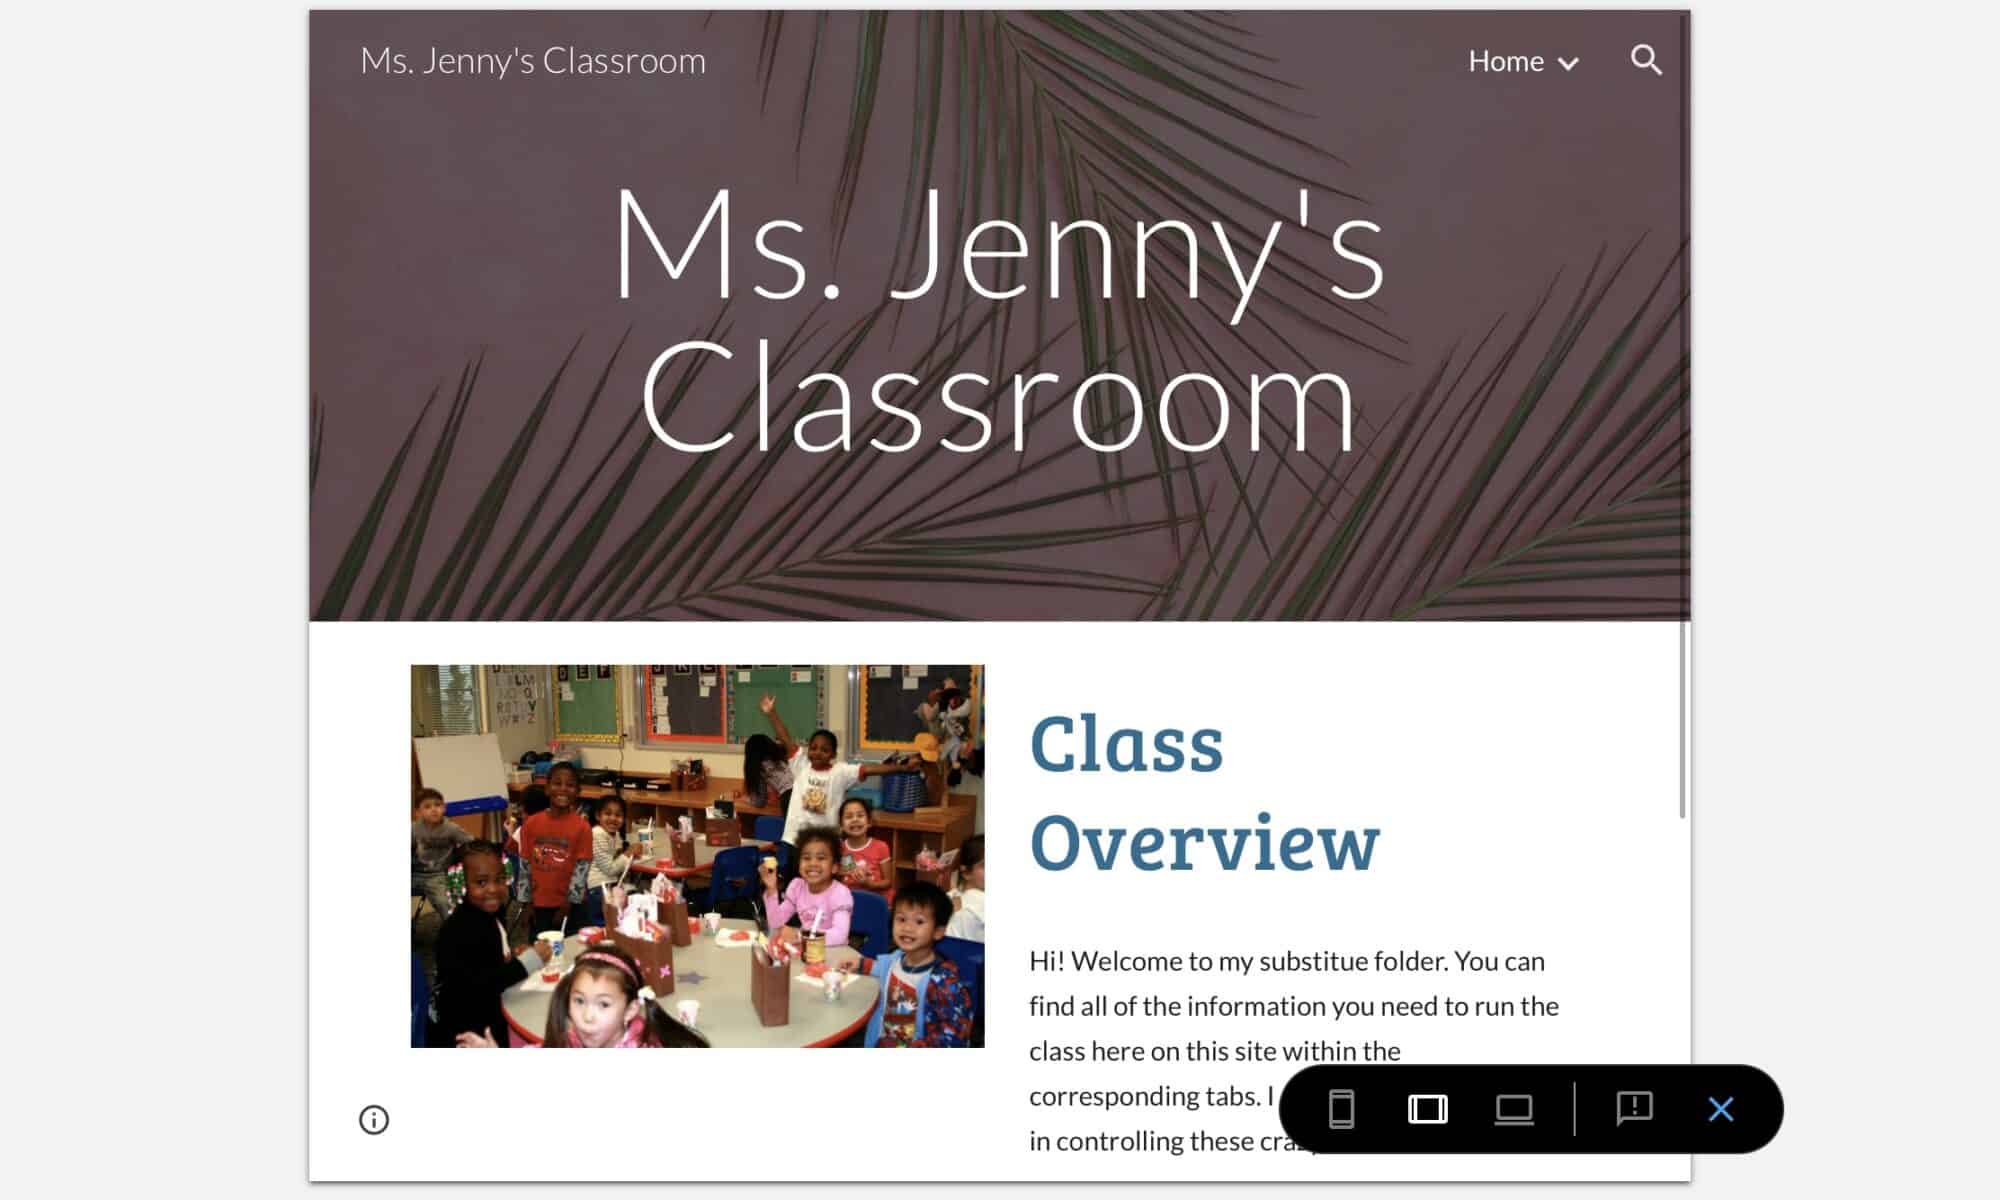
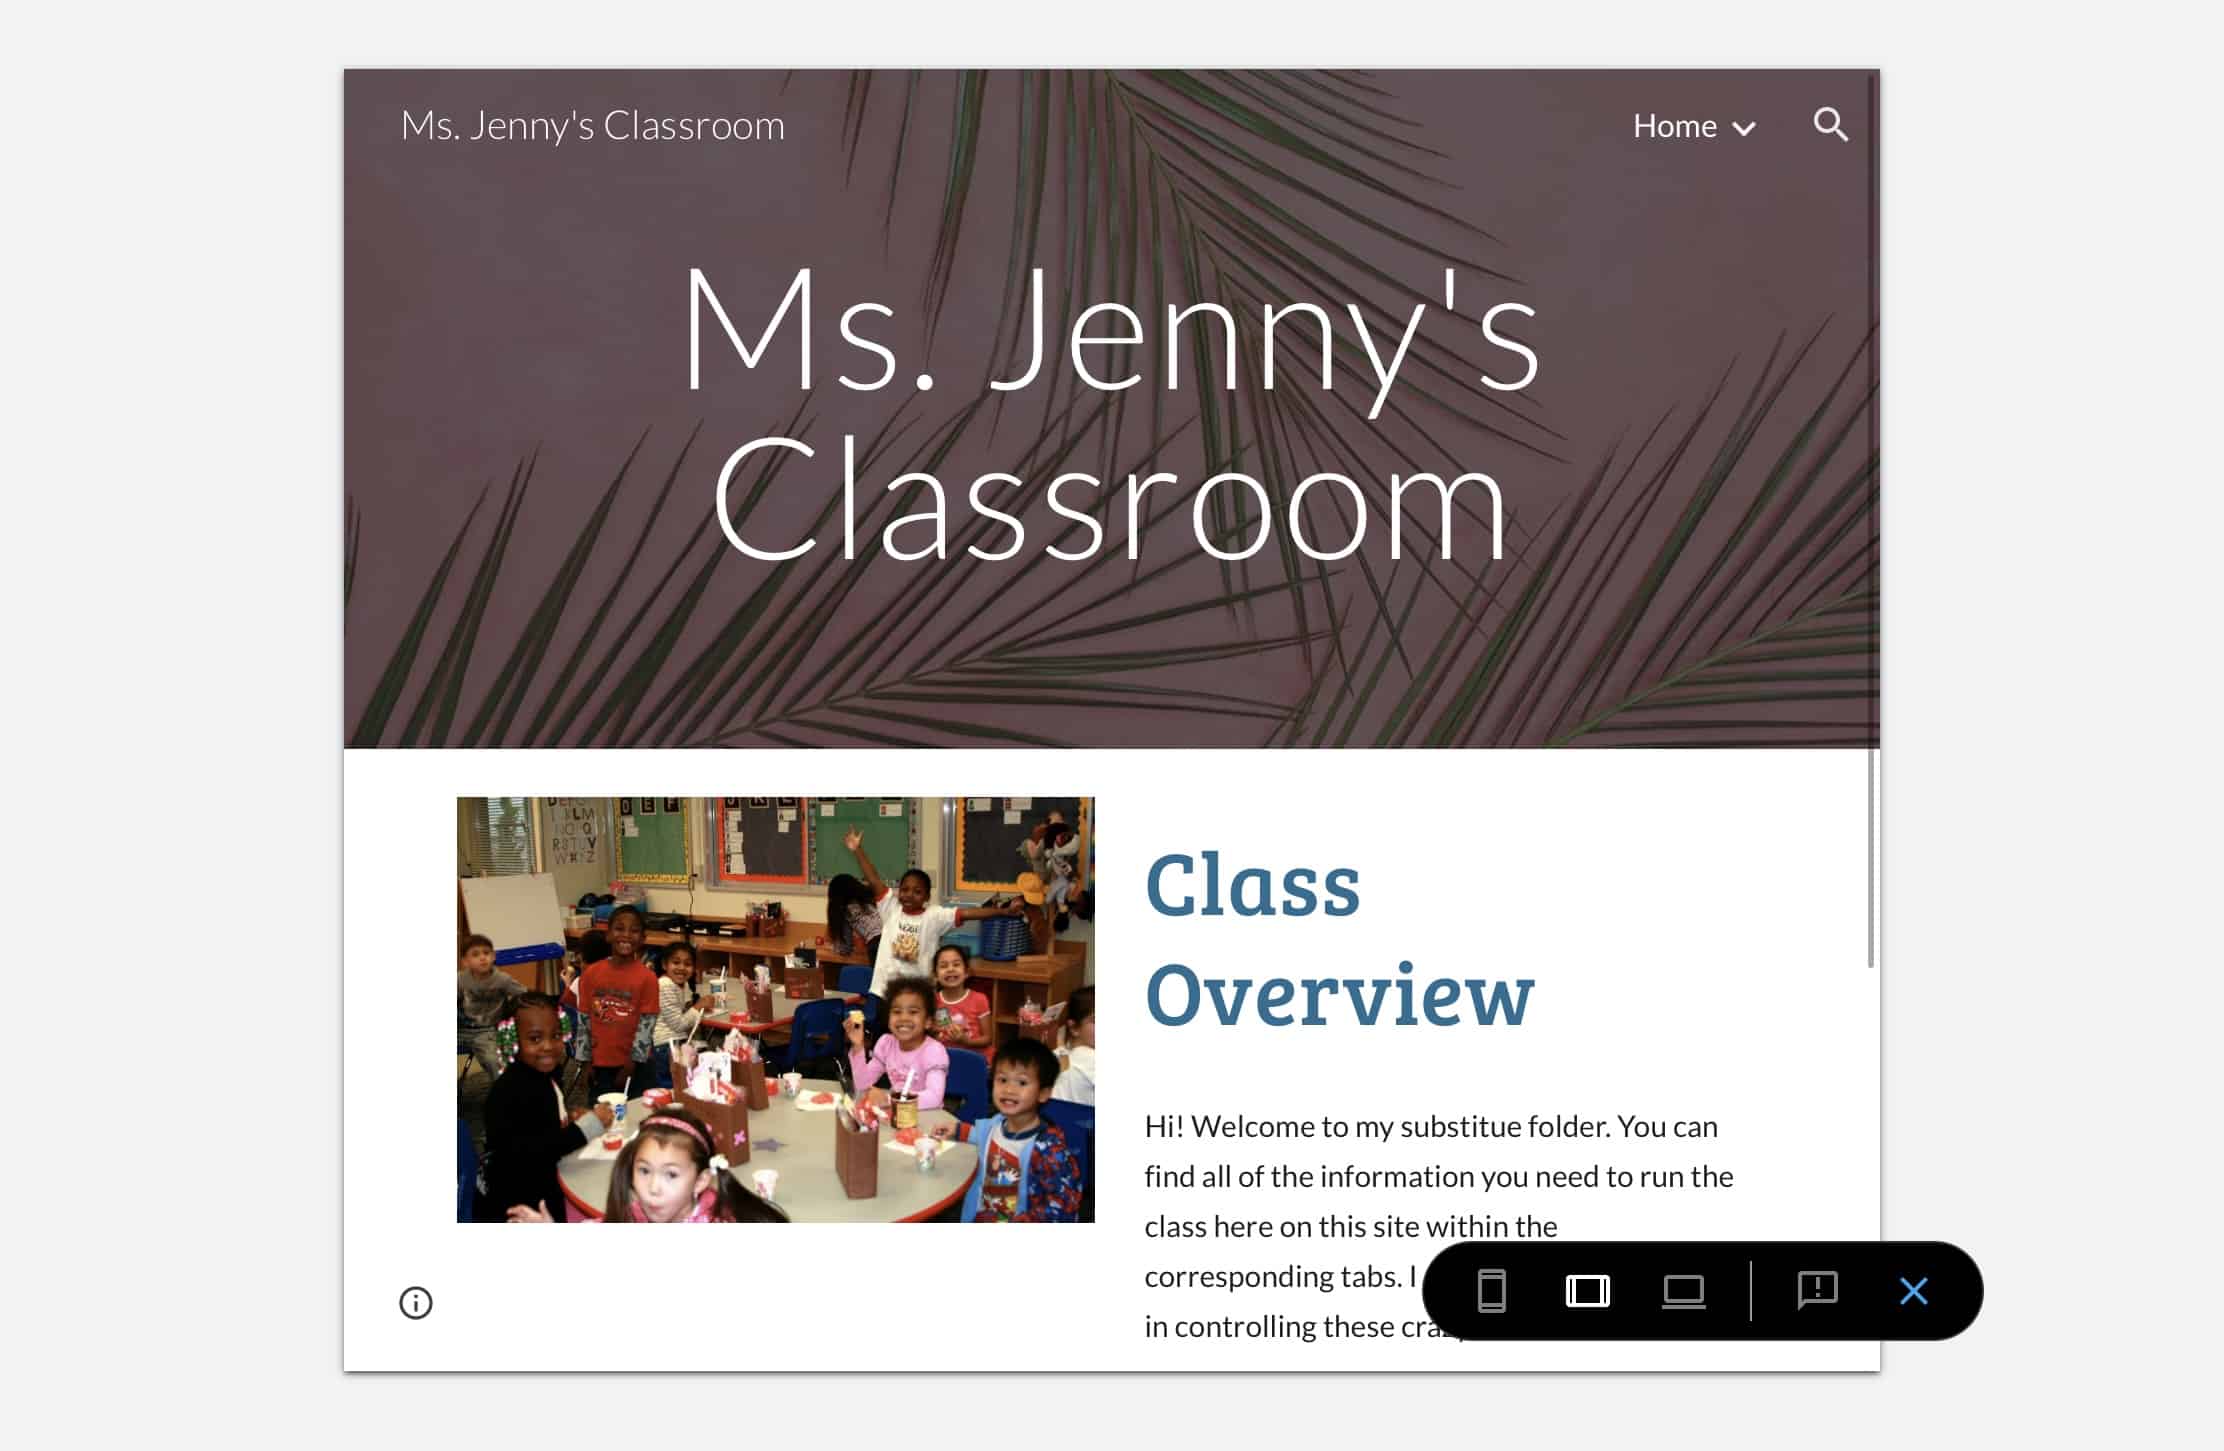
This Google site could be used in the future for substitute teachers to have all of their information all in one place. This site includes procedures, student information, agenda, bell schedule, and contact information. This lesson allows for an easier and more confident place a substitute teacher can access answers to their questions. This site is used as a template for a hypothetical classroom, which is why some spaces are blank.
Goal for the Lesson
The goal for this Google site is to better aid substitute teachers just in case general teachers can’t make it to school. Using a Google Site rather than a binder allows for easier access as well as easy manipulation.
Why Google Sites?
Google Sites is ideal to use because it is easy to embed other Google apps such as Google Docs or Google Forms. Google Sites allows other forms of media to be easily accessed as well such as YouTube videos or images. This site is easy to use and can hold a lot of information in a neat way.
We are nearing the end of our Parrot unit, and have helped Maya gain lots of information about herself and other parrots, but there is still more to learn. Maya invites you to use her guide to help get information. While you explore the contents, think about which kind of parrot would make a good friend for Maya, and be sure to tell her in the quiz at the end! Click Helping Maya! or here to get started.
Maya invites you to also color a picture of her or a friend when you are done!
Color page courtesy of http://www.supercoloring.com under Creative Commons licensing.