In today’s class we will work on our iBook assignment. But it’s also time to get started on a final course reflection. I recommend a model I developed called the Taxonomy of Reflection for some useful prompts. Students should reflect back on their edtech skills and attitude as they began the course and to what degree they have evolved over time. They may even wish to set some future goals.
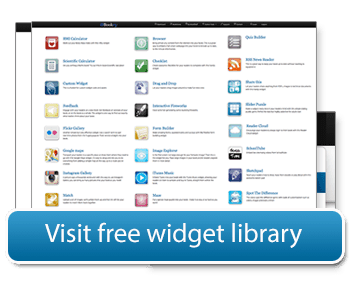
This week we will spend some time looking at Apple’s versatile publishing app – iBooks Author (iBA). We will then begin the process of designing a showcase book to be published on iTunes. Click here to see my many student-designed iBooks on iTunes.
Building on what we’ve already done, iBA can easily accept audio, video and image files. Keynote presentations with all their builds, animations and transitions can simply be dragged into the app. iBA also offers a variety of interactive widget that can be used to design a learning activity.
Working individually or with a partner, students will decide on a “edtech” learning activity to be included as a chapter in our book. They may build on a previous project on or develop something new.
One we didn’t mention: You can create a slide presentation (Keynote, Powerpoint, Google slides) and then export it as a video. You can even record your narration as you move through the slides. (I think Keynote is the easiest to use).
This week our focus will shift from creating videos to designing lessons around existing video content. The same tools can be used to build a lesson using video you created or a video posted by someone else. That’s good news since there’s so much video content out there.
Students will work in teams to evaluate three apps that all assist teachers in turning videos into lessons. Each video lesson builder has different features that allow teachers to annotate and add instruction content to existing video. They also have different assets and liabilities. Students will have a chance to explore the three apps in small groups and then select an app to use for this week’s assignment.
First off – a quick nod to ViewPure – an easy way to share video content with students without “risking” related sidebar content. Click here to “purify” a video.
Then here’s our three comparative video lesson builders.
TEDed – build a lesson around any TEDed original, TED talk or YouTube video
EdPuzzle – Pick a video, add your magical touch and track your students’ understanding
VideoAnt – Use VideoAnt to add annotations, or comments, to web-hosted videos.
Use one of the three video lesson apps to turn a video into a lesson. You can use a video you create or a video you find on the internet. Note: VideoAnt and EdPuzzle both provide embed codes that you can add to your post. TEDed does not provide an embed feature. So you can take a screenshot of your TEDed lesson and use it in you post with a hyperlink to the full lesson.
Following last week’s look at iMovie, we’ll look at three free video-creation apps – Toontastic, Clips and Adobe Spark Video. All are easy-to-use for video storytelling and are popular with teachers and folks who want to produce fun video content for their social networks. We will also work in teams to review the apps for use in the classroom.
The session will begin with a brainstorming exercise designed to develop some app evaluation criteria. (We’ll use our experience with iMovie). Students will be organized into teams and supplied with iPads loaded with the three apps. There will not be any instruction on how to use the apps – we want students to be able to experience the learning curve for a new user. Then we will use a jigsaw approach to trying out each app and then teaming up for comparative analysis.
More on each app
Toontastic – a Google project for creating animated stories. That runs on iOS and Android phones and tablets. Also select Chromebooks. No social network sharing features.
Clips – an Apple project that makes cool videos designed for sharing on social media. Think Instagram on steroids. It is iOS only and runs on iPhone, iPad, and iPod Touch. Built in social network sharing.
Adobe Spark Video – Part of the Adobe Spark suite. Built in storyboards allow you to integrate images, video, sound. iOS. Runs on iPhone, iPad. But also can be used with desktop browser. Built in social network sharing.
Student will pick one or more apps and develop a blog post. Here’s some ideas for writing prompts
Review of one app.
Comparative review of multiple apps.
How to tips for using an app.
Lesson idea based on an app.
Another great idea you have for a prompt.
Your post can include an embedded examples of a video made using the apps. You will need to download a copy of the video you create. Then upload to YouTube to host the video and get an embed code. Then use HTML Snippets with the embed code.
Today’s class will be held in the Digital Lab of Clark Library – and taught by José Velazco, Digital Lab Coordinator. We’ll get training on iMovie (an Apple video making app). We will also consider how video creation can be used by students and teachers.
Choice A: Search how video creation is being used by teachers at your grade level. Write up a post that shares one (or more) video creation ideas for students and / or teachers.
Give a brief overview of the project(s)
Be sure to cite the source.
Write what you like about the project – how could you see yourself using that approach in the classroom?
Choice B: Use iMovie to create a learning resource. You can upload to your own YouTube account or UP’s MediaSpace
Include the video in a blog post explaining how you would use the video content in the a learning activity.
Use HTML snippets to embed the YouTube or Media Space video into your blog post.
This week’s class will meet in the Clark Library Digital Lab. The focus will be on sampling some emerging edtech trends with our guide – José Velazco, the Digital Lab’s Digital Initiatives Coordinator. We’ll sample three exciting new directions in Ed Tech – Virtual Reality, 3D Printing and coding for kids..
Virtual Reality – VR is one of the hottest edtech trends. Not only are students allowed the opportunity to emerge themselves into a subject but can travel the world from their desk chairs. While not readily available in every classroom, programs such as Google Cardboard aim to make VR headsets cheap and accessible. Educationally, these VR apps allow students to visualize concepts that were confined to the pictures in a textbook. More from 20 Top Virtual Reality Apps that are Changing Education
3D Printing – 3D printing is a rapid digital-based production method for creating objects. Advances in resources available for teachers and other education professionals are also making 3D printing more widely accessible in schools as part of the “Maker” movement in education. Teachers can now download design software and access it via tablets and mobile phones. Easy tutorials for beginners are available for those without basic knowledge of the technology. Source
Coding for Kids – There’s been a lot of buzz about kids learning to code lately. This year, almost 200 million students around the world were exposed to coding through the Hour of Code event. And over 90% of American parents want programming added to their child’s curriculum. We’ll be using Apple’s Swift Playgrounds – a revolutionary app for iPad that makes learning Swift interactive and fun. It requires no coding knowledge, so it’s perfect for students just starting out.
This week we are taking a break from edtech design and shifting to some reflective writing. Use this week’s showcase to write yourself “a letter from your future self.” Give it a clever title and engaging featured image. Set it 15 years in the future. Start with something like this and have fun with it.
March 7, 2033
It seems like only yesterday I was training to be a teacher in EdTech Methods class. Fifteen years have gone by and my teaching career is going great. You won’t believe how some things in education changed and others stayed the same…..
Note: This is not just about what will change in 15 years. It’s equally about what will stay the same, but now be seen in a new context. For example, your students might still be 5th graders – but how has 5th grade changed?
Today we’ll look at a variety of tools to support student engagement in the 1:1 classroom. While we realize not all classrooms have devices for every student, it is the direction we’re headed. To help simulate the experience, we’ll have the iPad cart.
Ben will introduce Padlet – an app that enables users to create an online bulletin board to display information on any topic. It has many options for types of information that can be collected. It’s great for curating information – either individually or with others.
Before we move into the work phase of class, Peter will share some ideas on good curation of content. For more read: Are You a Curator or a Dumper?
Organizing: Student can work alone to create or in teams to create a padlet. Once created the padlet can be a finished product or serve as an invite for the rest of our class to contribute to their padlet.
Content ideas:
Ideas / resources for leveraging 1:1 in their course or grade level.
Ed tech resources for a topic of their choice
A padlet that serves as the basis of a learning activity with their students.
A fun padlet for the whole class to contribute to.
Students should embed the Padlet in a post that explains the intent, audience and purpose. If you intend for your classmates to contribute, you should post their padlet by Sunday eve (March 4) and send an invite to the rest of the class.
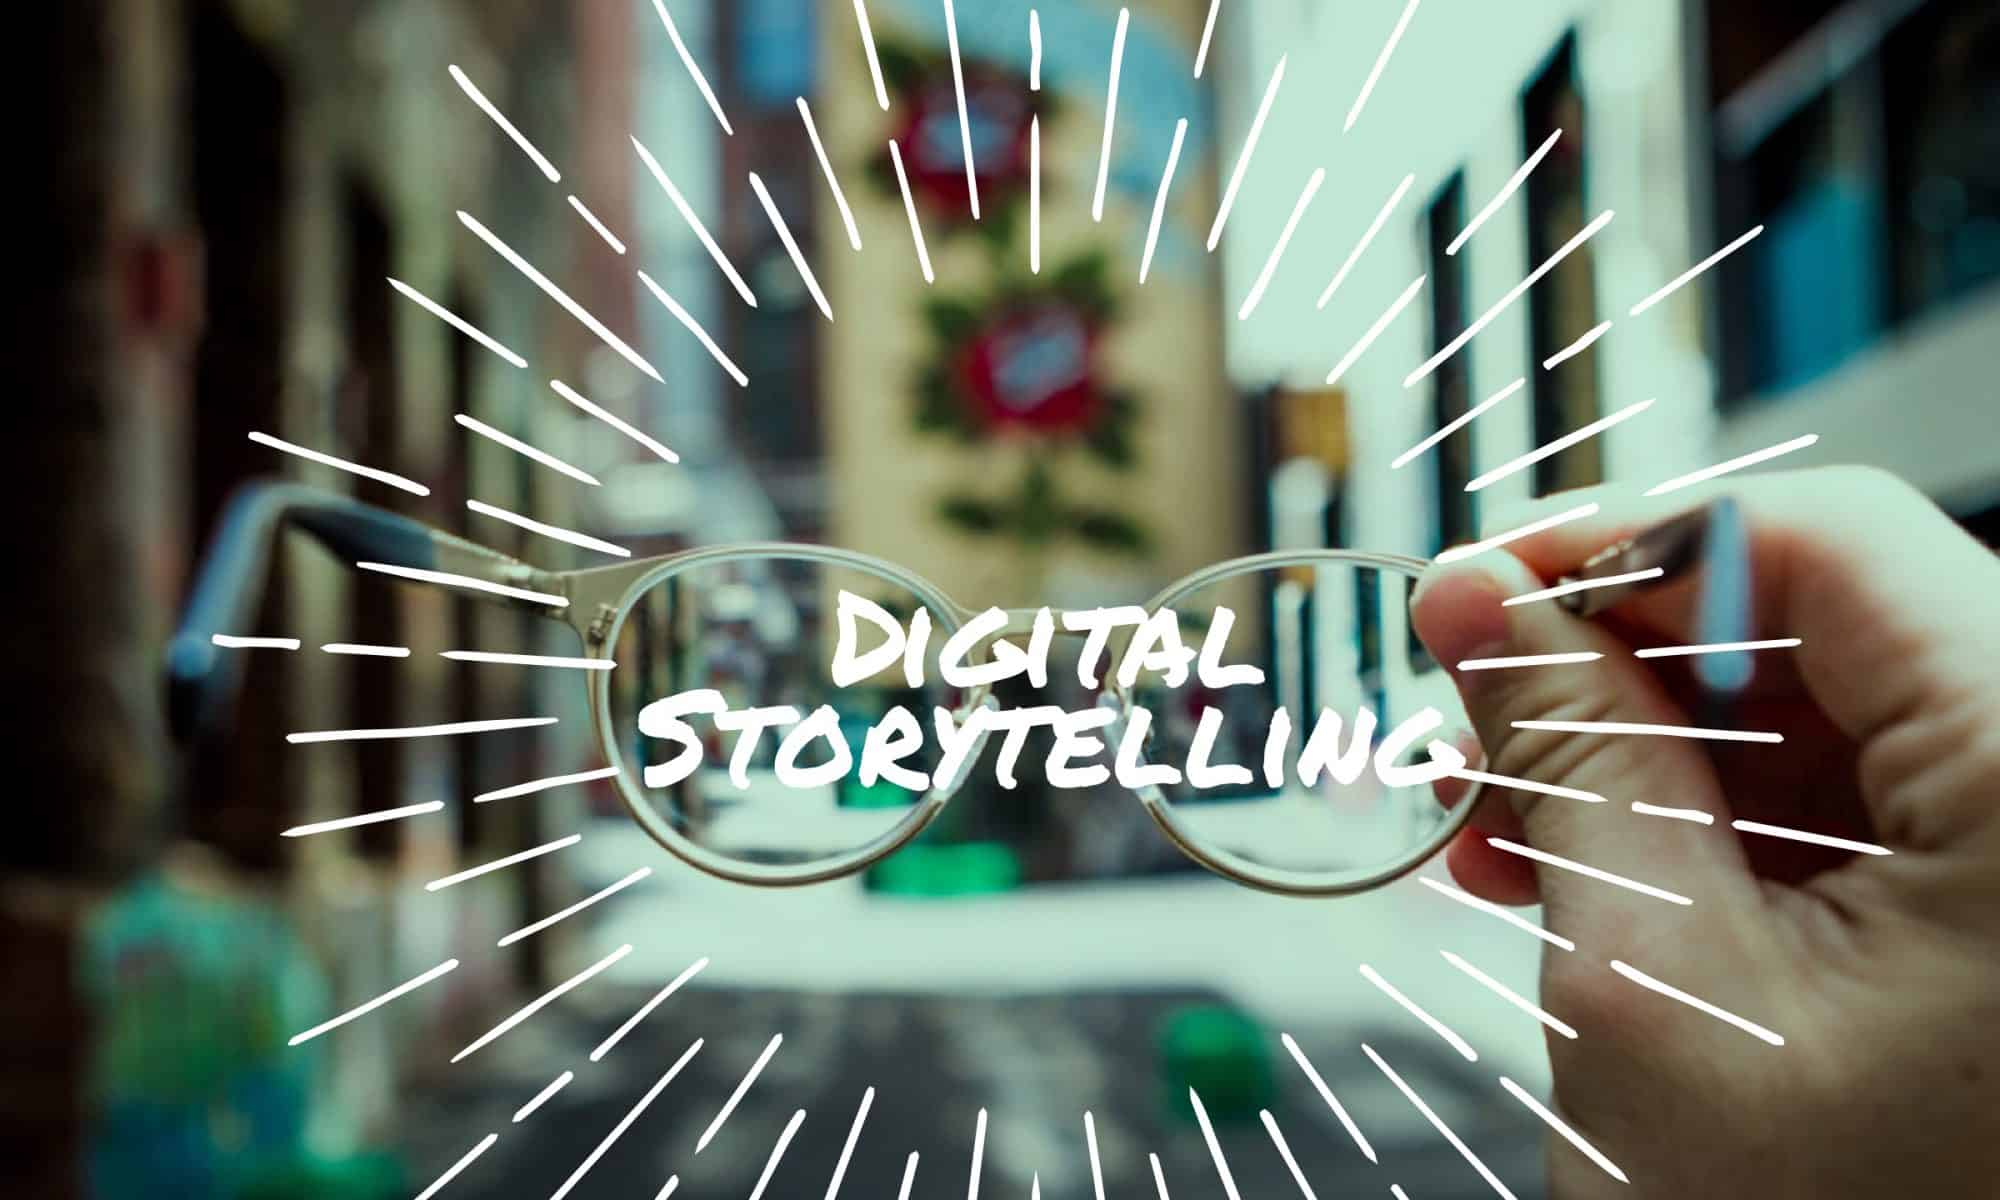
This week we will explore digital storytelling using a Microsoft app called Sway. We’ll be joined by UP instructional designer – Ben Kahn.
One can think of digital storytelling as the modern extension of the ancient art of storytelling, now interwoven with digitized still and moving images and sound. Thanks to new media and digital technologies, individuals can approach storytelling from unique perspectives. Many people use elaborate non-traditional story forms, such as non-linear and interactive narratives. Source
Create a digital story including multimedia like text, images, video or audio using Sway. You are free to create whatever story you would like to tell. (Another option: design a learning activity for students to tell a digital story using whatever software you choose.)
If you need inspiration, here’s one idea: read the poem below and create a poetic version of where you from. In the poem George Ella Lyon tells the story of her youth in Kentucky
Where I’m From
I am from clothespins,
from Clorox and carbon-tetrachloride.
I am from the dirt under the back porch.
(Black, glistening,
it tasted like beets.)
I am from the forsythia bush
the Dutch elm
whose long-gone limbs I remember
as if they were my own.
I’m from fudge and eyeglasses,
from Imogene and Alafair.
I’m from the know-it-alls
and the pass-it-ons,
from Perk up! and Pipe down!
I’m from He restoreth my soul
with a cottonball lamb
and ten verses I can say myself.
I’m from Artemus and Billie’s Branch,
fried corn and strong coffee.
From the finger my grandfather lost
to the auger,
the eye my father shut to keep his sight.
Under my bed was a dress box
spilling old pictures,
a sift of lost faces
to drift beneath my dreams.
I am from those moments–
snapped before I budded —
leaf-fall from the family tree.
Sway Resources
There is no shortage of Sway tutorials and resources out there. Here are a few I think are particularly useful. – Ben
What is Sway – This is good primer. At the end of the video are several links to other videos showing how Sway might be used, so you can explore what interests you.
Learn Microsoft Sway – a tutorial that goes over the basics of actually using Sway and adding your content.
Sway User Interface Refresh – Microsoft recently updated Sway, so things are in slightly different places than you’ll see in the tutorial videos (you don’t need to watch this whole video; the portion on Sway is brief).
Lynda.com: Sway for Educators – If you want to dive deeper into classroom use of Sway and use your free Lynda.com access this is a high-quality series of short videos (note Sway is chapter 3 in this video course).
Places are locations having distinctive features that give them meaning and character that differs from other locations. Therefore, places are human creations, and people’s lives are grounded in particular places. We come from a place, we live in a place, and we preserve and exhibit fierce pride over places. National Geography Standard 4: Place
Exploring Place with Google MyMaps
Google MyMaps is a great tool for visualizing place or creating tours. It works well with other Google tools and can be easily embedded in WordPress or shared via email. When you open a MyMap on your SmartPhone you can used it as a navigational tool. MyMaps get saved in your Google Drive account for easy cataloging.
Class will begin with a MyMap demo and instruction on creating and sharing MyMaps.
Design a MyMap representation of a place that can support a learning activity. Here’s some ideas:
A community tour around school.
A real or fictional journey.
Explore the setting of a story.
Create a “timeline” using map layers.
Plot locations of habitats / geographic features.
Share an interactive map of a field trip with parents.
Make a map of authors you’ve read
Design your map using Google MyMaps and be sure to include at least 6 destinations. Attach about 10 content elements to the map – these could be photographs, videos or links to attractions. You may wish to design it as a walking or driving tour of your destinations. All content should be geotagged to the map at its actual location (or close to it).
When your map is complete, embed it in a blog post that details what you hoped to convey in your map, and/or what you learned from the experience.
What have I learned from this activity or how might I use MyMaps to support my instructional goals?
This week’s class kicks off a multi-class exploration of Google Tools. First up Google Slides. As a pre-assessment we will jump into a shared GSlide and edit it using whatever features we know. Then we’ll present the collaborative slide show using Google Slides “Q and A Presenter mode.”
Next we’ll have some training in using Google slides. We will also share some ideas for using Google Slides in the classroom. Here’s some important links
Work with one or two partners to design a learning activity using a Google Slide. It could be material you develop for students using Google Slides or an activity that you would expect students to create using G Slides.
Each team can collaborate on a blog post (or team members can write separate individual posts). Either way include an embed of the slide presentation and describes how you or the students might use the slides in a learning activity. You may also want to add some comments about what you learned from the lesson.
Note: You can assign multiple authors to one postby using box at bottom of WordPress new post page. Just start typing the name and click it to activate and add as co-author.
We’ll open class with a discussion of some of the tools and approaches we’ve used so far and then we’ll have a chance to try screencasting and find out how to embed the video into a blog post.
Edtech guru, Kathy Schrock defines screencasting as “the capture of the action on a computer screen while you are narrating. Screencasts can be made with many tools and are often used to create a tutorial or showcase student content mastery.” A related practice is slidecasting (creating a slideshow and then screencasting your narration of it as it plays on the screen). There are many other variations – Paperslide Videos?
I make use of many edtech tools in my classes and workshops. Rather than teaching an edtech tool to everyone in a whole class setting, I think it is more efficient to make a short screencast and post it to my WordPress tutorials at YouTube. That creates many flexible learning “tutorials” that I can use as part of flipped or blended lessons.
Here’s a few tips for screencasting:
Keep it simple. Think of audience and purpose. See One Take Video
I favor taking complex instructions and turning them into multiple shorter videos covering specific aspects of the task. Some students know one thing and not another. Why make them sit through a long how-to.
I use a plug in mic (just a standard iPhone earbud mic works well) rather than the microphone built into my Mac. I do a quick test screencast to check the volume level and mic position first to get sound level right.
I first practice the skill a few times to find efficient ways to demonstrate and describe what I am doing.
If I will be entering much text as part of the task, I create a text document first so I can copy/paste text into the app I’m demonstrating ( I hate watching videos of people typing.)
I make sure any images, websites or other content I will use in the video are readily available.
I try and do the screencasts in one take. I don’t worry too much about flubbing words – hey, it’s only a screencast.
Three options for screencasting – there are many more
Option 1: Screencast with “Loom.” An easy to use Chrome browser plug in – works on any computer or Chromebook. Your video hosted at Loom.
Loom is a free Chrome browser plug in. To get Loom open your Chrome browser and get the Loom extension here. It makes it super easy to record using your webcam, screen or both. The resulting video can be embedded into a blog or shared via email or social media. A great way to explain something in a visual way.
Option 2: Screencast with Quicktime Player (easy and built into Macs). But if you want to post on blog, you need to “host” the video on YouTube.
I typically use Quicktime Player, which is built into the Mac OS. It’s easy to use and quickly uploads to my YouTube account. Here’s a screencast I made on how to use Quicktime Player to make a screencast. (very meta)
Option 3: Screencasting with MediaSpace – part of UP tech suite / use with any computer. Has the most options for editing and more. Video hosted at MediaSpace
UP’s MediaSpace is the most robust app of the three and it opens up a few more options for capture and editing that using Loom or Quicktime Player. It also provides a place – MediaSpace – where student’s can upload the finished product.
Student’s will use class time to design and record a screencast (or slidecast) using one of the three screencasting tools. They will use HTML Snippets (at WordPress to embed it in a blog post.
Then in your blog post briefly describe:
Audience and purpose: For example, is this to help parents with homework?
How you would integrate it into your lesson: For example, the 1st day of class, I created time to meet individually by using screencast for Adobe Spark Post and WordPress instruction.
Remember, if you use Quicktime Player, they should plan to load it up to your YouTube account. If you use Loom of UP MediaSpace, the video hosting is taken care of.
How to use HTML Snippets to Embed External Content on the blog
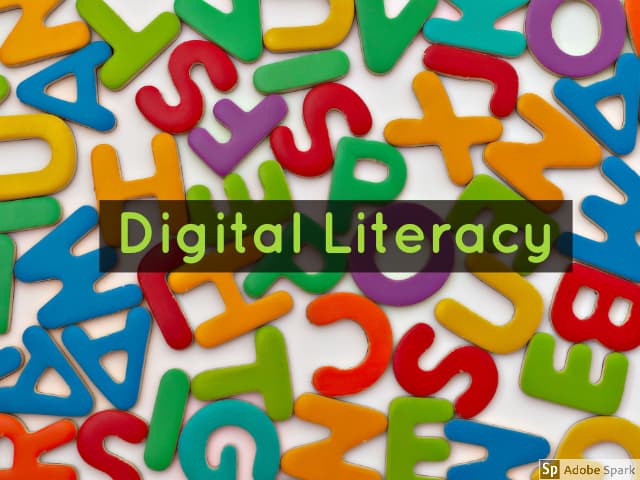
This class will lead off with a discussion of our first class and assignment. Next, Peter will do a short presentation: “Digital Literacy” It explores the skills we need to be “literate in the modern world.”
To hone our digital literacy skills, we will explore search techniques with a focus on finding public domain or Creative Commons licensed content. For more information on public domain searches visit our Edtech Methods Toolkit / Digital Hygiene
Peter will explain that students would be wise to start using some note taking tools assist them with digital storage and curation. He uses Evernote, but that’s recently become a paid-only app. Good free apps include Apple Notes, Microsoft OneNote, and Google Keep. It’s best to find an app that works across all your devices.
We will use this assignment as a chance to practice our public domain search skills. It will also involve a bit of curation to decide which images to use. More on curation skills.
Students should think of a brief learning activity that involves using at least three images. For example: vocabulary, pre-reading activity, activate prior knowledge etc. (Don’t worry too much about activity – we’re mastering some WordPress skills) See sample post here.
Use the images in a blog post that serves as a quick guide to how you might use these images in the activity. Be sure to include the images with citations and also have at least one featured image. (Could be one of the images or something different you made with Adobe Spark).
Students should be sure to check that the images used are public domain or creative commons licensed. Include a brief citation with creator, source and link to image. (as I did below)