I really like the Loom tool for screen casting. It’s convenient, easy to use and has a lot of free options. I used Loom in the classroom that I’m currently doing my student teaching for a nature conservationist project we did as part of a larger unit about endangered species. The students worked in groups of 4 to conduct research on a famous conservationist and create a poster to share their information. At my school we have a weekly “community meeting” where grades 1-5 come together in one space and grades take turns sharing student work and projects. We used Loom to create a video of the posters and had students share a brief description of each.
Teaching with QuickTime
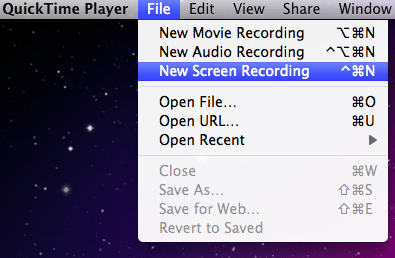
We chose to use QuickTime to create a video about how to use Adobe Spark, specifically how to make a meme. We recorded the entire screen and explained the step by step process while we worked. We enjoyed using this medium of recording the screen because it was simple, quick, and effective. In addition to using QuickTime, we also used iMovie to add background music. We found that this minimized awkward pauses and keeps the viewers engaged while systems loaded.
Hope you enjoy!! 🙂
Audrey and Lauren
Screen Recorder Application
As you can see above I used a screen recorder application. For a PC computer I used a application called Loom. This is a free application through Google Chrome that you can download.
This application would be a easy way to record Power points and upload them online for students to watch by themselves or for a substitute teacher to play for the students in the case of you absents.
Screencast
The screencast video I created is to introduce myself to my student’s families (parents/gardens) before the class year starts. This video would also be beneficial to send to parents whom may not be able to come to a parent-teacher night. Screen casting a picture slideshow like this would also be a good project for students to do to share about themselves that we could post on a classroom blog. If I was to actually use this video I would need to make sure I had subtitles in the languages of all of my families. Screen recording with quick time player is in theory an easy tool to use, however I had to redo the video quite a few times because of sound issues. Additionally, I would suggest going directly to youtube to upload the video rather than letting quick player upload it for you as it takes much more time that way.
Screen casting could also be very beneficial to present at a conference virtually as well as create cartoon videos where you draw out a concept and then voice over it to explain what you are drawing out. This would also be a fun way for students to show what they’ve learned about a concept as well.
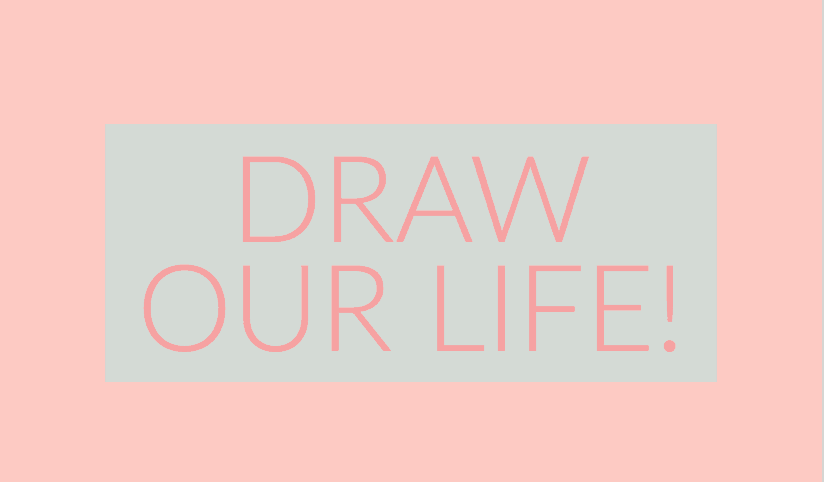
Draw Our Life!
by Madi Ohashi and Lauryn Nakashima
To make this Draw Our Life video, we used our iPhones to record a video of us drawing the images that we needed in order to make this video. We then got the video onto our computer and used Quicktime to record our audio. We put our audio and video together in iMovie to make this clip.
We thought it was very fun to do this assignment; however, it took a lot of planning in order to make this video. It also took a lot of time to make, because you needed to make sure each clip was perfect. Even though it was a little difficult and time consuming, we can see ourselves or our students using these applications to make videos for assignments or projects in the classroom.
Screencast
I did a screen cast for landmarks, which is the topic I am doing for the final project. I opened up a few websites before I started doing the screencast which made it easier whilst I was doing it.
Audience and purpose – The audience for this screencast would be anyone who is interested about landmarks, what a landmark is and landmarks around the world. This could be beneficial for students as well when they are learning about landmarks in class. The purpose of this screencast would be to teach people about landmarks.
How could you integrate it into a lesson – We could use this screencast as an introduction for a lesson about landmarks. It could also be used in our final project about landmarks before students create their own MyMap.
The Life of a Butterfly
For this project, Sherry and I used screen casting to make a video about the lifecycle of a butterfly. I would integrate this video into my lesson as a quick video to show students what happens to a butterfly as it grows up. Students could watch this before we learn about butterflies, or after they learn about butterflies as a quick refresher or study tool.
Paper casting
To show a quick informational video we made an informational video about the life cycle of a butterfly. We recorded the process of drawing the life cycle in one take and then uploaded the video into imoive. Through imoive we did a voice over in one take. Finally, we uploaded the video of to youtube.
The process to make this video was very easy and simple. I like the idea of paper casting because students could make their own simple video by creating their own drawing. The videos could be about anything students wanted or based on a specific topic from the teacher. Definitely would be fun project for students to do.
Virtual tour around the US
By: Amy Huang and Rylee Seekins
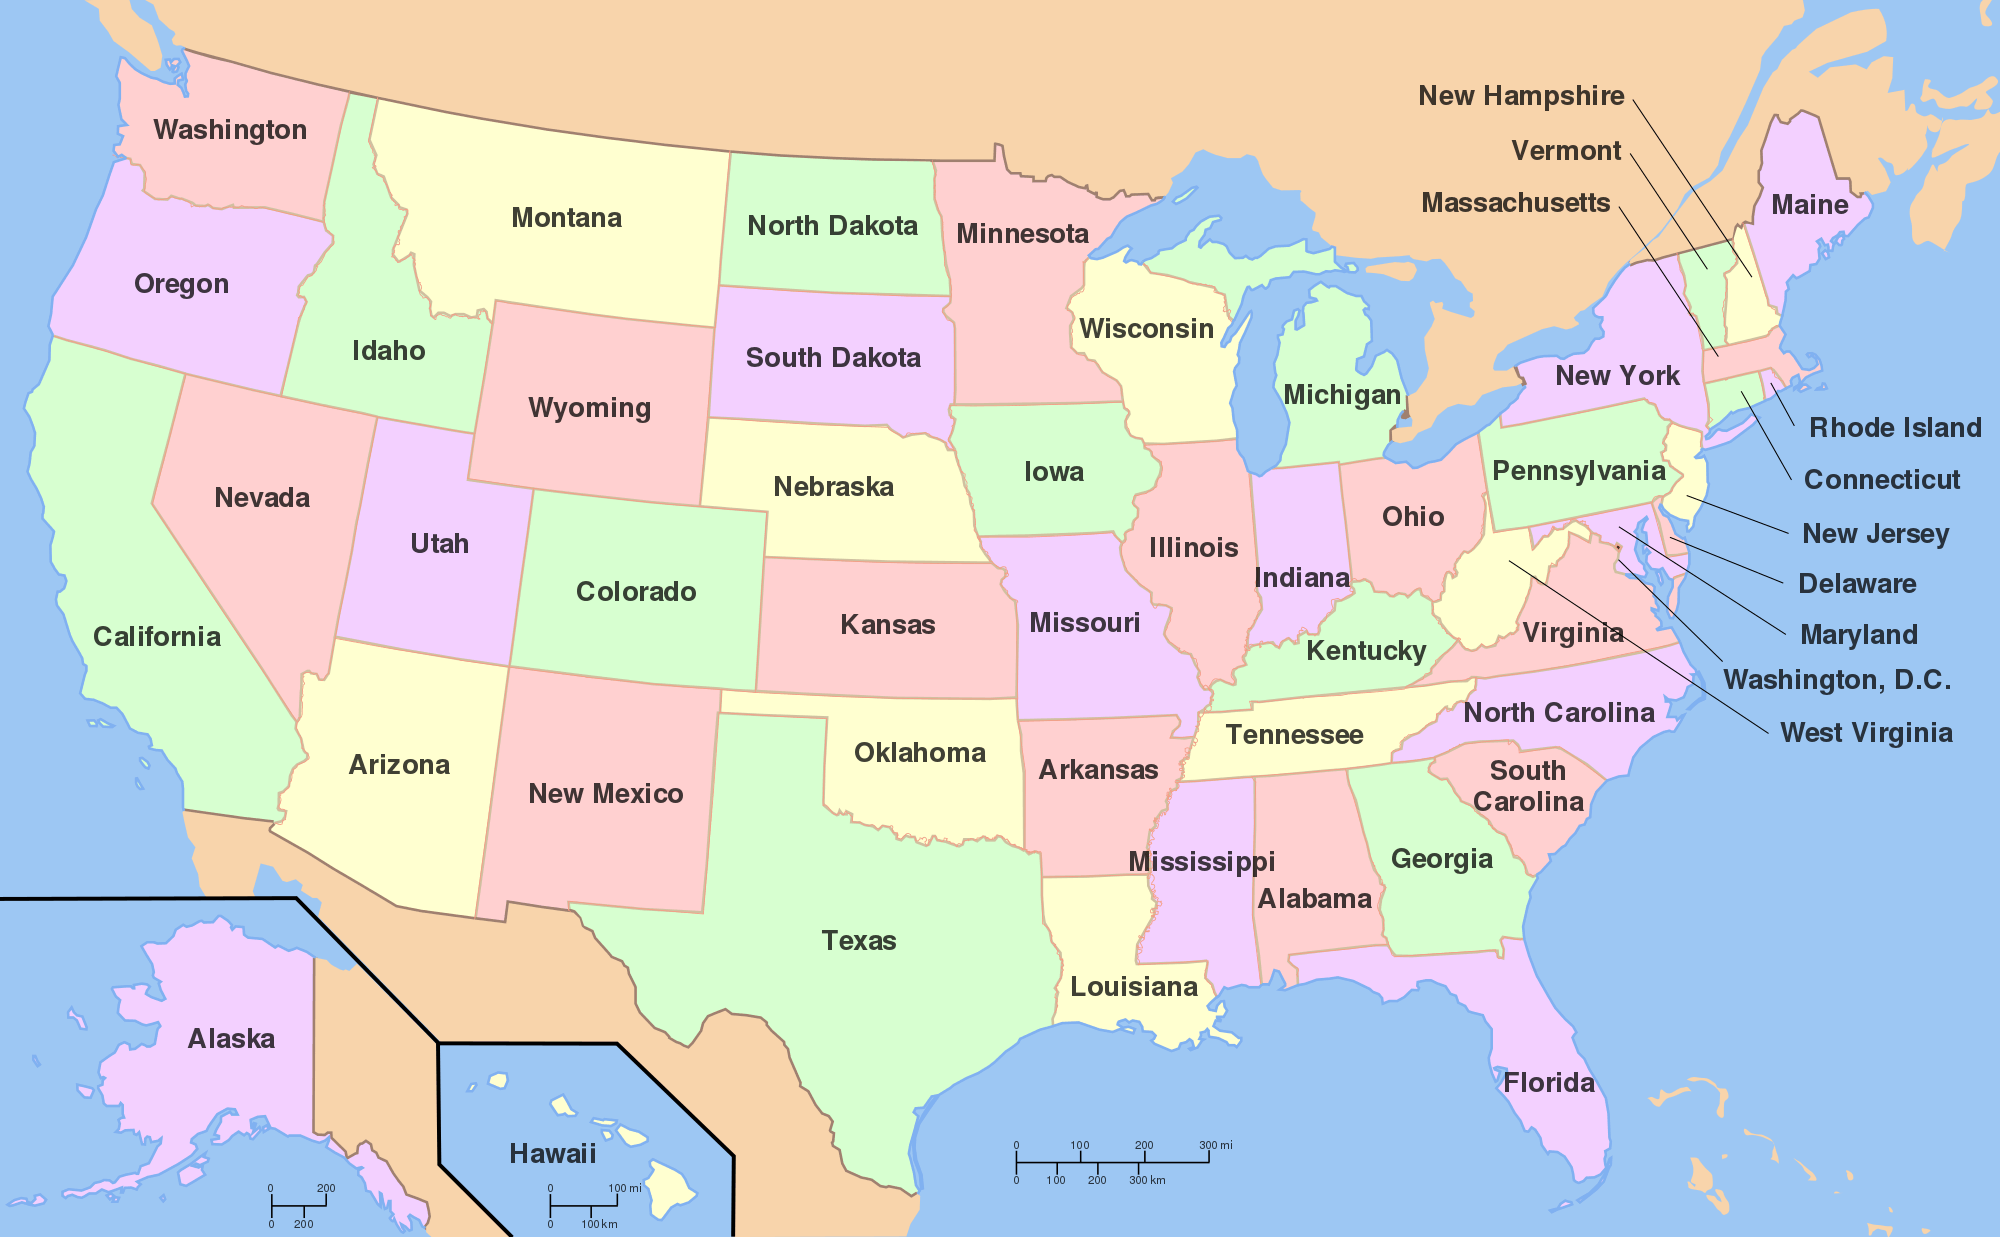
We used Quicktime player to screen record our tour around the US and then we uploaded it to youtube. We found it really easy to use/navigate especially with a microphone that helped focus on your voice. The tool itself is simple to use and would be useful in a classroom if students were being assigned to record something on a screen.
Tour of the Seven Wonders of the World
My YouTube video can be used for the general audience, but I would use this in my classroom as a Social Studies lesson. So, I would share the my maps that I created, have the students follow along as the video plays and frequently pause it to see that the students are on the same page as the video. I really enjoyed using this app because it can help teachers teach a lesson without having the teacher be at the computer the whole time. This way, teachers can monitor what students are doing on their computers and make sure they are all on the same page as the video. It is easy to create and access. This is definitely something I would use in the future!
A “How To” Screencast
This screencast demonstrates a quick and easy way to introduce students to Word. It could be extended to teach students how to use more features, but this video could be used to simply help kids get started in the beginning of the year to type up their work and start to become familiar with the computer. I can imagine this becoming a useful tool to create videos after a couple years of experience and making videos for lessons or things you know you will repeatedly do each year. Students could also use this for a final project to explain a concept to the rest of the class.
Screencast
For educators, I think one of the most practical uses of a screencast is recording a presentation or slideshow. This could be for students who are absent or might want to revisit a lesson.
In my screencast, I used an existing Ed Tech Methods lesson as an example. For Class 8, I created a Sway about where I’m from, Maui. I narrated this Sway as a self-introduction for people who might be want to get to know me or are interested in where I’m from. For example, I might present this on the first day of class and record it as I go.
Examples of integrating this could be: 1.) sending this to students who missed class that day, or 2.) sending it to parents who might want to learn more about me.


