Lesson 1: One Point Perspective
One point perspective is achieved by using a Vanishing Point and a Horizon line. The Horizon line is parallel to the top and bottom edges of the paper. This is used to define the line where the land meets the sky, at least when drawing land or cityscapes.
The Vanishing point is the point in an image or drawing on the Horizon line where everything recedes towards. When you look ahead, things that are farther away look smaller than things that are closer. Vanishing points help to preserve proper proportions when drawing things in the distance vs closer objects.
Lines are drawn from the top or bottom of objects to the Vanishing point. all lines other than the vertical and horizontal ones must go through the vanishing point to create a proportional effect. This also creates a 3D effect on whatever you are drawing. Vertical lines are used to define the edges of items and they must be parallel to the sides of the paper.
Use to slider below to see how the two 2D boxes are transformed to look 3D using a Vanishing point
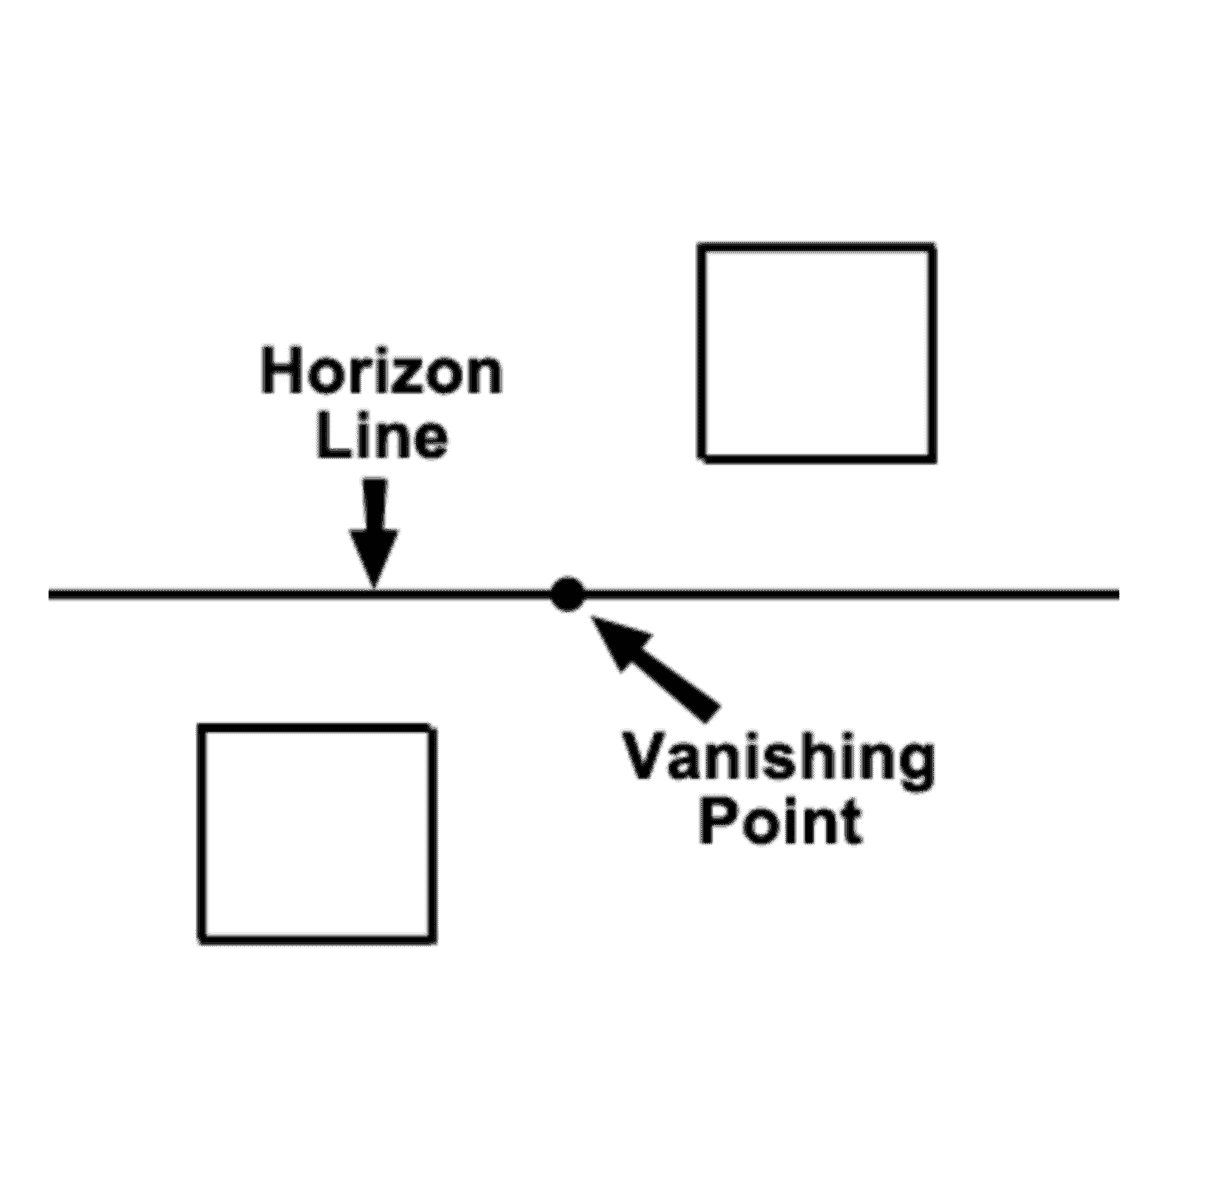
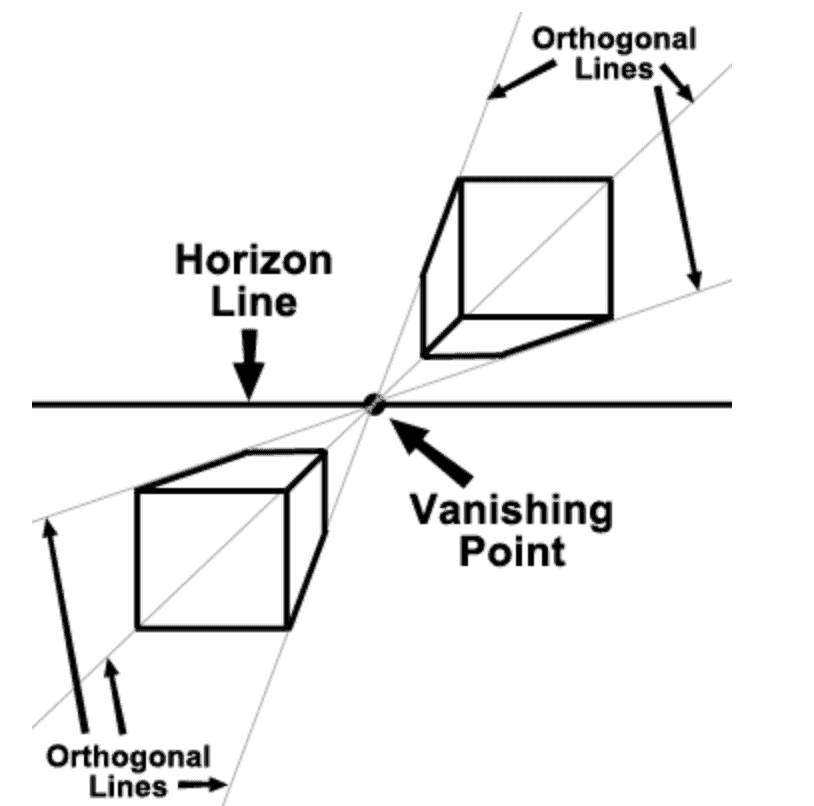
Image 2: Maura Valentino, CC BY 4.0 https://creativecommons.org/licenses/by/4.0, via Wikimedia Commons
One Point Perspective uses one vanishing points and results in the flat faces of objects to be shown and the sides to be receding. Use the slider below to see the transformation of a line drawing that uses one point perspective.
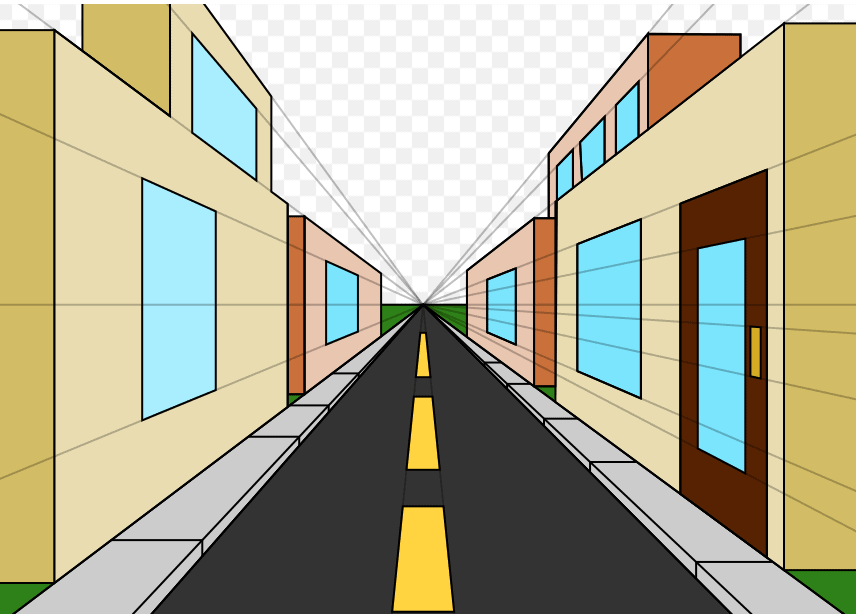
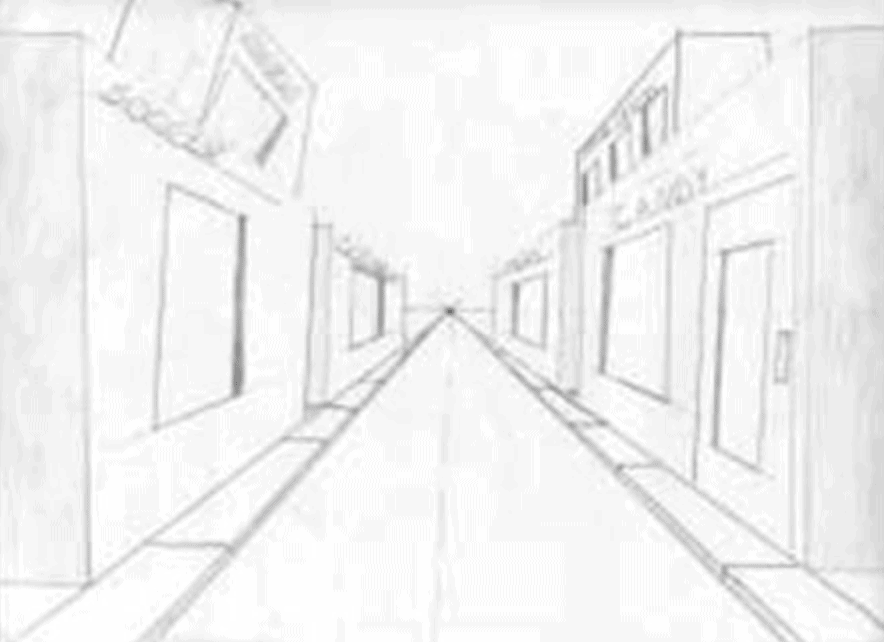
Image 4: Ourladyshigh at English Wikipedia, CC BY-SA 2.5 https://creativecommons.org/licenses/by-sa/2.5, via Wikimedia Commons
Lesson 2: Two Point Perspective
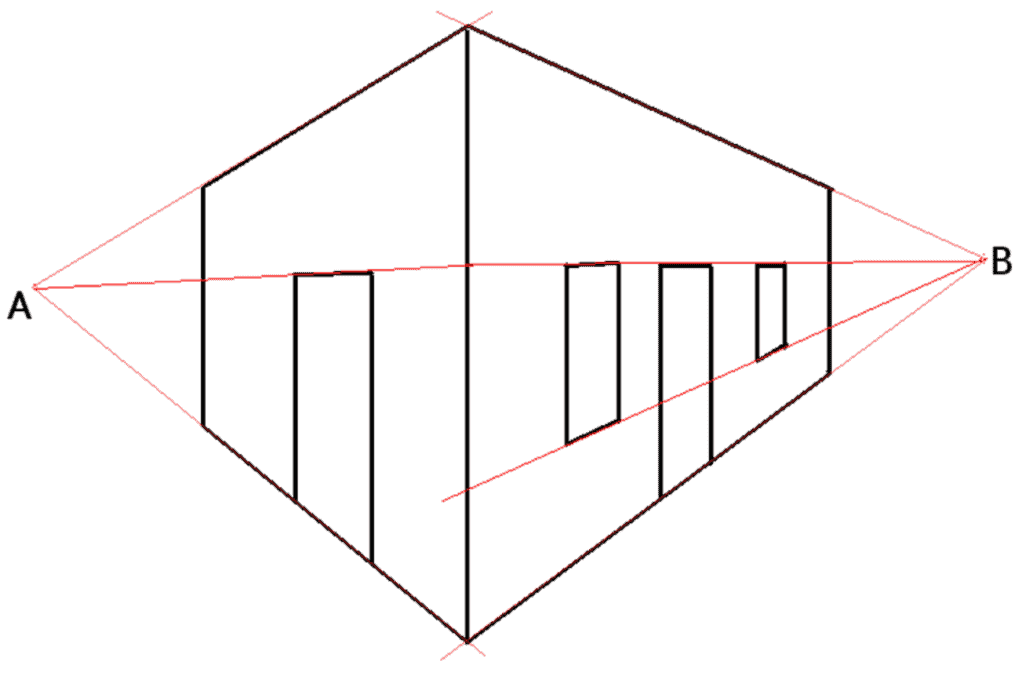
Two Point Perspective utilizes two vanishing points to create an image that shows the corner view of a building or an object receding back on both sides. This is shown above (Image 5) where the artist uses points A and B on the Horizon line to draw a building.
Similarly to One Point Perspective, it creates a 3D effect that shows depth. Both vanishing points must be along the horizon line. To draw an object it is best to start by drawing a vertical line that is parallel to the sides of the page. This line marks the corner of your object. Then create two points on that line that mark the top and bottom of the object. Then connect each point back to both vanishing points. Close off an object by drawing two more vertical and parallel lines on either side.
These vanishing points can also be used to add the details like doors and windows to make them look proportional.
Observe the use of two-point perspective in the artwork below.

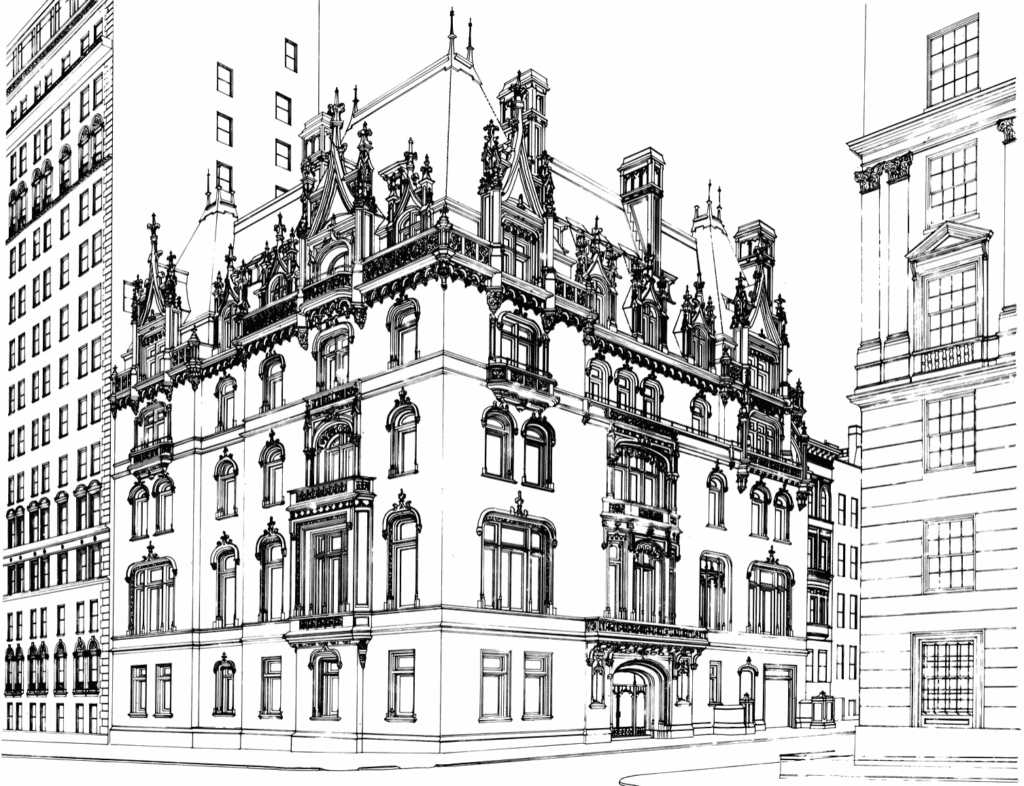

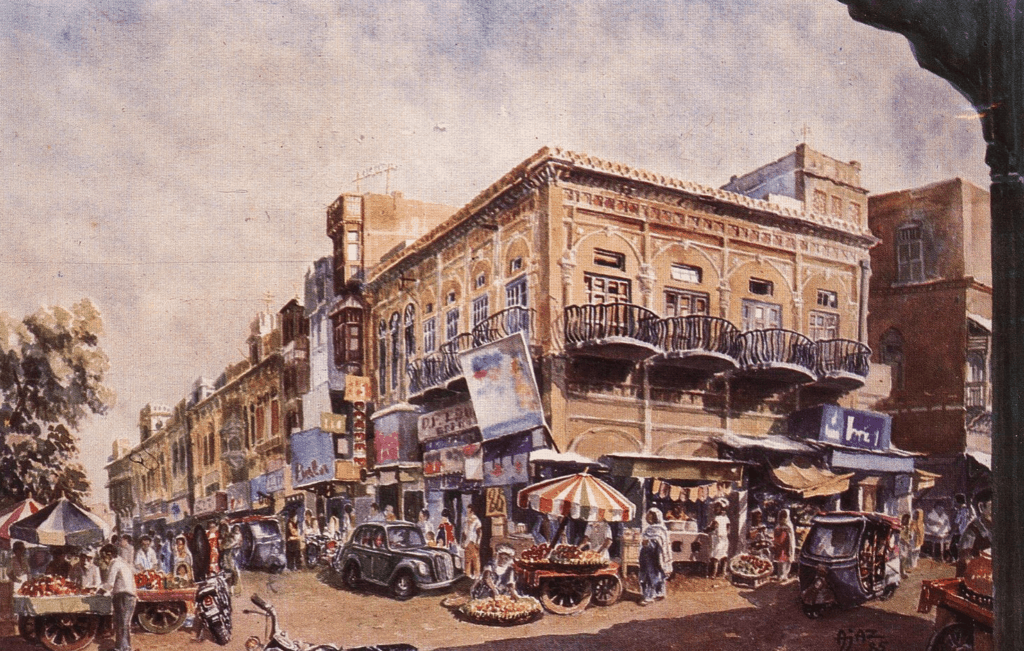
A well crafted lesson set – written explanations, diagrams and illustrative examples. By keeping a parallel construct of elements – students can hone in on exploring the similarities and differences between two types of perspective. The images detail exactly what is shared with the narrative. The package makes for both an informative and fascinating “explainer.”
Your choice of subject matter showcases the illustrative power of the “image compare.” Great choice of public domain material with citations.
Hi Chantal!
I really enjoyed looking at these lessons. I am not much of an artist myself but I do enjoy looking at art, so I found myself learning a little more as I read these lessons. Maybe I will be inspired enough to try drawing my own picture!
Hi, Chantal!
The way you explained one and two-point perspectives were excellent, and your use of the slider images was AMAZING! Out of all the different lesson plans that I thought were possible to make on here, I think your use of art and slider images was one of the best fits! I loved this and hope you can find a use for it in the future – it’s great!! 🙂