Enhancing student learning using technology has always been an interest of mine. Over the past semester, I have been introduced to many new tools to add to my teaching toolbox. In this class, I have been able to improve my skill in adding technology to my methods of teaching math. I have been challenged to design lesson plans that enhance student learning and seek to challenge students to use higher-order thinking using useful technology. Furthermore, I have been able to envision lessons that introduce math topics in a way that is applicable and relatable to their own lives.
This past year has also been a challenge with envisioning using new tools to keep up the quality of student learning with the limitations of teaching online. Many of the technologies I have learned about are great tools for teaching new topics and assigning work online. I have been able to design work that adds visual elements to learning while challenges students. I have also been able to use tools that will give students individualized feedback and allows students to be creative and design their own projects.
For this Geometry Project, I used Book Creator as a template for students to display their work. For the project, the students pick an item make a scaled-up version out of materials of their choice. Students make a copy of the book template in the library and rename it with their name. Then they go through the template as they complete their project. Once they are done with their scaled item, get to make a comic using pictures they take of their original object and their scaled-up object. When they are all done, the class can view each other’s work in the library.
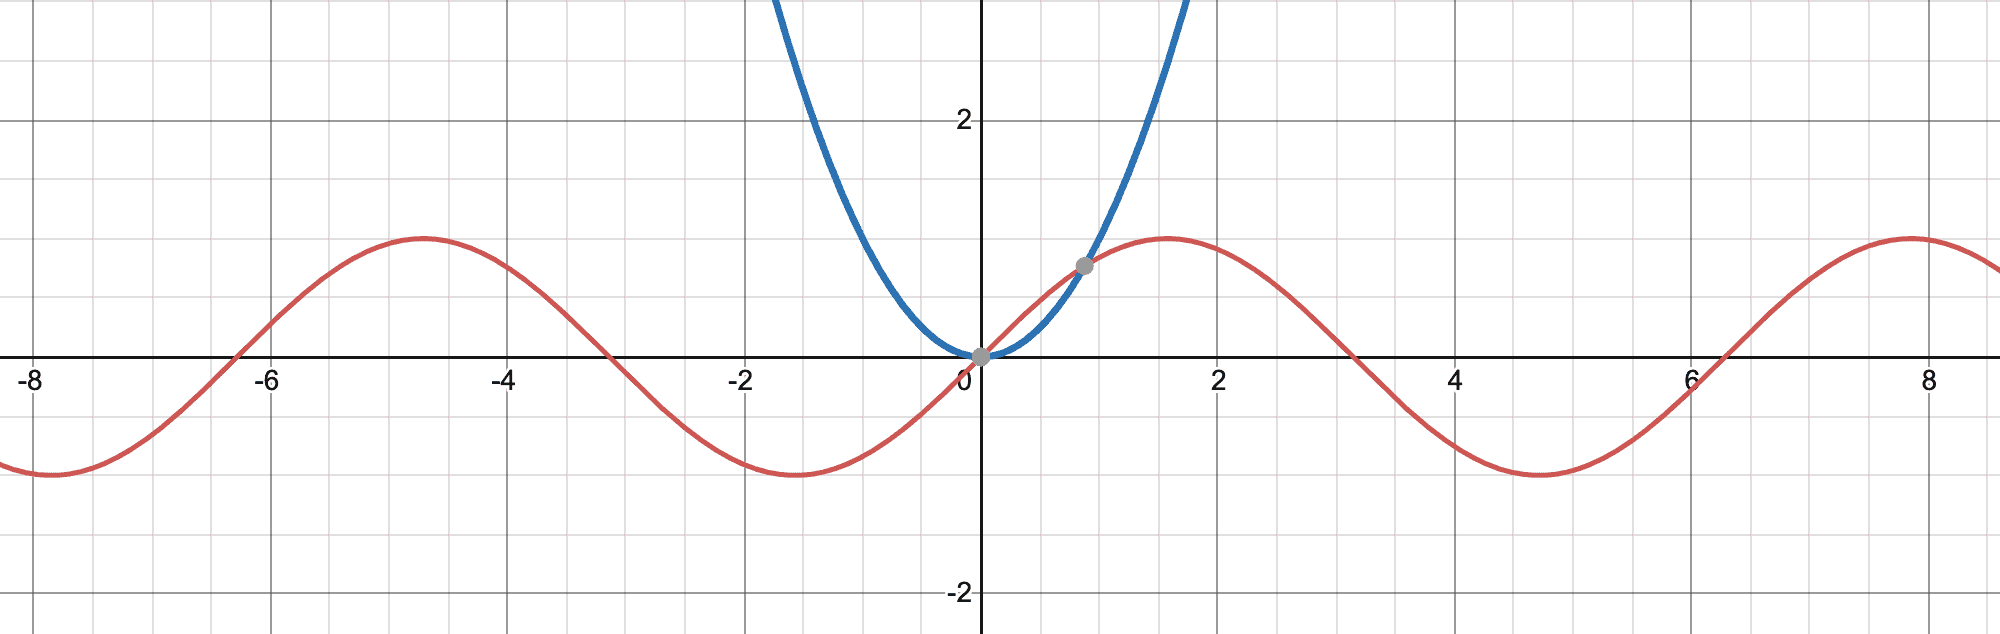
For my activity, I used a screencast to demonstrate how to use a feature of Desmos that will be helpful for their activity. I showed how students can use a slider to see the effect that a constant value has on a given graph of f(x). I demonstrated the effect that c, a constant, has on a graph of f(x) = c x2. I showed how once a constant is used in an f(x) function in Desmos, there is an option to add a slider for c.
Once the students have watched the demo, I would ask them to do the same for the functions, f(x) = a + b x + c x2. I would ask them to describe the effect of a, b, and c as they become greater, smaller, and negative. I would also ask them to look at f(x) = sin(a x) vs f(x) = b sinx and compare the effect of a vs. b.
This screencast helps students understand how to use this feature in Desmos if they do not yet know how to use it. The activity goal is for student be able to understand visually the effect that constant have on the f(x) functions they have been looking at.
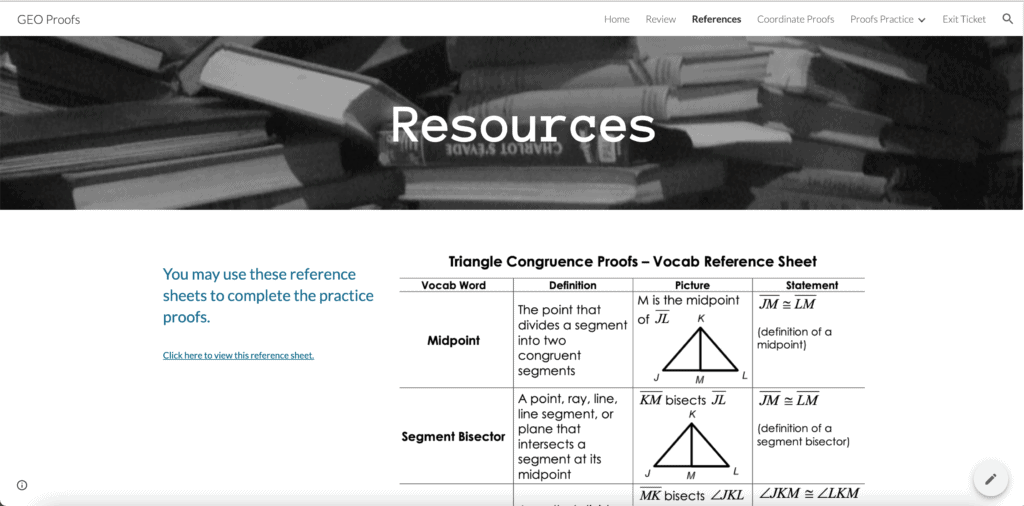
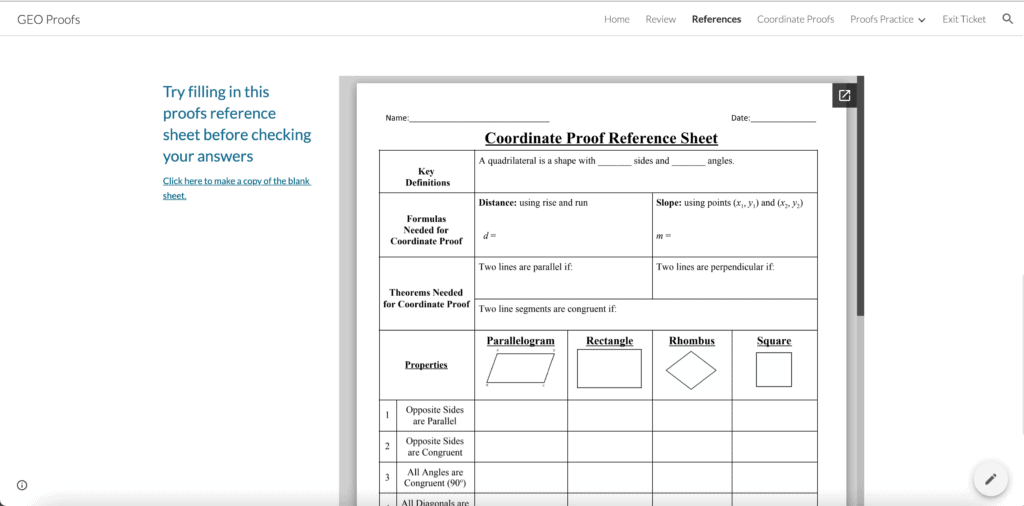
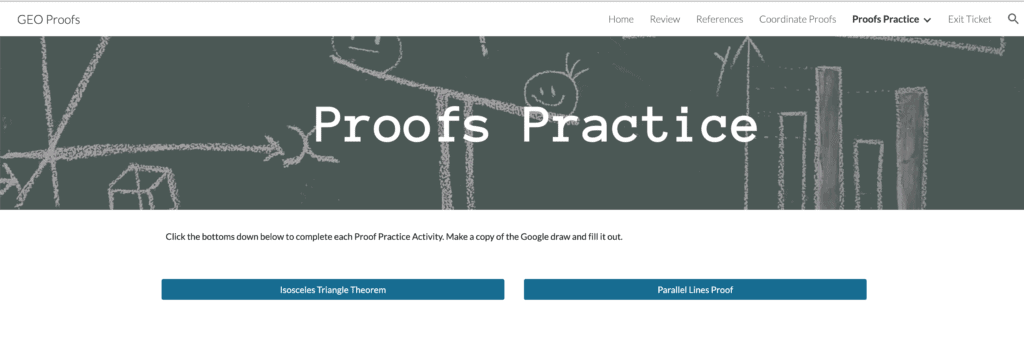
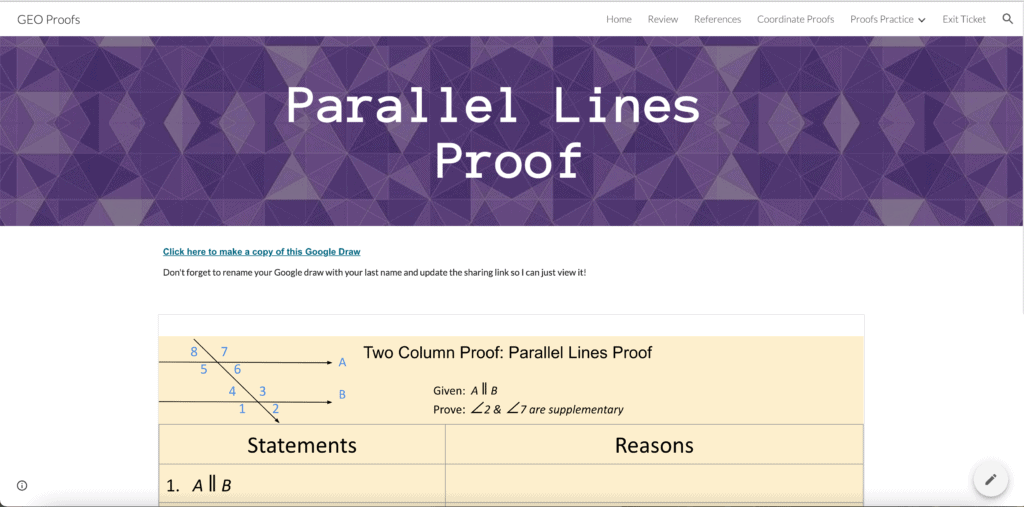
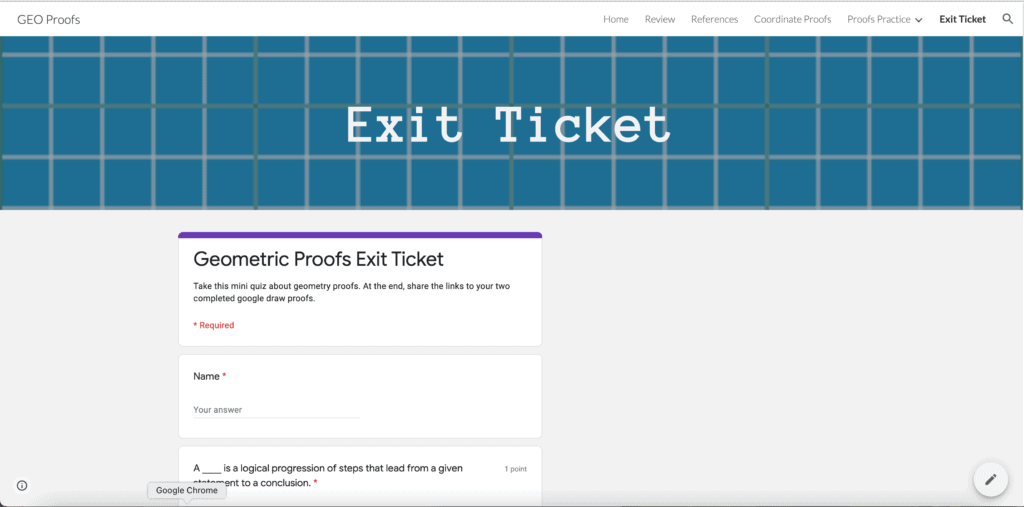
This google site is designed for a geometry class, 9th – 12th grade, as a practice and review activity for a proofs unit. The goal is for students to use the youtube videos to review and the practice assignment to test their knowledge. At the end there is an exit ticket to check students learning and for them to turn in the links to their work.
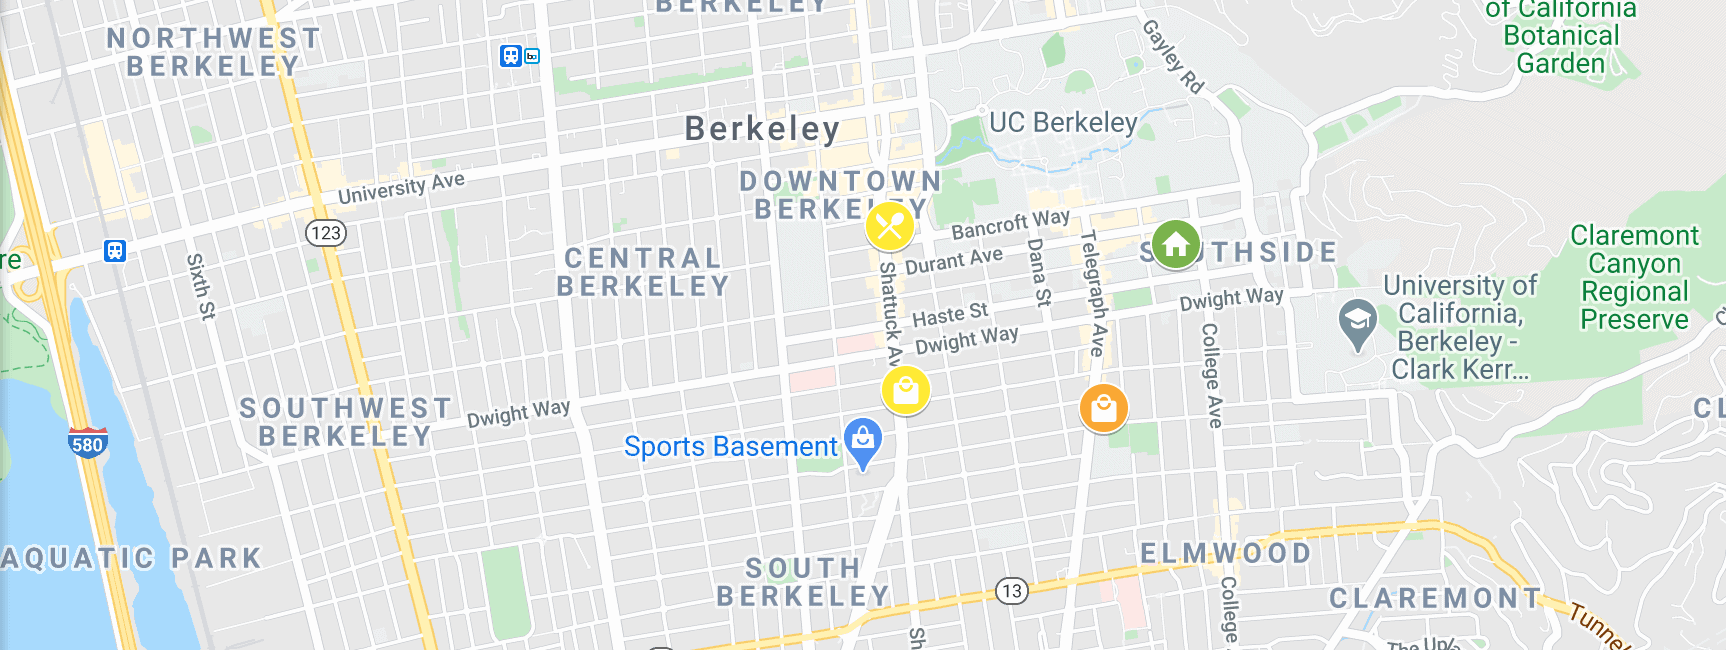
Google My Maps can be used as a tool for illustrating math word problems. The target grade level for this lesson would be sixth grade. It is a great tool for students who are learning about distance and rates.
Instructions
Emily has has 3 things she has to do today. She lives in a dorm (Residence Hall Unit 1). She needs to go to CVS, a Art Store, and her favorite restaurant, Angeline’s Louisiana Kitchen.
From her Dorm to CVS, then to the Art Store, then to Angeline’s Louisiana Kitchen, and then back to her Dorm.
Pathway 2:
From her Dorm to the Art Store, then to Angeline’s Louisiana Kitchen, then to CVS, and then back to her Dorm.
1. Just using the map, which pathway seems longer?
For questions 2-7 use the table below:
2. How fast does Emily walk? Find your answer in miles per hour.
3. Using your answer from above, how many minutes does it take Emily to walk from the dorm to the Arts and Crafts Store? Fill this in on the table above.
4. It takes Emily 52 minutes to walk pathway 1. Use this information to fill in the blanks in the table above.
5. How many miles is pathway 1?
6. How long does it take her to walk pathway 2? How many miles is pathway 2?
7. Is there a faster pathway than pathway 1 and 2? Justify your answer.
Goals
The goal would be for the students to be able to make visual observations about distance. Also that they would be able to be creative and think of different pathways. The Map allows the students to visualize each pathway and explore different combinations of directions.
Furthermore, the questions for this problem have several different ways to go about getting the solution. Each student may find the technique that they understand or recognize from the given problem.
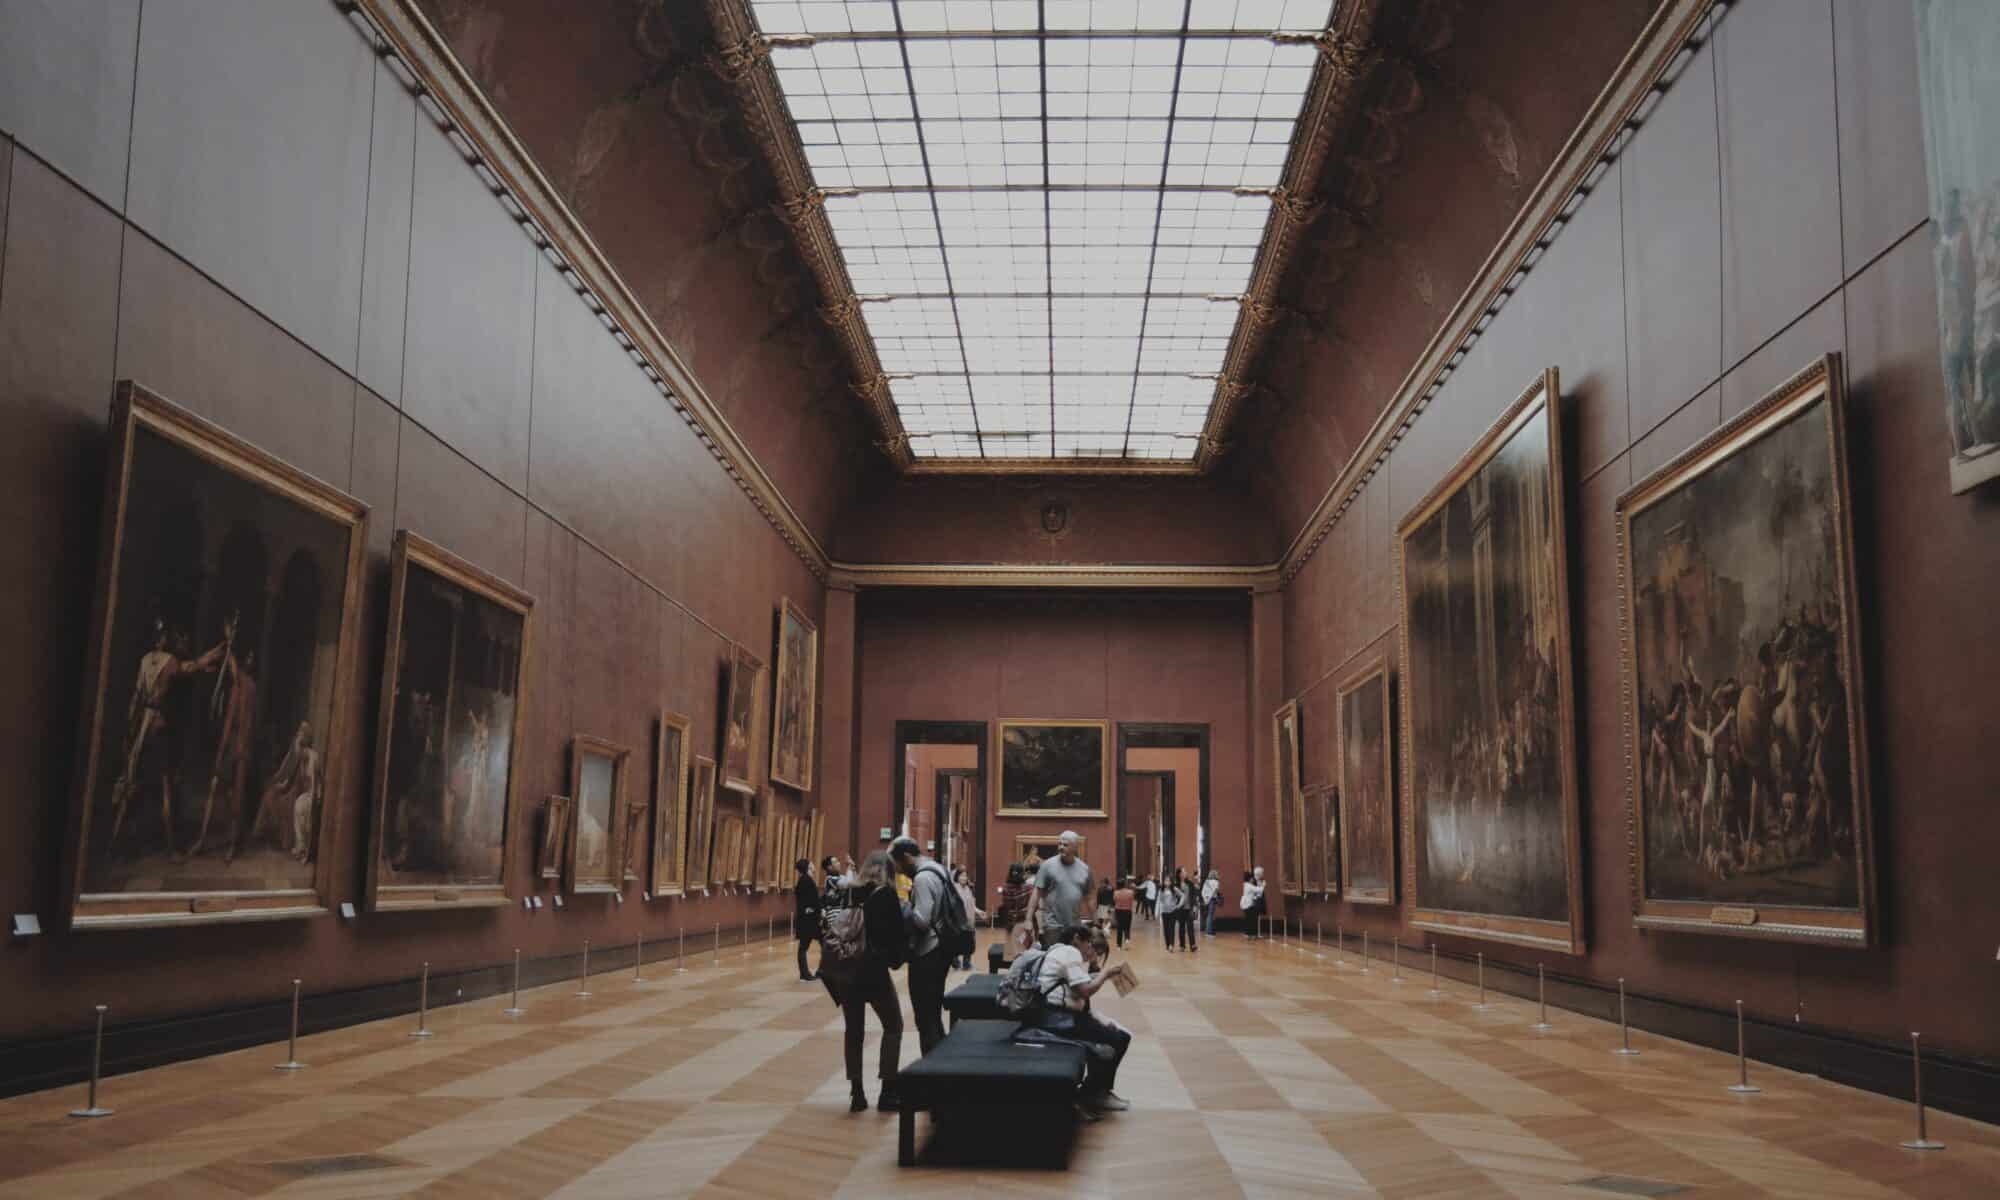
For my activity I created an art history activity for a European or World history class. This would be for high school students, depending on what year they study European or World history. This activity focus on a general overview of art history though 5 historical art period.
The activity is framed as a museum walk-through, where the students get to pick with the order they explore each of the time periods. It uses the feature that brings students to a specific section based on the answer they chose. Each section includes pictures of art from that time period as well as informational videos to introduce the students to that historical art period. Then the students must answer some open-ended questions that encourage higher-order thinking.
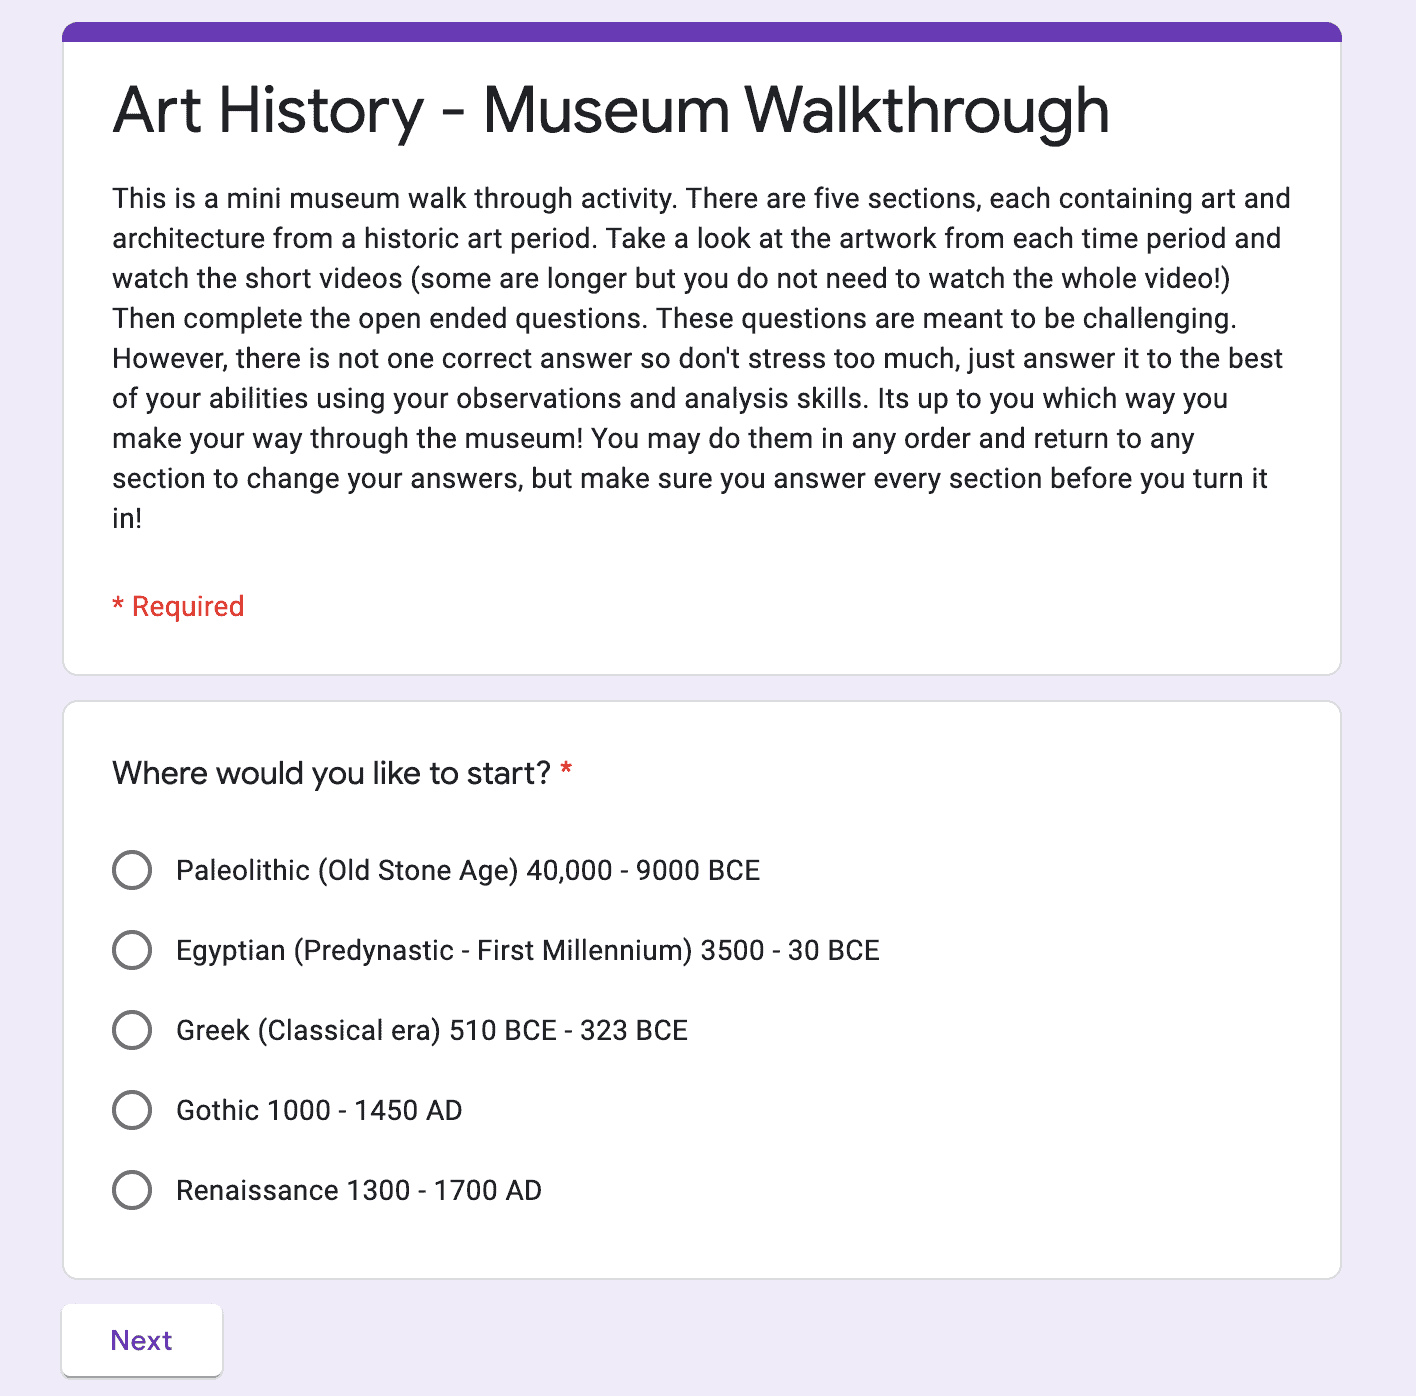
Image by Chantal Hummel from Google Forms
Instructions Listed on the Google Form
This is a mini-museum walk-through activity. There are five sections, each containing art and architecture from a historic art period. Take a look at the artwork from each time period and watch the short videos (some are longer but you do not need to watch the whole video!) Then complete the open-ended questions. These questions are meant to be challenging. However, there is no one correct answer so don’t stress too much, just answer it to the best of your abilities using your observations and analysis skills. Its up to you which way you make your way through the museum! You may do them in any order and return to any section to change your answers, but make sure you answer every section before you turn it in!
Goals
The goal of this activity is to give the students a general knowledge of some of the historical art periods to contextualize the historical events they are learning about. This activity challenged students to use higher-order thinking skills to answer the open-ended questions. It is not a graded quiz, but it allows for students to take differentiated paths as if they are walking through a museum. Students can return to their previous answers or sections at any time to take another look at the artwork and change their answers.
Art Of Our Ancestors: 10 Most Amazing Cave Paintings In The World (article) http://noisebreak.com/art-ancestors-10-amazing-cave-paintings-world/ (creative commons license)
Venus of Willendorf – https://www.piqsels.com/en/public-domain-photo-zbcfm (creative commons license)
Tomb of Nebamun and Ipuky – Metropolitan Museum of Art, CC0, via Wikimedia Commons
Abu Simbel – 10 Most Impressive Ancient Egyptian Temples https://www.touropia.com/ancient-egyptian-temples/ (Creative commons License)
Cologne Cathedral – Image by Thanks for your Like • donations welcome from Pixabay https://pixabay.com/photos/dom-gothic-cologne-cathedral-square-5216007/
Barcelona Gothic Cathedral – Image by sosinda from Pixabay https://pixabay.com/photos/barcelona-gothic-cathedral-building-3436967/
Christ Delivering the Keys of the Kingdom to Saint Peter by Pietro di Cristoforo Vannucci (1445?-1523), called Perugino. https://www.flickr.com/photos/20919058@N05/5849492515
Google drawing is a great tool for drawing and labeling shapes. For my activity, I made a practice worksheet for a geometry class (grades 8-10).
This worksheet utilized a variety of tools that the students can use in google draw. The first box prompts students to use the drag feature to move the pre-drawn shapes to the appropriate categories. The second activity asks students to label the missing angle on the pre-drawn triangles. The students can do this by inserting a textbox and dragging it to the angles. The third activity asks students to use the shape tools to draw shapes and label the angles of those shapes. The fourth and final activity asks students to fill out the table with the corresponding angle measurements using the given angles.
The goal of activity is to use visual activities to help students apply what they have been learning to categorize shapes and finding the measurements of their angles.
This activity shows all the helpful features of using google draw to make geometry worksheets. The line drawing and shape tools have a wide range of options that allow students or teacher to customize their work.
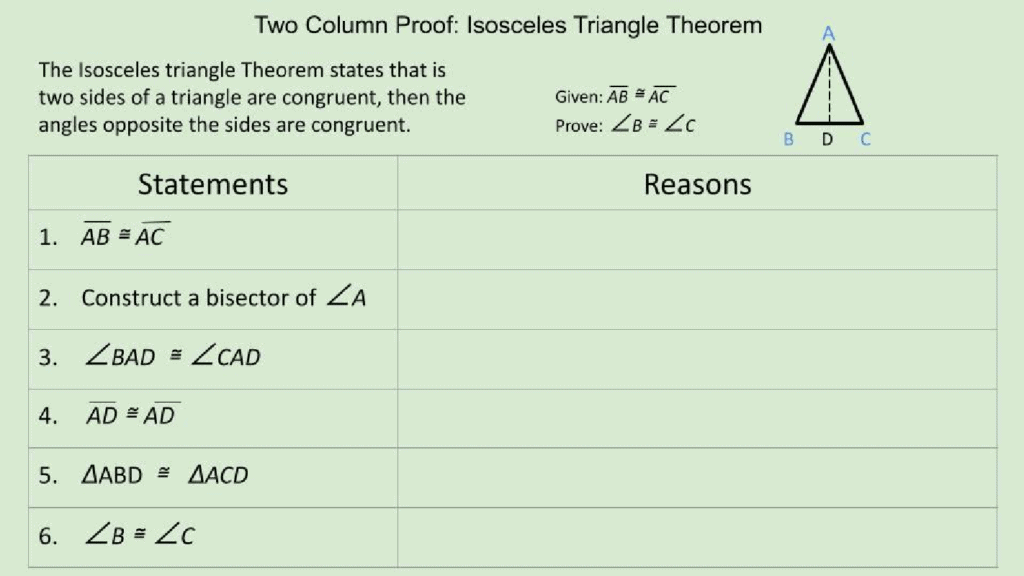
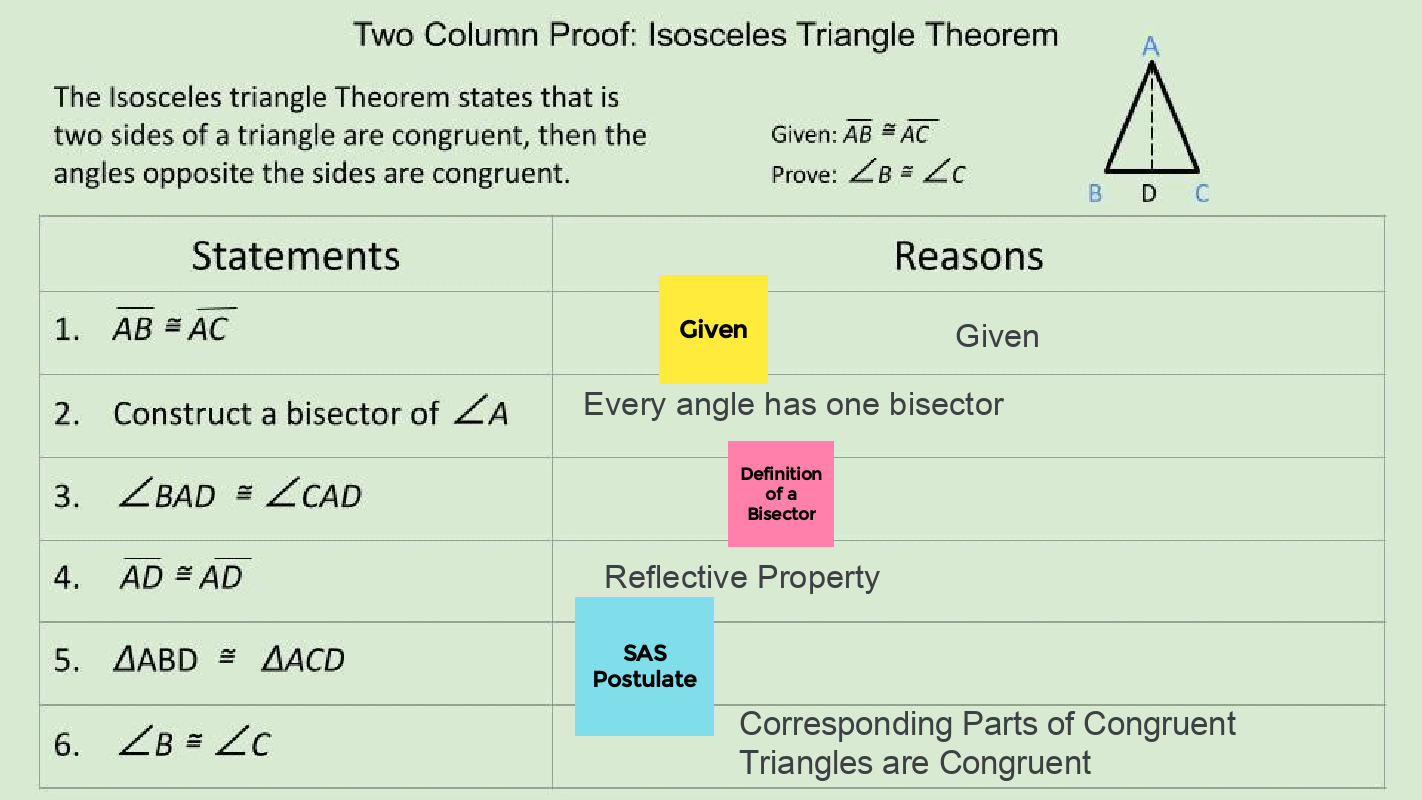
For my Jamboard activity I constructed an activity for students to work collaboratively to do proofs in geometry. This would probably be for a middle school or high school geometry class. I would categorize this as a graphic organizer activity.
I created two proof tables in Google Draw that had all of the statements without any of the reasons. I would then divide up the students into groups and assign each group a slide. I would make more slides if I were actually using this in a classroom so that there would be 3-4 students per group. Using groups for this activity is helpful because if some students didn’t have the technology to access Jamboard, they would still be working on the problem with their group mates. Also working in groups means that there may be less than 20 students on the one Jamboard at the same time. They would work together to fill out the reasons column of the proof table using the text boxes or the post-it notes. If the students were online I would put them in breakout rooms with their group so they could talk. Once they were done, we would go over them in class.
The goal of this activity would be to help students identify what to use as their reasons when doing proofs. The proof is already started so they are focusing on just identifying the reasons for each statement, whether they are theorems, given, definitions, etc.
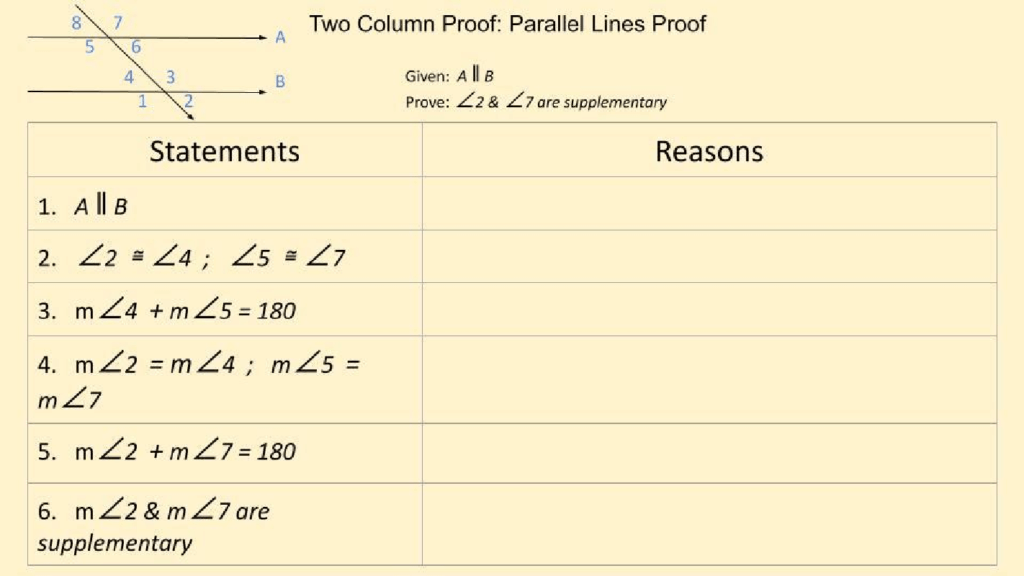
Here is an example of what it may look like once the students have done the activity
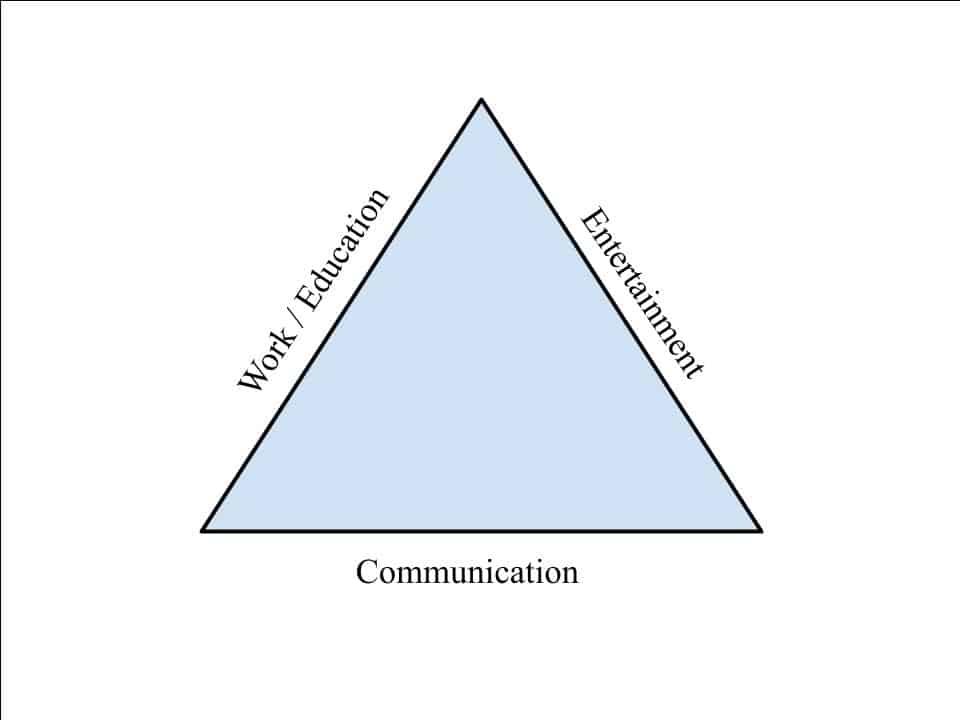
Technology can be great. It gives us access to so many incredible services that can enhance our lives. It allows us to break borders down through communication over long distances and can entertain us for hours on end. And when it comes to our work and education it can open whole new possibilities to access information and applications that encourage creativity and learning.
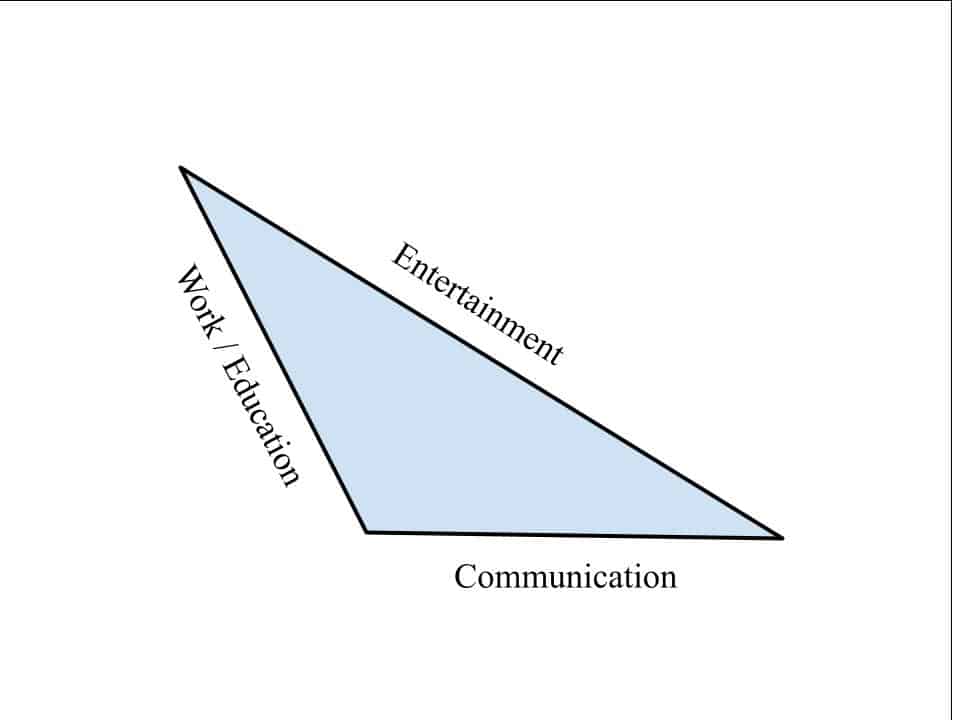
I have realized over the past few years is that I can categorize the ways I use technology in three ways: Education/Work, Communication, and Entertainment. When it comes to using technology I find that it is a balancing act between these three categories. This balance can be represented using a triangle.
Photo by: Chantal Hummel
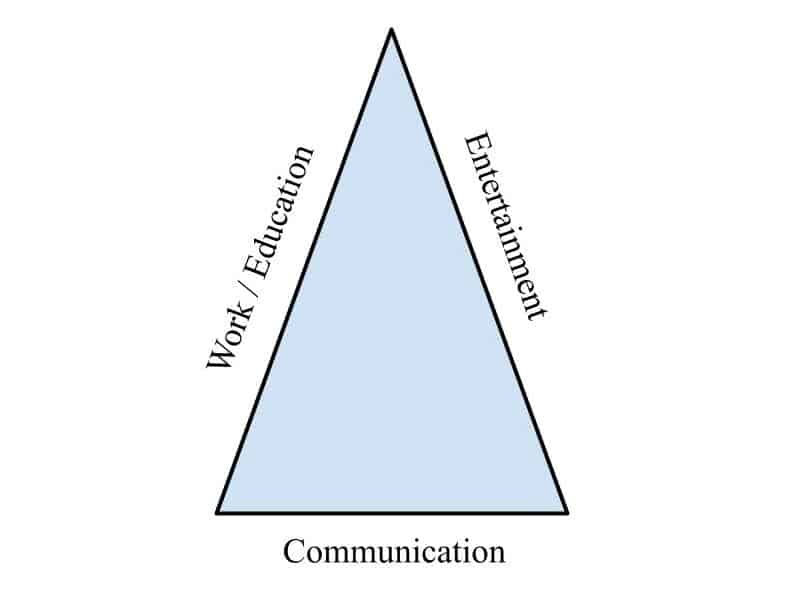
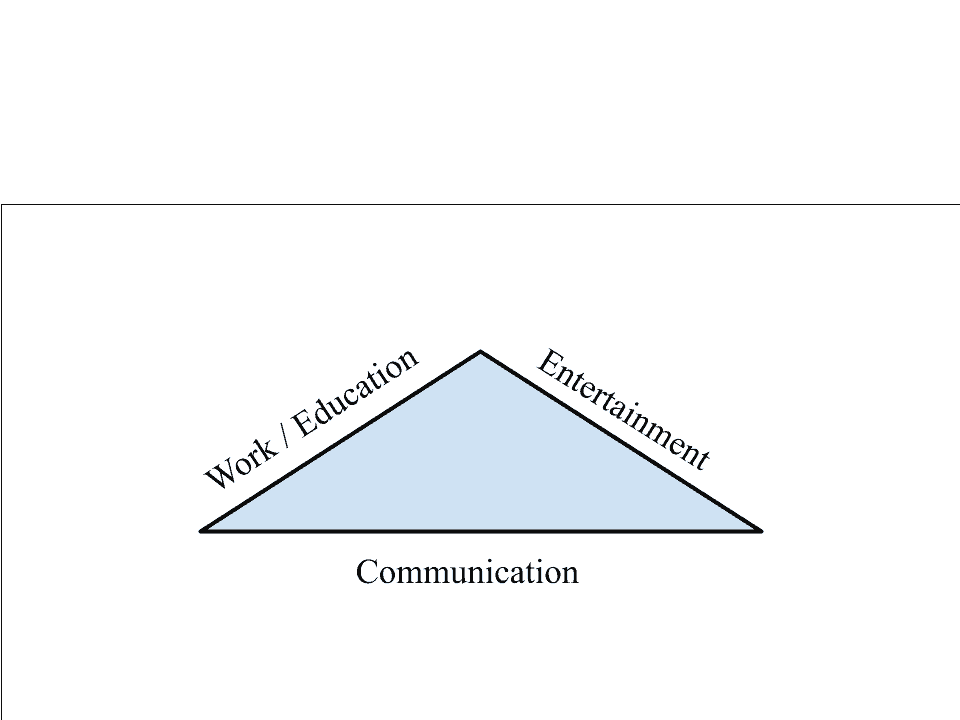
When your triangle is balanced all the sides are equal meaning you are spending equal amounts of your time on each category. But when more time is spent on one or two categories then the triangle becomes unbalanced and the other sides are smaller.
Photos by: Chantal Hummel
Especially with school being online, I put too much time into my school and entertainment. This means that my communication category lacks and I can forget to keep in touch with friends and family.
Technology can be great but it is hard work to keep it balances in my life.
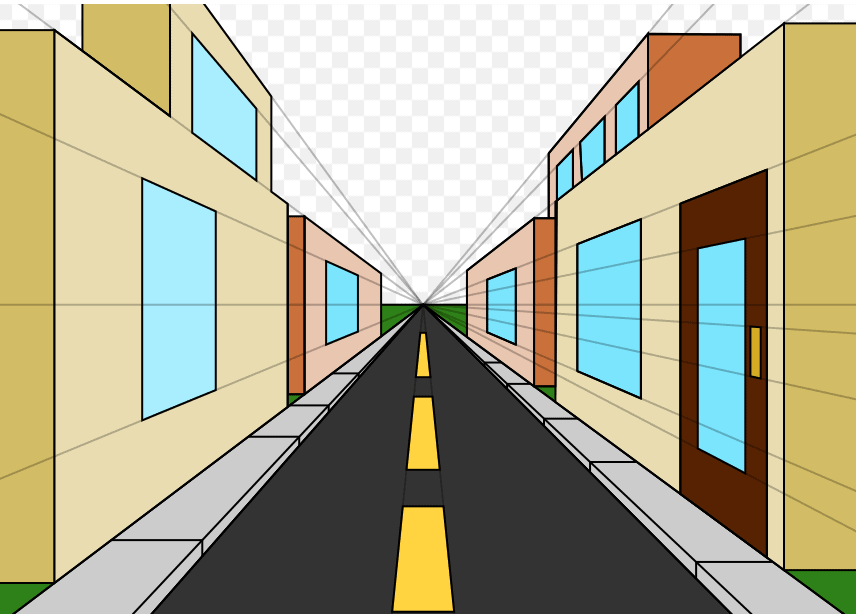
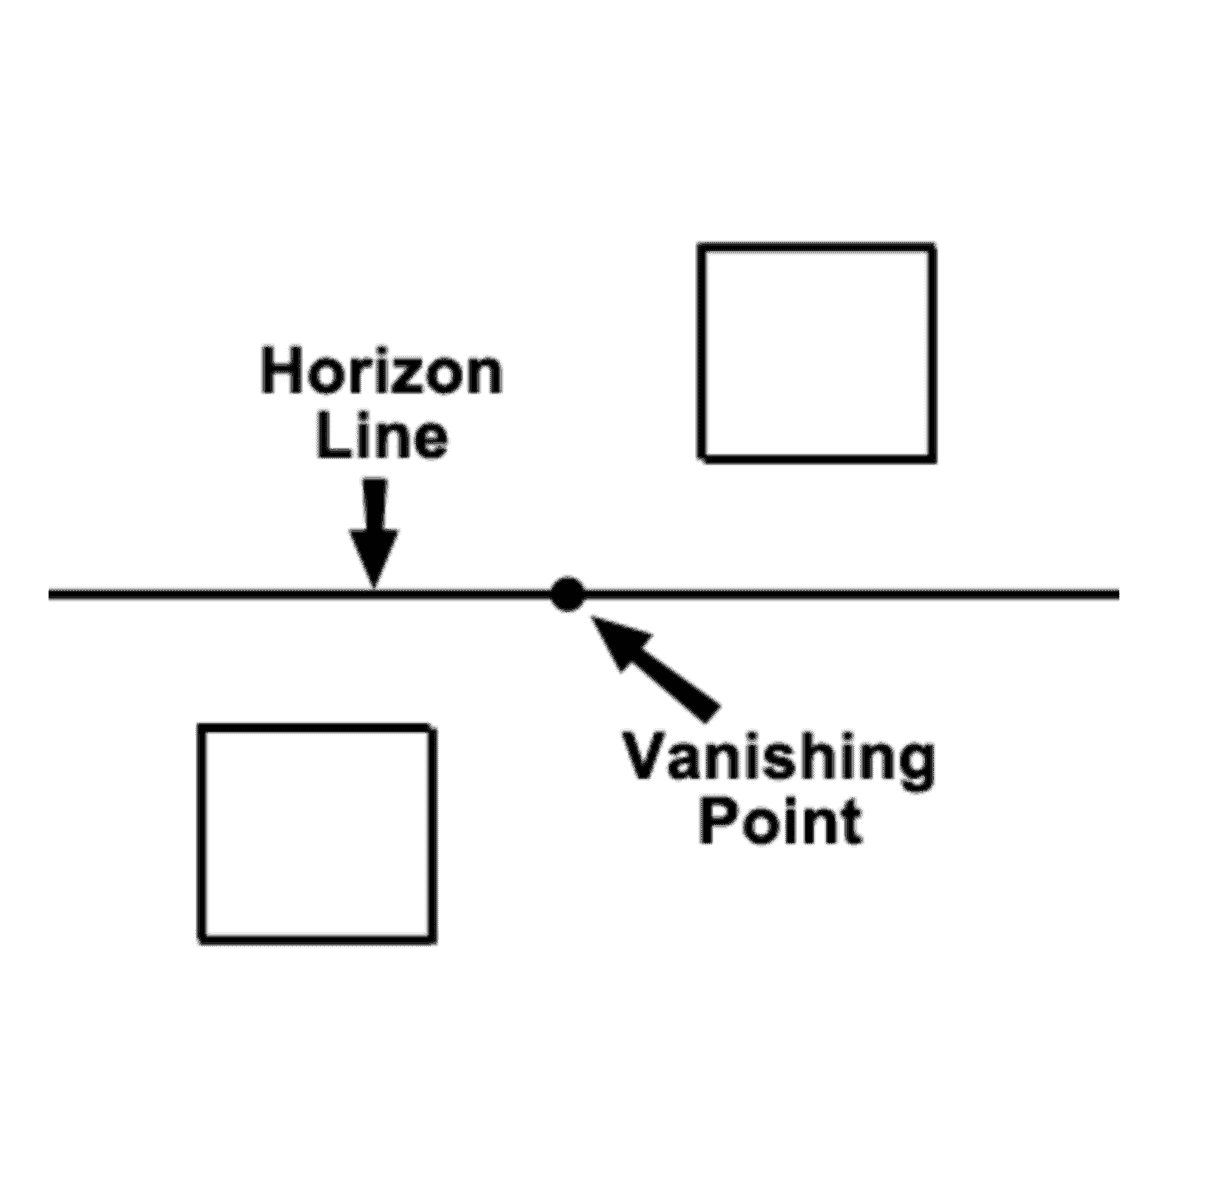
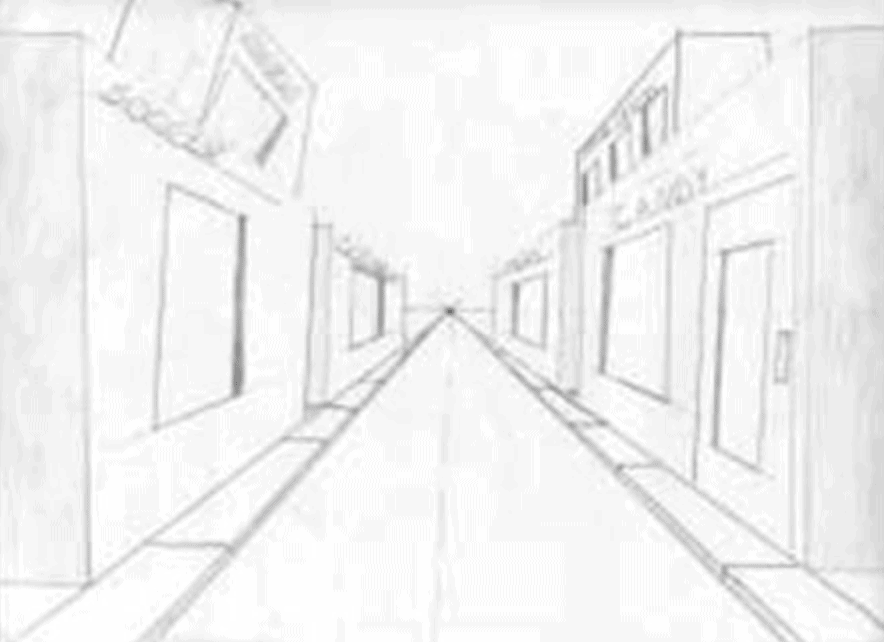
One point perspective is achieved by using a Vanishing Point and a Horizon line. The Horizon line is parallel to the top and bottom edges of the paper. This is used to define the line where the land meets the sky, at least when drawing land or cityscapes.
The Vanishing point is the point in an image or drawing on the Horizon line where everything recedes towards. When you look ahead, things that are farther away look smaller than things that are closer. Vanishing points help to preserve proper proportions when drawing things in the distance vs closer objects.
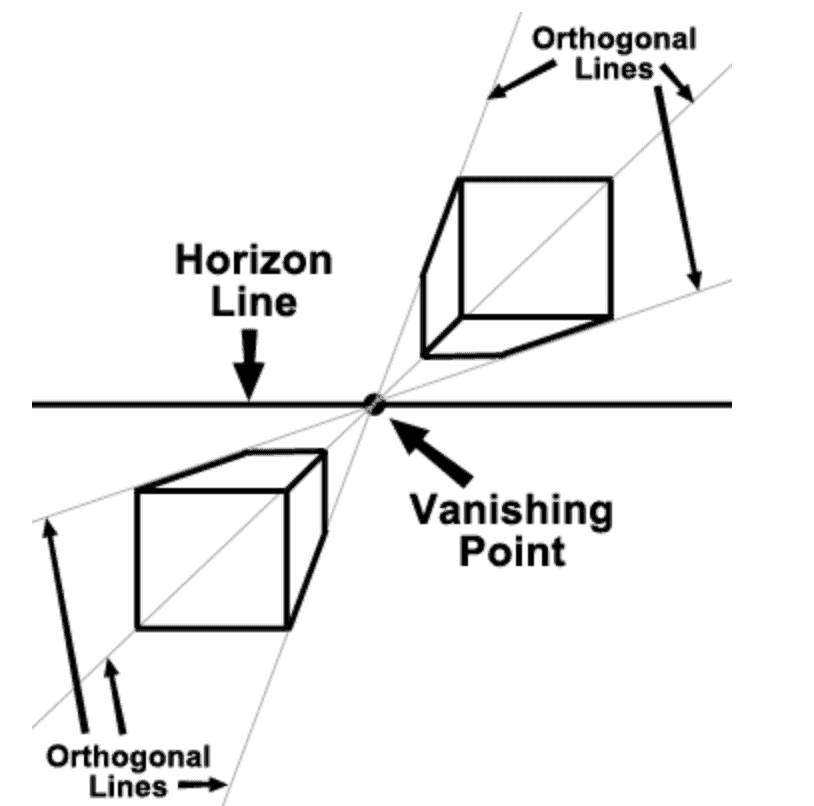
Lines are drawn from the top or bottom of objects to the Vanishing point. all lines other than the vertical and horizontal ones must go through the vanishing point to create a proportional effect. This also creates a 3D effect on whatever you are drawing. Vertical lines are used to define the edges of items and they must be parallel to the sides of the paper.
Use to slider below to see how the two 2D boxes are transformed to look 3D using a Vanishing point
One Point Perspective uses one vanishing points and results in the flat faces of objects to be shown and the sides to be receding. Use the slider below to see the transformation of a line drawing that uses one point perspective.
Image 5 : Mmroberts, CC BY 3.0 https://creativecommons.org/licenses/by/3.0, via Wikimedia Commons
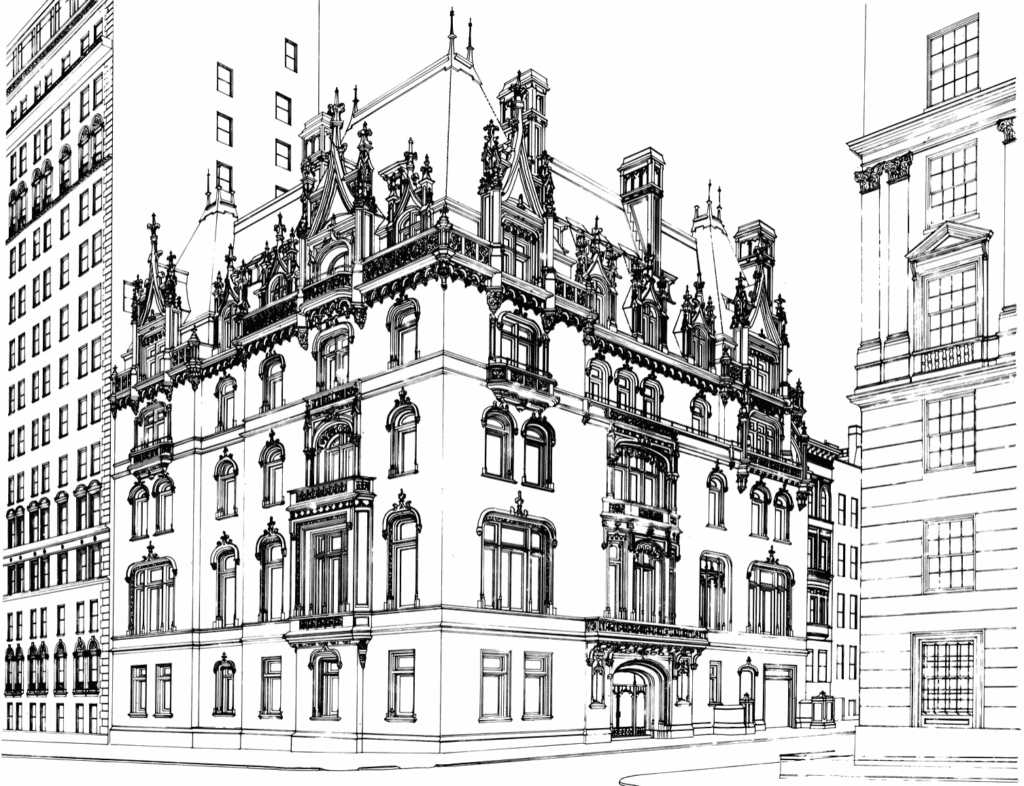
Two Point Perspective utilizes two vanishing points to create an image that shows the corner view of a building or an object receding back on both sides. This is shown above (Image 5) where the artist uses points A and B on the Horizon line to draw a building.
Similarly to One Point Perspective, it creates a 3D effect that shows depth. Both vanishing points must be along the horizon line. To draw an object it is best to start by drawing a vertical line that is parallel to the sides of the page. This line marks the corner of your object. Then create two points on that line that mark the top and bottom of the object. Then connect each point back to both vanishing points. Close off an object by drawing two more vertical and parallel lines on either side.
These vanishing points can also be used to add the details like doors and windows to make them look proportional.
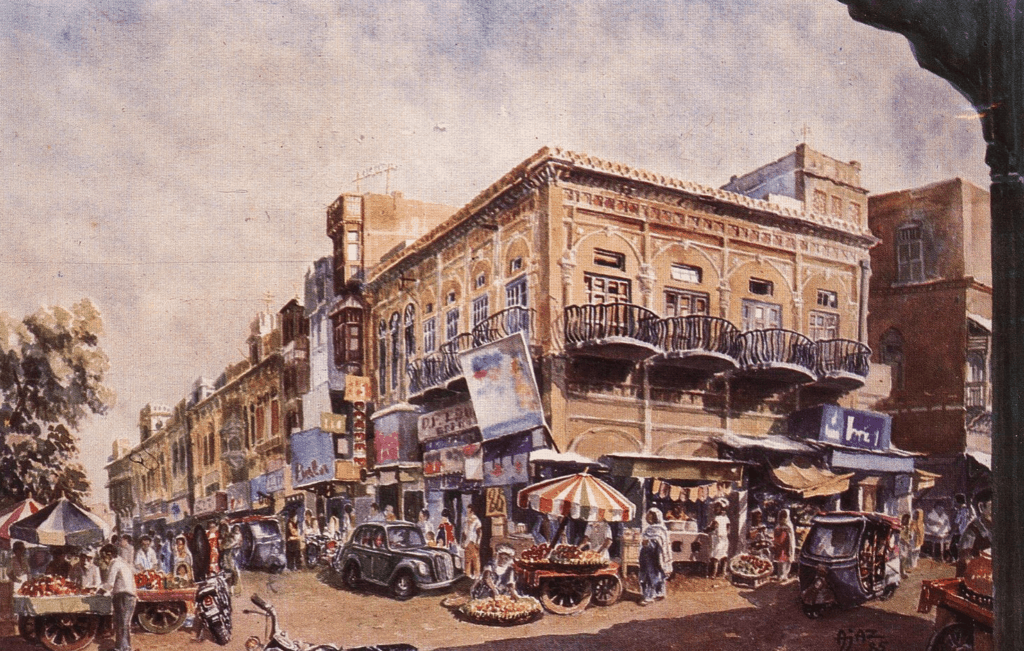
Observe the use of two-point perspective in the artwork below.
Image 6: The Jewish Museum New York, CC BY-SA 3.0 , via Wikimedia Commons
Image 7: The Apse of the Church of St Martin-sur-Renelle, Paris: The image is released free of copyrights under Creative Commons CC0. https://pxhere.com/en/photo/1469321
Image 8: Source: Dr. Ajaz Anwar the Painter 1985 : This work is licensed under the Creative Commons : https://en.wikipedia.org/wiki/File:House_of_Croweaters_by_Ajaz_Anwar.jpg#filelinks
Here are some things that keep me smiling in 2021, despite this never ending pandemic. : )
Moving back to Portland
It has been great to come back to Portland after winter break. I am so grateful to be back in my house that I live in with my friends off-campus. I love being independent and cooking for myself.
Plants
I have a growing addiction to buying plants. I love taking care of them and have recently been learning how to propagate plants. This means taking clippings of plants and growing them in water so they can develop their own roots. I was also grateful to discover when I came home from winter break that all my plants were still alive.
TikTok
TikTok has actually been a fun way to keep in touch with a lot of my friends and family that I haven’t been able to see during this pandemic. I can never remember to text people, but my friends and I always send each other funny videos. I also love sending TikToks to my sister to keep in touch and have a laugh. Here are some good ones from the past month.
I have been listening to a lot of good music lately as well. Here are a few of my favorite albums, songs, and artists that I have been listening to lately.
Album: Three. Two. One. by Lennon Stella
Artist: Men I Trust
Artist: Still Woozy
Cats!
One of my housemates brought her cats to live with us this semester. They are so cute and sweet and we love having them in the house!


