Learning with Technology – From Then to Now

When I started this semester, I knew little about technology and felt poorly about my abilities to navigate through these resources. Now that we’re nearing the end of the semester, I feel much more confident in the skills that I have in order to create and teach a lesson in a clear and creative way. Truthfully, I wanted to engage my students with technology ini the classroom but as far as I figured I’d do that was on a smart board. When I was in school, the ability to write on our smart board with the tech pens, was an absolute privilege and I thought that was probably as much as I’d do. After this semester, I’m very excited to get into the classroom and engage my students with materials through technology. Here are some of the projects I’ve created over the semester that I’m pretty proud of.

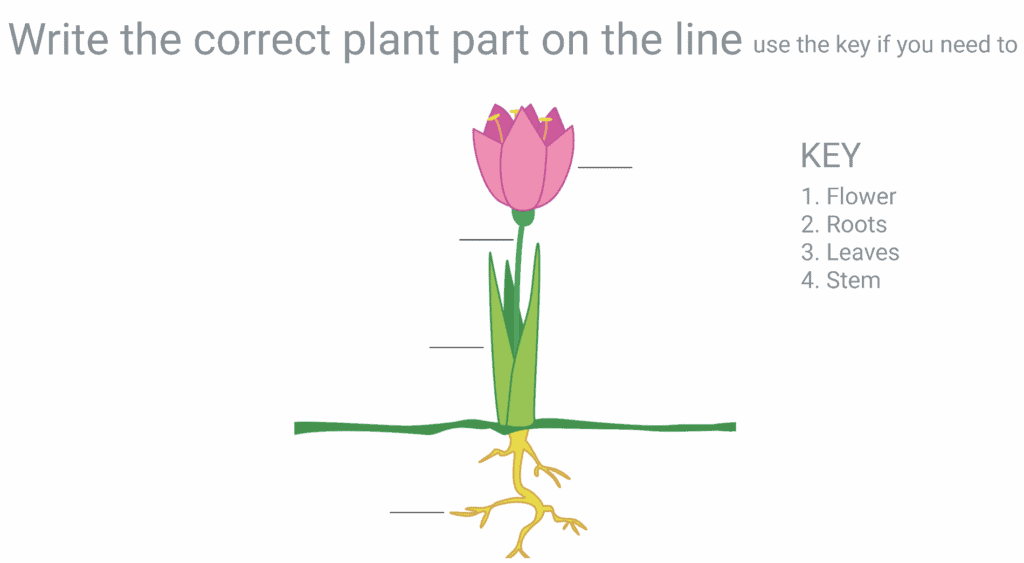
1. Teaching with Images – This lesson was done early on in the semester and was a only the beginning of what I would be learning. It isn’t a complex post but it was fun to create and good insight into what I could do.

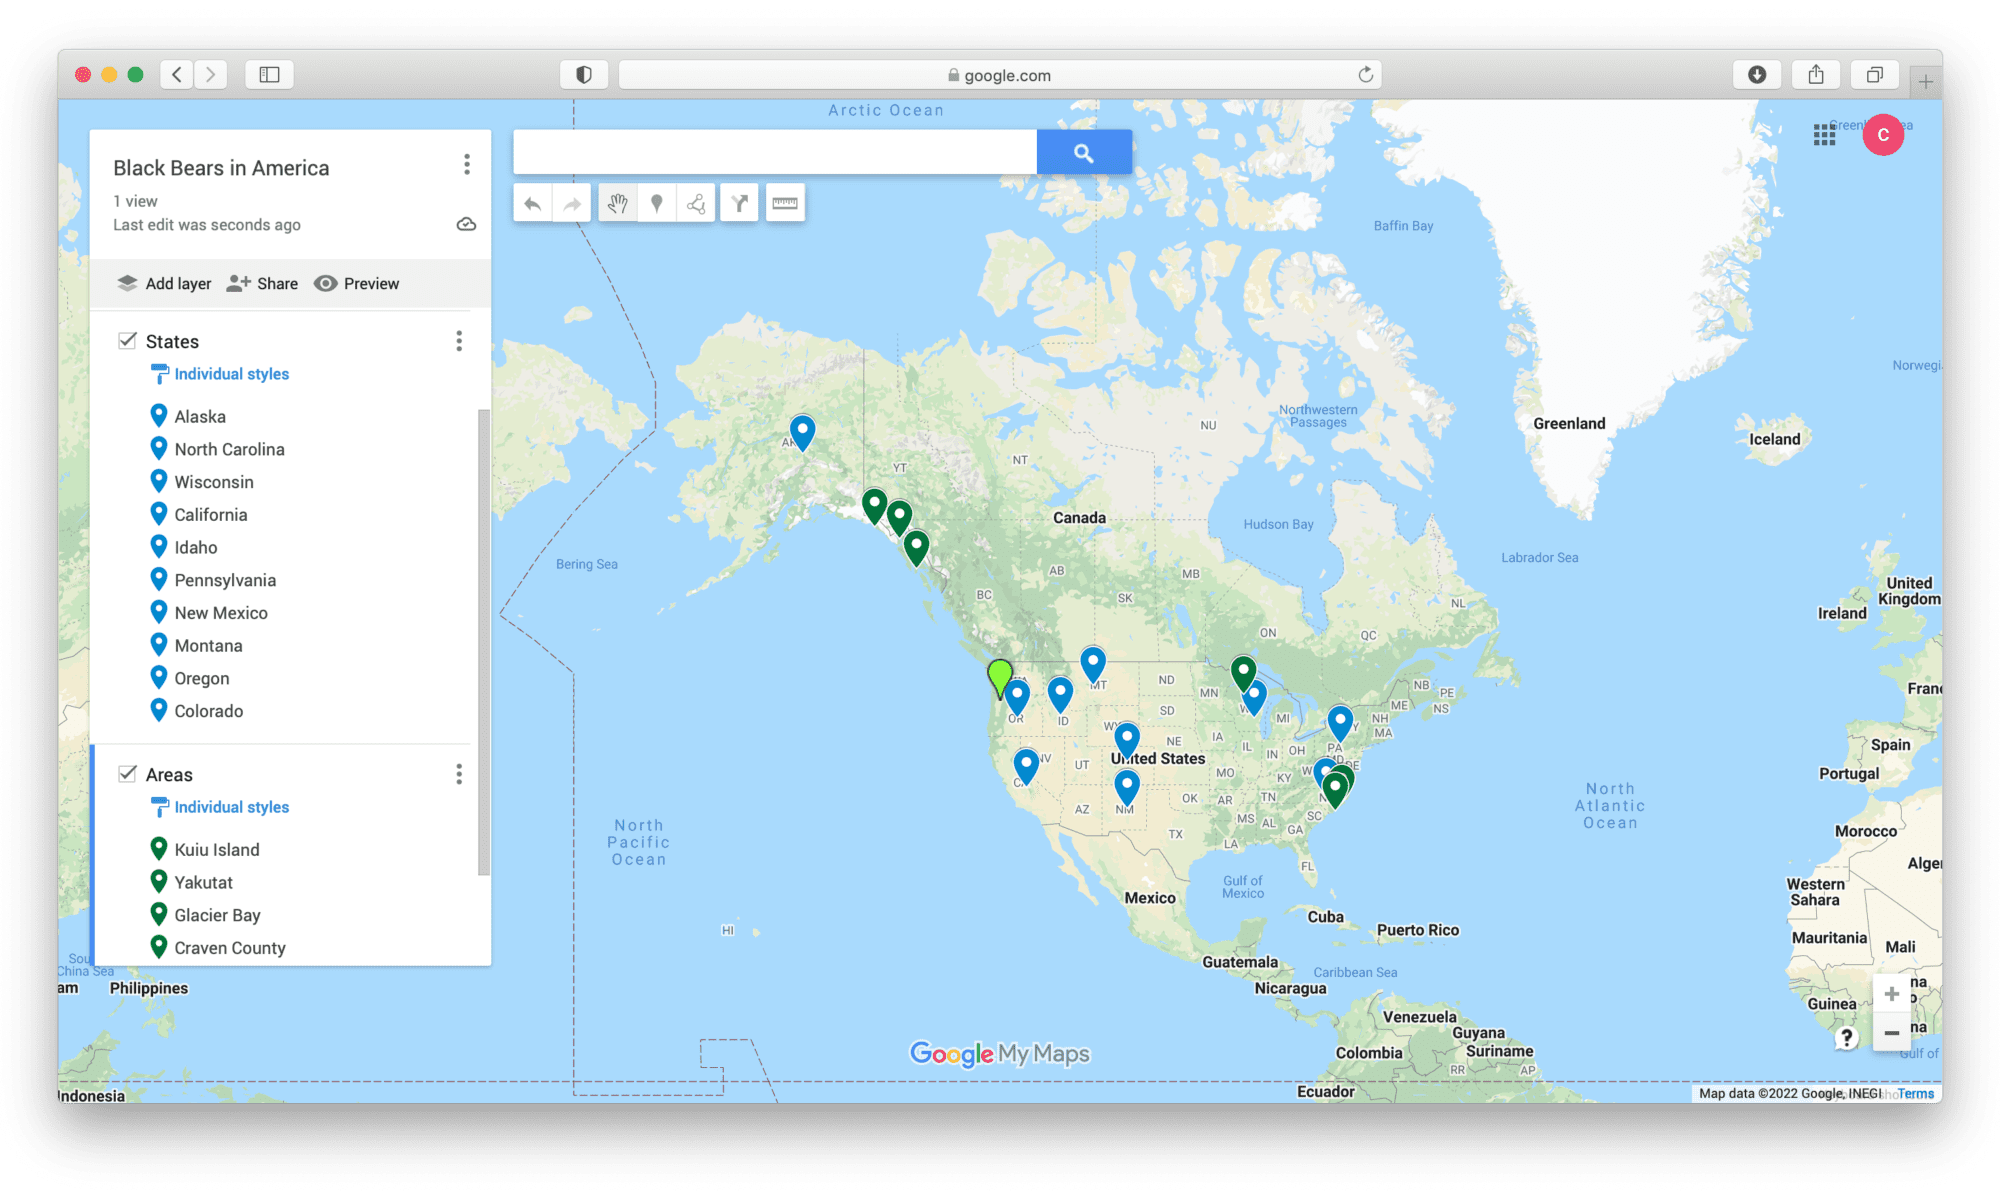
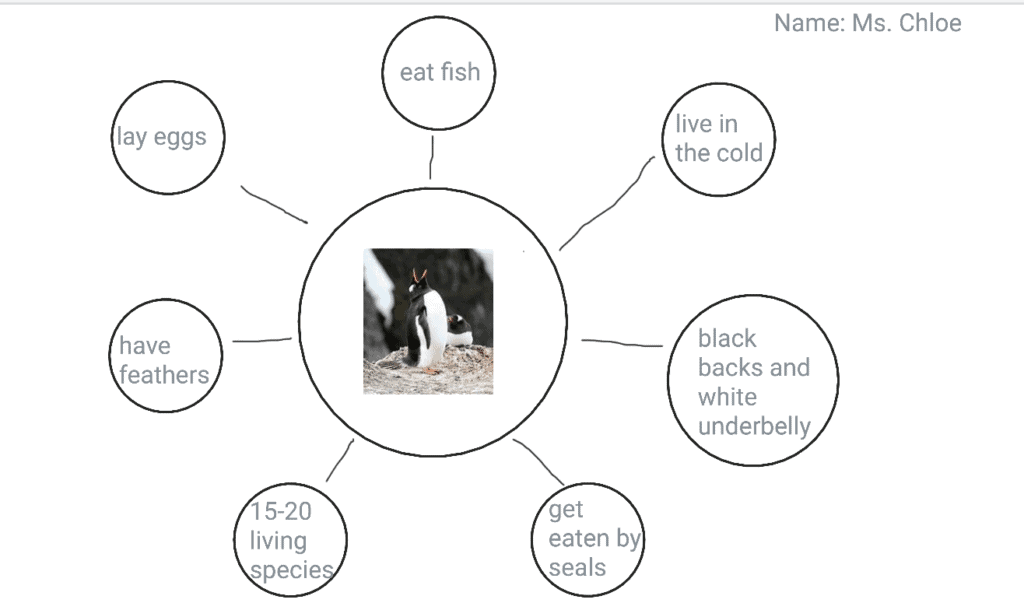
2. Teaching with Jamboard – This lesson is a Jamboard for students to fill out. It’s a circle map that students will complete with an animal of their choosing in the middle. On Jamboard, students can add text or pictures and it doesn’t take a lot to figure out.

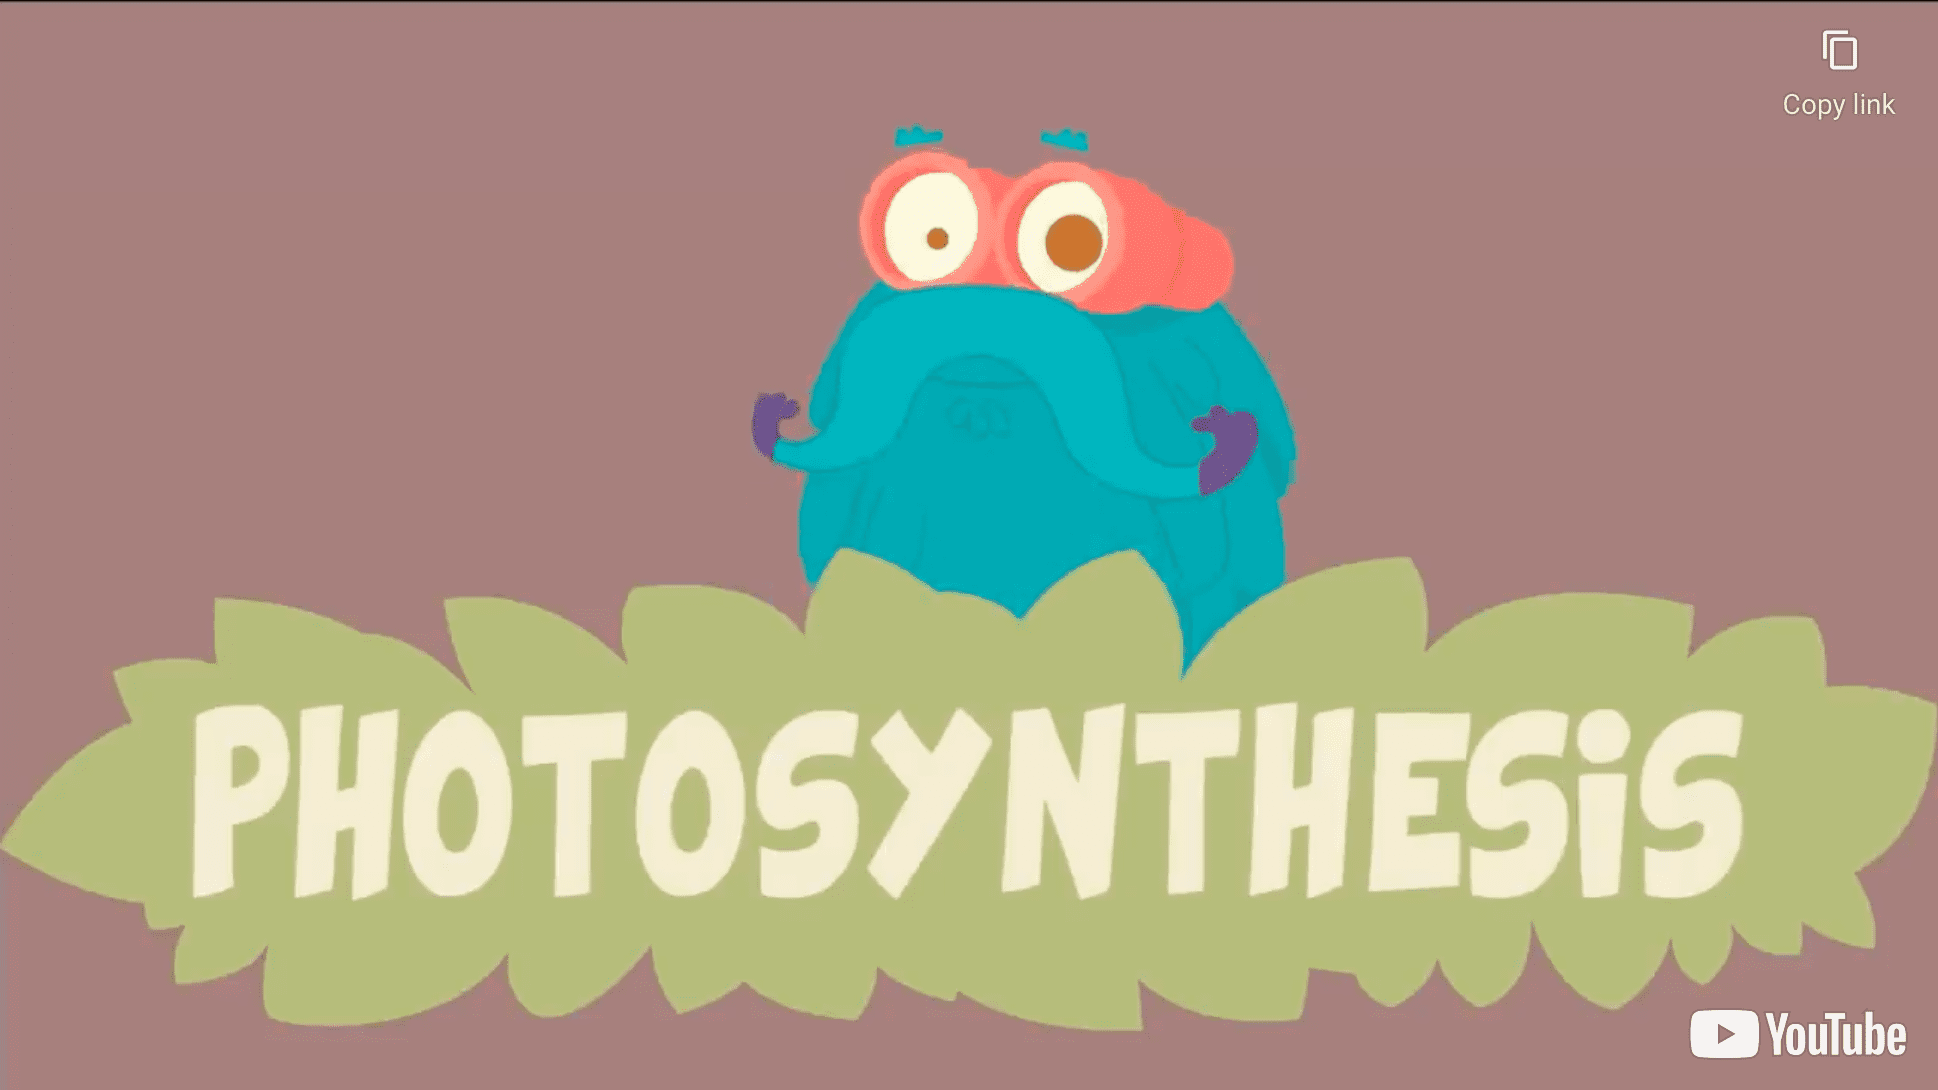
3. Teaching with Ed Puzzle – This lesson was probably one of the most fun ones I created because it takes a youtube video and adds interactive questions while the students watch. I organized it so students will know if they got the answer right or wrong as soon as they fill it out and if they don’t get the answer correctly, they have the opportunity to watch the video again. This can be so beneficial because assigning youtube videos for homework is hard to monitor for completion.

4. Teaching with Google Forms – This lesson was a simple about me form and asks questions about who I am as a person and a teacher as well as my expectations of the students. This will be super beneficial in the future because it gives students the opportunity to get their answers back asap, it allows the teacher to easily write the questions and the style of them, and it’s easy for the teacher to keep organized when all the students turn it in.

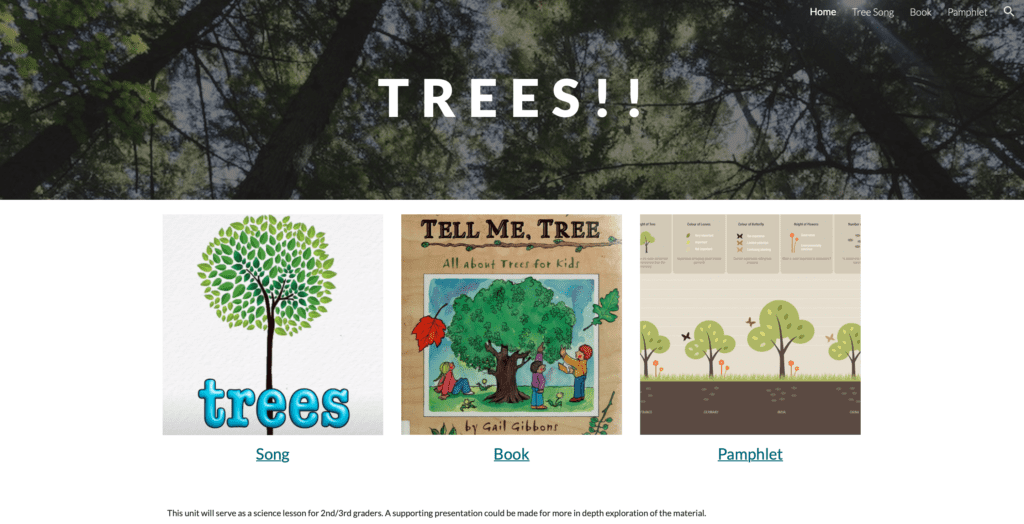
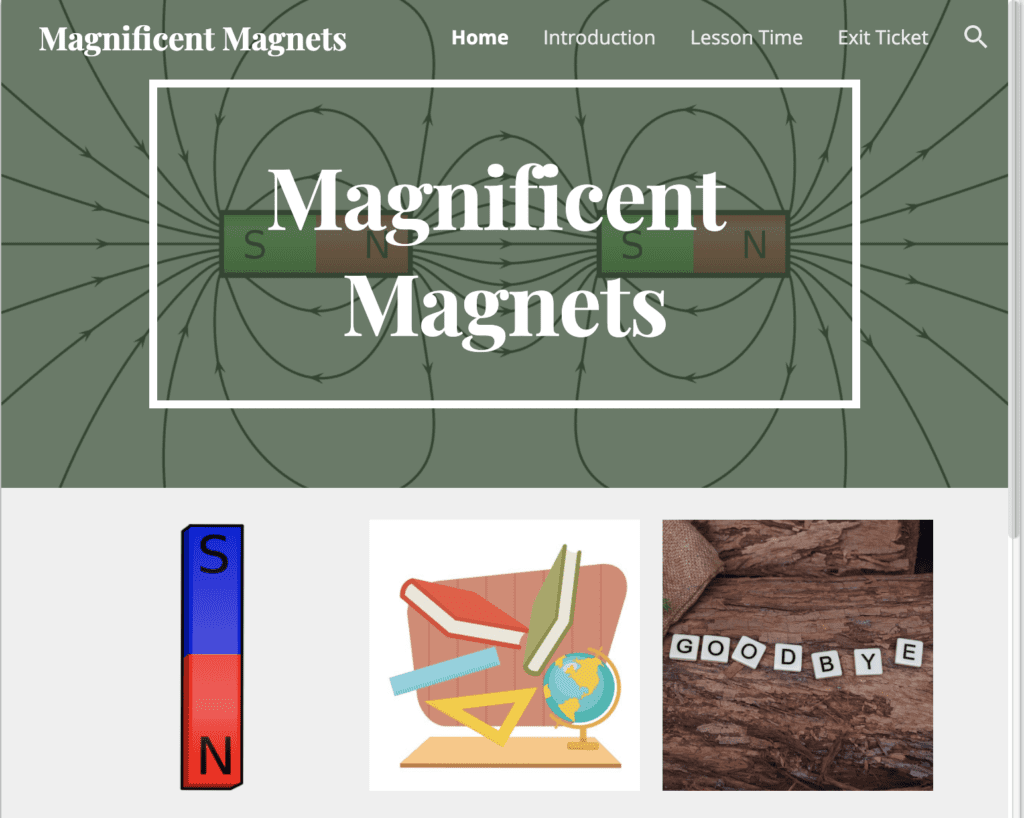
5. Teaching with Google Sites – This is my second time using google sites – the first time was in partners and we did a lesson on magnets. The reason why I like google sites is because it is an easy to organize a lot of information. I plan on using this in the future by uploading my whole unit to a google site and allowing my students to explore it as we go through. Something that is beneficial about this is students will have access to the information early. They can look through all the pages of the google site and see how each lesson is connected with one another, they will also be able to access the material outside of the class which will be nice if they want to share information and material they learned in class. I also think that it’s fairly easy to use and therefore not a huge hassle to create.

Featured Image by freephotocc

Magnificent Magnets!

Authors: Georgina Jeffers and Chloe Kelly

Grade: Third Grade

Content: Science Lesson

Context:

  1. Students will begin the lesson with a warm-up on what are magnets
  2. Students will watch videos and observe what magnets do and how they behave.
  3. Students will be asked to show their learning through an exit ticket reflecting on what was covered in the lesson.

Goal: Students will have started to grow a foundational understanding of what magnets are and how they work based on the YouTube video and exit ticket alongside.

Sources:

Photo by Dan-Cristian Pădureț on Unsplash

Mapping the Movements

Target Group – 3rd-5th

Students will use MyMaps to learn information about a different animal and the places they lived. The reason I put varying ages is because I think third graders could explore a MyMaps that’s already completed on an animal. In fourth grade, the students can choose a place to add to a class MyMaps and in fifth grade they could do their own project on an animal and do the MyMaps on their own. The goal for the lesson is for students to see how the same animal can live in so many different areas.

Let’s Learn Photosynthesis!

This activity is meant for a 1st grade science class

Context: This is an Edpuzzle that the teacher will do with their class. Because it is a little bit more advanced and there are some bigger words, I’d suggest to do this in a classroom with more TAG students who are ready to tackle more in depth parts of the plants. Something like this would not be used as an introduction activity to the unit, I think it would be better to do when students have some idea of what photosynthesis is but while still unaware of the specific parts of the plants that are involved.

Instructions: Students will click on this video and will be told to pay close attention because there will be interactive questions throughout the video. Students will be responsible for going through the video and correctly answering questions that they are asked.

Direct link to video HERE.

Using Forms in our Classroom!

https://forms.gle/5jFwBjwpKj9sT2YJA

https://forms.gle/1Xj2B6gjYm7MZiMm9

Google Forms can be super beneficial in the classroom for students to take quizzes and get immediate feedback. I think this subsides anxiety for students so they don’t need to wait for the teacher to grade each one individually and hand it back. I also think that google forms can be beneficial for morning check-ins where students can fill it out when they come in and the teacher can keep track of all the responses digitally. Another way that I think google forms can be used is for anonymous surveys if a teacher makes a link accessible for students to say, admit, ask, etc. anything that has been going on in their personal lives.

Post Featured Image – Survey by mcmurryjulie on pixabay

Grow Plant Grow!

Hailey & Chloe

Photo by Bart Zimny on Unsplash

1st Grade Science

Instructional Goal: Students will learn and understand the parts of a plant and how each of them contribute to a plant’s survival.

Outline of lesson process (explanation to fellow teachers):

1. show this video to help students learn about the parts of a plant

2. have students practice labeling the parts of a flower on the first slide of the Jamboard

3. have students do a 3-2-1 (3 things you learned, 2 things you want to learn more about and 1 thing you need to learn again) on the second slide of the Jamboard

Tech resource for this lesson: Jamboard (activity & exit ticket)

How tech resource supports instructional goal: This tech resource supports the instructional goal of having students understand the parts of a plant because it is a way for them to test their knowledge of what they have learned. The second slide of the Jamboard will help the teacher know how well their students grasped the key concepts and will give them feedback if re-teaching is necessary.

I AM

I am from a place deep rooted in love and culture

Where the people are kind and warm

They have thick skin

And despite the odds they face, they strive to win

I am from my parents, Kat and Pat

Two peas in a pod

My models for sure

When I feel sad, they’re my cure

I am from a role where I’m a big sister

I try to lead and protect

His name is Kian

He’s one of my best friends

I am in a place where I’m trying to ground my feet

At a university where I’m learning to teach

I’m excited to see

What the future holds for me

I choose to use Sway because I enjoyed how simple it was. This website is easy to understand and not hard to figure out. I think once you figure out the design aspect and how you want to present your information, it makes for a good resource to be used in the classroom (either by the students or for the students).

A Trip Around the World

Context: Graphic Organizer

Grade Level: Third

Subject: Social Studies

Hi friends! Today we’re going to get started on our learning around the world project. Over the last couple of days we’ve been talking about the different concepts that a make a place special. Some of the things we had come up with were 1) the place’s history; 2) natural resources/sites; 3) goods and services; 4) symbols (festivals, beliefs); 5) cities and; 6) people.

If you open up your computer and go onto our google classroom page, you will see a new assignment that will be completed on google drawings. for this assignment, you can choose to work alone or with a partner and you will then fill out the google drawing template based on the research you do. Remember that this is the first step and we will be using these to guide our papers and presentations.

In the center block, you will put the name of the place that you plan on researching on. It cannot be a continent or a whole country – choose a state, province, county, etc.. In the colored boxes around the google drawing, you will insert a picture with a caption that relates to that category for your chosen location.

I started on one to show you all as an example. I did Hawai’i and I only included one picture for each category but you will fill out all three boxes for each category. You will also see that underneath each picture, I included a small one or two word caption that reminds me what the picture is of.

Goals for students:

  1. Understand different concepts that make a place unique
  2. Differentiate important ideas and facts from one another.
  3. Be able to use google drawings in a productive and organized way to keep track of thinking

Working on Bubble Maps

Hi friends, today we’re going to be working on what’s called a bubble map!

A bubble map has one big circle in the middle with the words or picture of the main idea or topic you’ll be working on. From the big circle, there will be lines going outwards that connect to smaller circles. In the smaller circles there will be details about the main point.

On Jamboard, we’re going to work on our own bubble map with the animals that you all did for your science projects. I’ve included a picture of something you can use as an outline for your own bubble maps. In the big circle it says “Animal of your choice” where you can either write, draw, or print a picture of your animal. In the smaller circles, it says things like “diet? habitat? mammal? predators? etc” and these are the things you researched about your animals.

As a class we worked together on an animal, we chose the penguin.

*Now you can either show the next picture I’ve included or use it as a personal reference to guide you and your class through a bubble map on penguins.*

On each slide after this one, there is a blank bubble map that each of you need to fill out. Go to your number assigned page and start working on your assignment. Don’t forget to put your name on the top before you begin.

Bubbles Photo by Alberto Bianchini on Unsplash