ThingLink

Attached is the ThingLink I made about the water cycle. I thought this app made it really easy to display the different parts of the water cycle. This app was very easy to use and it took me 10 minutes to make. I really enjoyed the clean crisp look of my ThingLink.

I can see myself using this application to make interactive photos for my lessons. I loved how I could customize the dots to show the sequence of the water cycle. I think this would be great for a social science or science lesson!

Thinglink

Thinglink was very easy for me to use when it came to adding points, descriptions, videos, pictures, and audio. This tool seems like it could be incredibly versatile and educational in the classroom. I can see students using these pictures or virtual reality on tour creators to explore places or things they’re curious about or as an introductory lesson to a new unit. These apps provide priceless opportunities for students who my not have access to experience some things in real life. It reaches all students and allows them to think outside of their own school, neighborhood, or city.

I think visual and kinesthetic learners will really enjoy navigating the apps, clicking on the links, and learning about different topics through many modes of communication. These apps could also be used by older students as well to make their own projects on what they learned or what they want to teach others. These could be easily used in state or animal reports, and act as an engaging and interactive teaching tool in a lesson. I look forward to using these in the future!

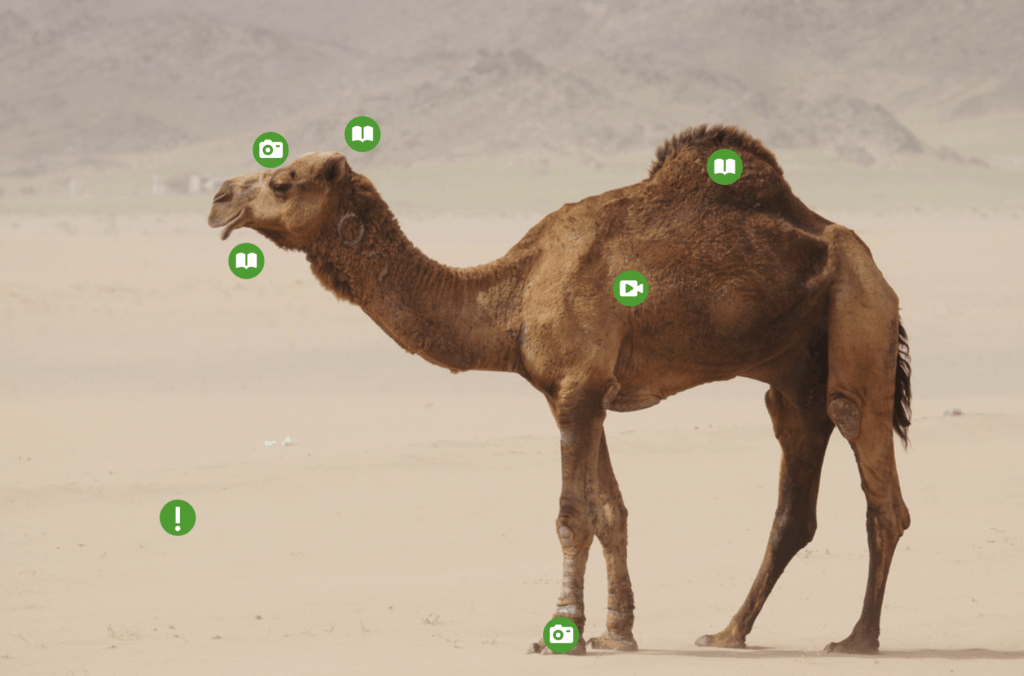
Above is a simple interactive picture to get to know orca whales!

thinglink

Thinglink is a platform where students and teachers can tag a picture to add more information to the picture such as a video, an embed link, or an additional image with text or a link. This would be great for a lesson where you want students to research a concept, directing students to specific websites using links as well as specific videos. In my example I embedded a pallet board where all the students can post what they have learned from their “research”. Thinglink would be a great tool for students to use as a final project to put all their work in one spot. For example, if they created a youtube video of them modelling a bee pollinating a flower they could post that link as a tag on their thinglink.

Google Tour

The google tour could be useful if maps are needed for a lesson, but it is pretty time consuming to add different locations and scenes. It wouldn’t be useful outside of a social studies lesson and has a pretty specific use. While it is functional and easy to use, the practical application is relatively limited in the classroom.

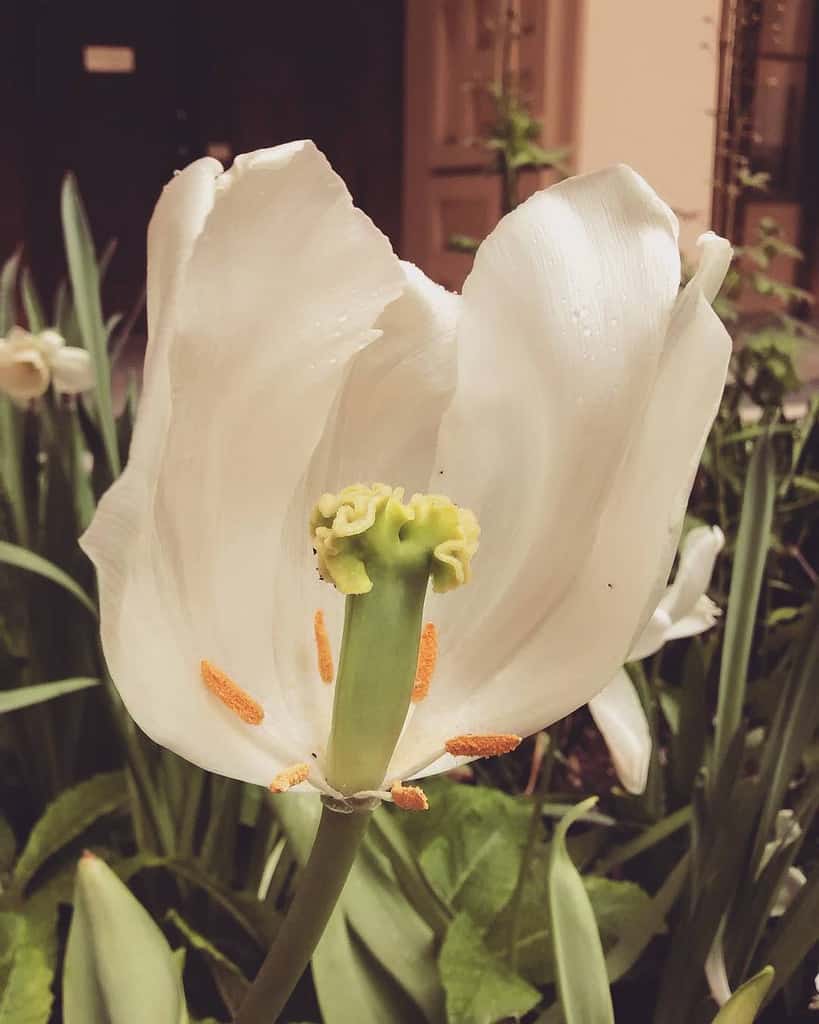
Thinglink: Flower Anatomy

Thinglink is a very cool tool that allows students to interact on a more personal way with their learning. With the ability for the teacher to input all information they they would like their students to learn, the research process for students is streamlined. This is a great way to present information in a new way with the ability to use virtual reality creating an exciting experience for students. I can see myself using this software to teach a variety of subjects, such as science like with this flower anatomy lesson, with geography and social studies to tour a setting, as well as for history. I really enjoyed creating and look forward to using it in the future.

Google’s Tour Creator is also another wonderful tool that I can see myself using in the classroom to give tours of cities. This can easily show students historical information as well as social aspects. The ability to connect it to VR devices is also an interesting way to bring it into a classroom and would be very exciting for students to use with their own creations.

Mouse over the image to interact with it!

Photo Credit: Tulip Cross Section by r reeves

Thinglink

Thinglink and Google Tour Creator are both super cool options for incorporating technology in the classroom. Whether teachers are using it as an interactive lesson or students are creating their own to demonstrate learning, both apps have awesome features.

One of my favorite things about Google Tour Creator is the option to view it with virtual reality on the Expeditions app. This way you can really see your projects come to life.

On the other hand, I personally found Thinglink more user-friendly, and it was easier for me to get the hang of it. Thinglink could be really practical in the classroom, and it would be a great option for differentiation. For example, if you have some really tech-savvy students in your class, this would be a wonderful option for assessment.

Below is a Thinglink that could be used for a lesson on habitats. I uploaded an image of an ocean habitat, (specifically a coral reef) and added tags where certain information matched the image. Some tags include animals, functions, and elements of coral reefs.

ThinkLink Vs. Google Tour Creator

Above is the Anatomy of a King Salmon with ThinkLink being used as the Application!!! Works super great and straight forward!!!

Okay….So I tested the water with both ThinkLink and with Google Tour Creator. For me personally in Biology classroom ThinkLink is best used because we don’t really perform many tours…unless I was to use it for a biomes lecture. ThinkLink works perfect for diagrams and adding in information. But Google Tour is also great but it’s more centered around a guided tour feel. Which seems above and beyond what I would need for my HS biology class.

Adobe Spark vs. Sway

Where I'm Going

AdobeSpark and Sway are both wonderful tools that I can see myself using in my classroom! They both are easy to use websites that can be utilized in many ways for students. I can see myself teaching AdobeSpark more to my students as it is more straightforward and trouble shooting would be a lot easier. Adding photos directly from adobe is easy, and the site can also be utilized for many other projects, other than website design. The site also seems simpler in terms of themes. It is simple and could even be used as a stepping stone to other tools such as Sway.

Sway Vs Adobe Spark

Sway vs Adobe Spark Page

So between the 2 apps Sway and Adobe Spark Page I personally like Adobe Spark Page better. They are basically the same though. Visually they are both pleasing to the eye, are a good way of keeping the reader engaged, and easy to use. What gets me about Adobe Spark Page though is that it is simpler overall to use, there is no having to find your way around, its super straight forward!

Below you will see that I used Sway to show where I am from and Adobe Spark Page to show where I like to travel!!!

Where I Like to Travel

Sway vs. Adobe Spark Page

Both programs are really great resources for many things! But I liked the Adobe Spark Page the most because the formatting of the actual project was easier to navigate through and simpler than Sway. Another thing I liked about Adobe Spark Page is that the editing process was much easier to navigate through and fix than Sway (I had to redo a few things multiple times on Sway because when I tried to edit the format, it changed the final layout). The last thing I liked about Adobe Spark Page is that it’s not limited when it comes to creating/customizing your actual product, but in Sway, their customization choices are limited.

My Future

Adobe Spark vs. Sway

Why I Love to Travel, My Theoretical Trip

I enjoyed using both the Adobe Spark and Sway, but I liked using Adobe Spark better. I liked the overall feel of it better, and I feel that it was easier for me to navigate through. It was also easier to add in pictures and it was nice to add in captions and the text would go underneath. When I did my Sway project, I did one where the text would go over the picture, so some of the text would cover the picture and I couldn’t really fix the font. But I liked using both, I just prefer Adobe Spark more!