Class 6. Individualize Learning with Google Slides and Forms

Featured Photo by Anne Nygård on Unsplash

Overview

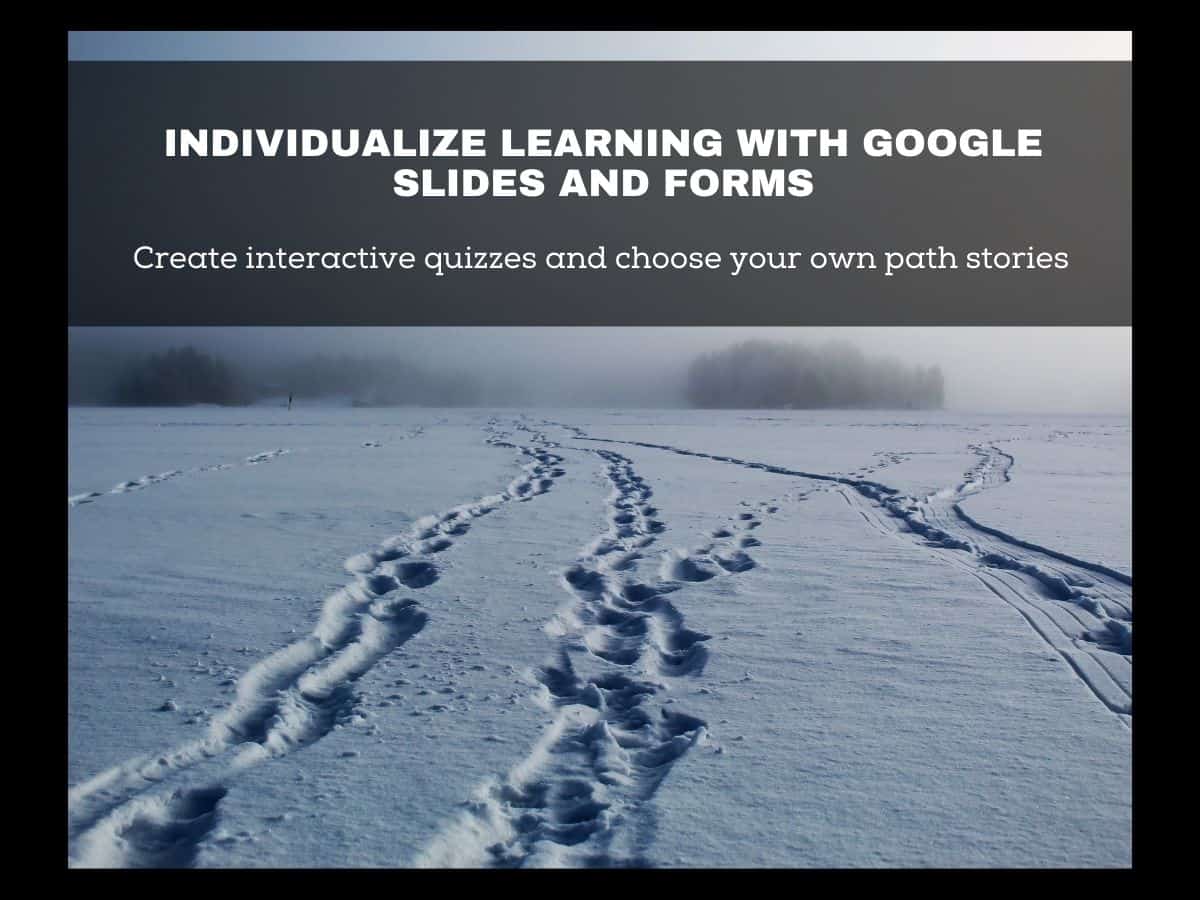
Today’s class will be a deep dive into using Google Slides and Forms to individualize learning. We will explore techniques to use both formats to create learning experiences that allow student responses to direct students to new content. With modification they can be used to create quizzes that give students immediate feedback and remediation. Similar techniques can be used to give students a chance to choose their own path through content.


Differentiated Google Slides

1. Interactive quizzes via slides

Sample Interactive Quiz Link
Interactive Quiz Template Link

2. “Choose your own path” slides (also called “If /Then Adventures”)

The Secret Village Link
African Safari Link
Go for a Ride Link | Here’s how it was made Link

More detailed info on making “interactive” Google slides
Make a copy of a Planning Guide

How to Create a Choose Your Own Adventure Slide set


Differentiated Google Forms

Basics on making a Google Form

3. Self grading form – students will see how they did on each question. And you can provide feedback and “reteaching” for questions they missed.

Sample Self Graded Quiz Link
How to make Self Graded Quiz Link

Here’s a good how to on created a self-grading form

4. Differentiated form – it is self graded, except if as they get correct or wrong answers they follow different paths. For example if they miss question 1, they go to instructional info and then retake the question. If they get question 1 correct, they go directly to question 2. 

Sample differentiated quiz Link
Here’s one that adds images Link
Here’s one in French Link (scroll down)
Here’s a good planning tool for “choose your own path” Link

How to use Google Forms so students can choose their own path through content.

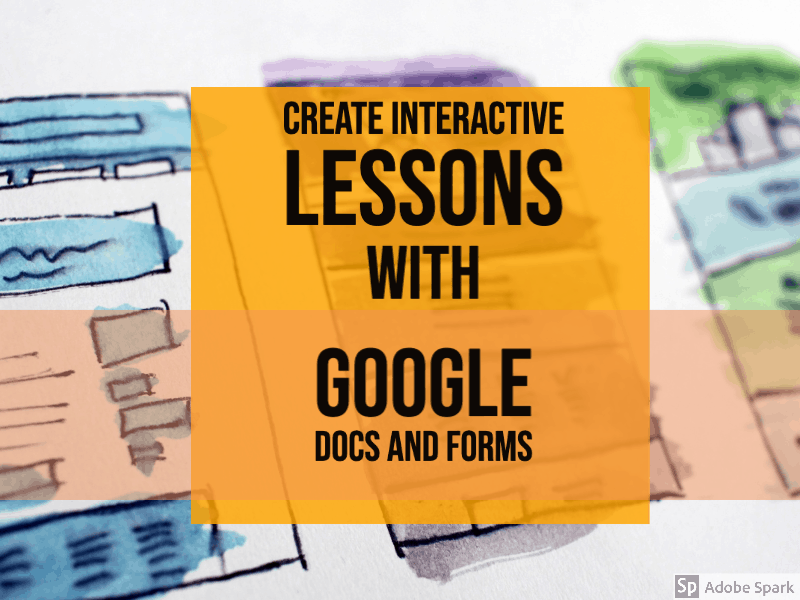
Assignment 6: Design an Interactive Lesson Using Google Forms | Form Lesson 21-A6

Design an interactive lesson for your next post – using Google Forms. It could be a self-graded form or a differentiated form. Your post should include:

  1. Title and featured image
  2. Target student group for lesson – grade level or subject
  3. Instructions for students
  4. Goal for lesson and how the form helps you meet the goal.
  5. Be sure to include student feedback via correct answers / differentiated path.
  6. Google Form can be embedded in WordPress. See instructions below for how to embed your Form in your post. 
  7. Also include a direct link to your Google Form in your post.

Resources

You will need to get an embed code from your Google form to use with the “Custom HTML” block in WordPress and embed in your post.

To get an embed code for Google Forms:

Class 6: Design Learning with Google Sites

Design Learning with Google sites

In today’s class we’ll learn how to create a website using Google sites. Sites are free and become part of your content stored in Google Drive. Sites can easily showcase content you have created using Google docs, slides, forms, MyMaps, Tour Creator or YouTube videos. Note: be sure to use the new (not classic) google sites.

We will begin by exploring some Hyperdoc lesson ideas (learning activities designed using the Google Suite.) Then we will have some basic instruction on creating a Google site and importing content from a variety of sources.

Assignment 5: Design a Google site | Sites 20-A6

Working solo or with a partner, design a learning activity that is supported by Google site. The Google site and WordPress elements

1. Google site – Start Page (Home Page)
Be sure to include:

  • Unique header image
  • Title of the lesson
  • Author (s) of the lesson
  • Target student group. Grade, course
  • Lesson context? – for example – introduction, pre-assessment, part of bigger unit, etc
  • The intent of the lesson –  for example – what would students know or be able to do? Or what feedback would teacher gain?

2. Google siteAt least 5 additional pages that provide resources and activities for the students
Be sure to include:

  • Unique header image for each of the pages
  • A pre or post assessment using a Google form
  • At least 4 content elements from the following Google suite: Slides, Forms, Docs, My Maps, Tour Creator, YouTube Videos (made by someone else)

3. A WordPress post that showcases the site.
Be sure to include:

  • Fun title and featured image
  • An image of the site that serves as hyperlink (see how to video below)
  • A brief write up about the site that includes – material from your start page list above

Resources

How to create an image link to your Google site and put it into WordPress

Get started with Google Sites


G Sites Learning Center


Class 5: Create Interactive Lessons with Google Docs and Forms

Create Interactive Lessons with Google Docs and Forms

Today’s class will explore how to use Google Docs and Forms to create interactive student lessons, Class will begin by reviewing some sample lessons:

We will discuss how they can be used in the classroom in a variety of ways. Then we will review how to create both Docs and Forms.


Assignment 5: Design a Lesson Using a G Doc or Form | Google form Lessons 20-A5

Students will design a lesson and embed it in a blog post. The post should include the following:

Note: this lesson could be designed for a real or hypothetical class

  1. Featured image and fun title
  2. Target student group. Grade, course
  3. Lesson context? – for example – introduction, pre-assessment, part of bigger unit, etc
  4. What tech set up would students use? – for example – 1:1? Learning stations, etc
  5. The intent of the lesson – for example – what would students know or be able to do? Or what feedback would teacher gain?
  6. How G Doc or G Form will be used to help achieve lesson intent.
  7. Embedded G Doc or G Form

Resources – How to GEt Embed codes (Then use with HTML SNippets)

How to get an embed code for a Google Form – Follow steps to get embed code to use with HTML Snippets to embed in WordPress

How to get an embed code for a Google Doc

To embed a Doc into your blog, open the document. Select the Publish to the Web under the File menu.

Click the Publish button.

Then copy the embed code and use with HTML Snippets to embed in WordPress

Class 12: Google Hackathon

In today’s class we will explore the ever-changing world of Google apps for education. I’ve created a Google site with a section devoted to Google tools – docs, forms, MyMaps, slides, sites and more. After spending some time exploring the resources, students will have the chance to create an activity using a Google app.

Assignments
  1. Use a Google tool to design an activity. Create a blog post that explains the intent of the activity and includes an embedded version of the Google tool.
  2. Prepare for using iBooks Author to showcase your critical thinking lesson. Check this page for getting your content ready for using iBooks Author

Image credit: Google photos icon link