Let’s Explore the Outdoors!

Hello 4th Grade Families!

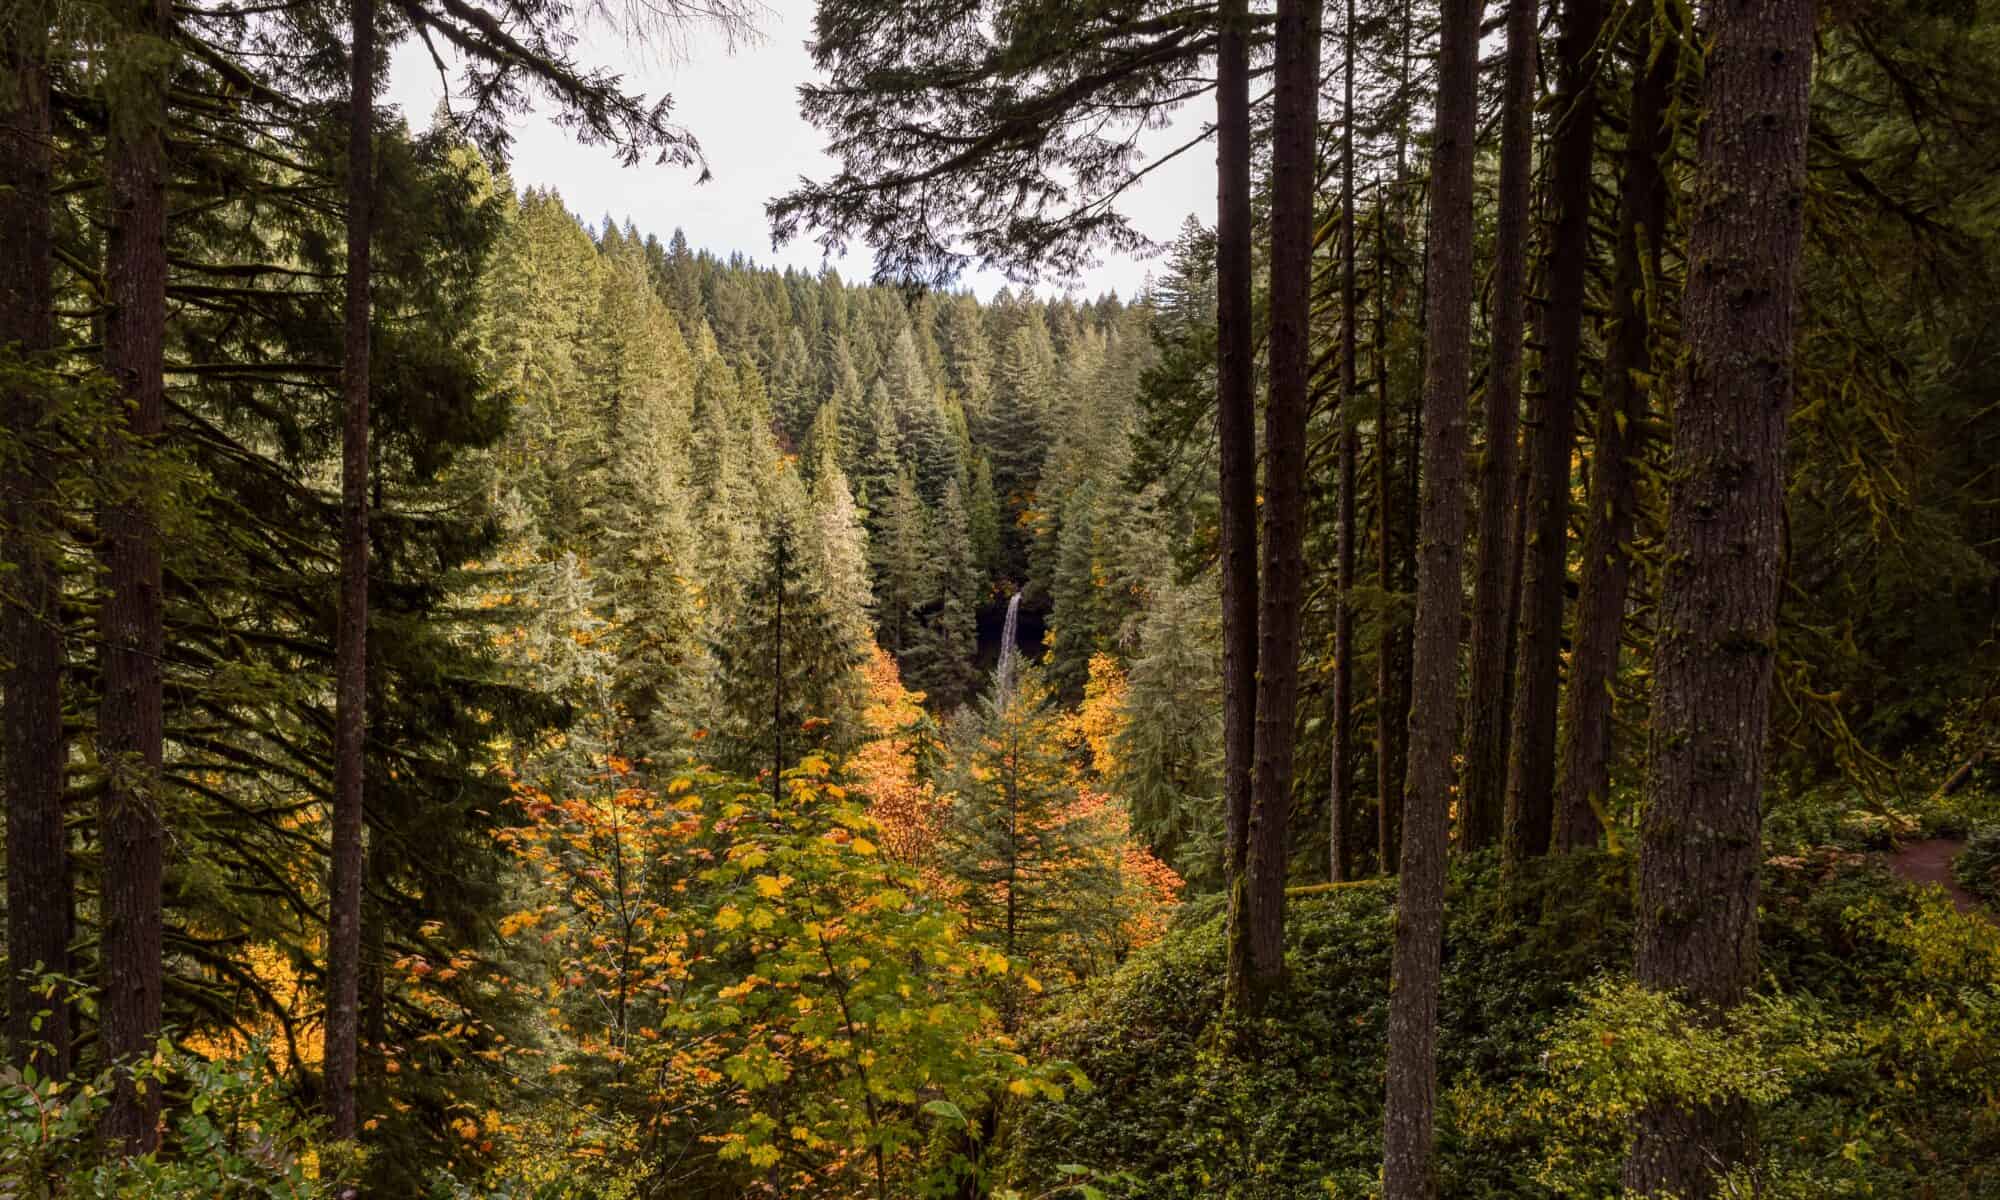
Thank you for volunteering to come with us to Hoyt Arboretum this Thursday. The class is so excited to visit and see the nature they’ve been researching.

Here’s an outline of our time there (times are approximated):

  • 9:30am: Please plan to meet us at the Visitor Center around 9:00am. You may meet us at the school first but you will need to drive on your own and meet us there. We will be listening to a Nature Educator tell us a little about the trail we’re going on as well as the safety protocols before hiking.
  • 10:00am: We will begin our hike, which starts near the Stevens Pavilion. We will be dropping off students’ bags — make sure they take water bottles — before starting the fir trail (marked with triangles on the map). This will take about 45 minutes to an hour as the Nature Educator will be pointing out things along the way. Students will have a worksheet to take notes with — please make sure those around you are filling them out, and assist with any spelling/repeat questions when you can.
  • 11:00am: We will be finishing the hike back at the Stevens Pavilion. Students will be asked to share some of their thoughts about the hike as well as some of the notes they took. Afterward, we will be eating lunch at the pavilion.
  • 12:00pm: We will be returning to the Visitor Center after lunch to do a little recap with the Nature Educator.
  • 12:30pm: We will plan to leave the Hoyt Arboretum around this time, 1:00pm at the latest. All students must return back to school to do another recap in the classroom and finish part two of their worksheets before turning them in. We welcome you to join us in the room if you’d like. Students will then be excused at the usual time.

If you have any questions, please do not hesitate to reach out. We cannot wait to see you on Thursday — thank you again for volunteering!

Citations:

Photo by Engin Yapici on Unsplash
Oregon Trail

Hello 5th graders! Today we will be expanding our knowledge of the Oregon Trail. I know we started to talk about where the Oregon Trail began and ended, but we have yet to look at a map to get a clearer picture of how long this journey was. For today’s assignment, we will be using Google maps to follow their journey by going through each state they went through and seeing how long it took them to get through that state.

Goal

  • Students will be able to use Google maps correctly and by themselves to view the Oregon trail
  • Students will go through each state and see how long it would take to walk through it.

Materials

  • Google My Maps Account
  • Electronic device
  • list of states the Oregon Trail went through
  • Paper and pencil

Instructions

  • Students will log into their Google My Maps account and make their own map of the Oregon Trail based on the list of states they went through from the previous class.
  • Once the first map is finished of the full trail they will then do a map of the individual states on the trail.
  • They will then check to see how long it takes to walk across that state using the directions buttons and the walk feature.
  • Once they finish the individual states they will add up the amount of time it takes to walk each state to get the total time of the Oregon trial journey.

Image by Davgood Kirshot from Pixabay

West Region US Capitals by Map

Introduction

This lesson is aimed at 4th-grade students to help them learn about the different US capitals. For this lesson, I chose to focus on the US capitals in the western region, and you could make a similar lesson when focusing on the other regions within the US.

Instructions

For this lesson, students will look at the different state capitals in the Western region. Students will fill out a worksheet while they look at the map, where they write down the capital and match it to the state, as well as identify a specific geographic feature of that area (ie. mountains, lakes, rivers, etc.).

Goals/Objectives

This will allow students to learn the state capitals as well as practice identifying and recognizing different geographic features of regions. This also allows students to get a visual idea of where each state and its capital is located, creating a hands-on interactive activity rather than simply having students memorize the information.

Map

Worksheet

Featured Image: Image by Clker-Free-Vector-Images from Pixabay

Hop Along the Oregon Trail

Feature Image by Artodidact from Pixabay

Welcome 4th Grade!
Today, we will be starting our Oregon Trail unit!
We will:
– Set the historical context for the Oregon Trail and
– Understand the geography of the Oregon Trail

Historical Context
Let’s look at the history of the Oregon Trail using our journalist questions:
What was the Oregon Trail?
The Oregon Trail was a wagon trail that spanned about 2,000 miles.

Where was the trail?
The Oregon trail started in Independence, MO, and ended in Oregon City, OR. Along the way, travelers made stops at landmarks, or notable locations, such as forts, rock formations, and settlements. Many landmarks can still be visited today, such as Courthouse and Jailhouse Rock in Nebraska or Whitman Mission in Washington.

When was the Oregon Trail used?
While the trail was formed between the 1810s and 1840s, the largest wave of pioneers traveled along the Oregon Trail between 1846 and 1869.

Who traveled along the Oregon Trail?
Over 400,000 pioneers made their way along the trail. Amongst the pioneers on the trail were adults and children, families and single folk, slaves, and free persons looking for a better life.

Why did people travel the Oregon Trail?
Manifest Destiny was an American belief that pushed westward expansion. This belief in addition to the chance of owning land and finding gold caused many to make the 2,000-mile journey from Missouri to Oregon.

How did people travel the Oregon Trail?
Pioneers traveled in groups called wagon trains. Each wagon train consisted of 30 or more wagons, or prairie schooners, that were pulled by teams of horses or oxen. Additionally, because the pioneers had packed all their belongings in the wagons along with food and medicine for the journey, there was little room for traveling in the wagons. Because of this, many pioneers traveled on foot alongside the wagons and any livestock they had brought with them.

Map Analysis

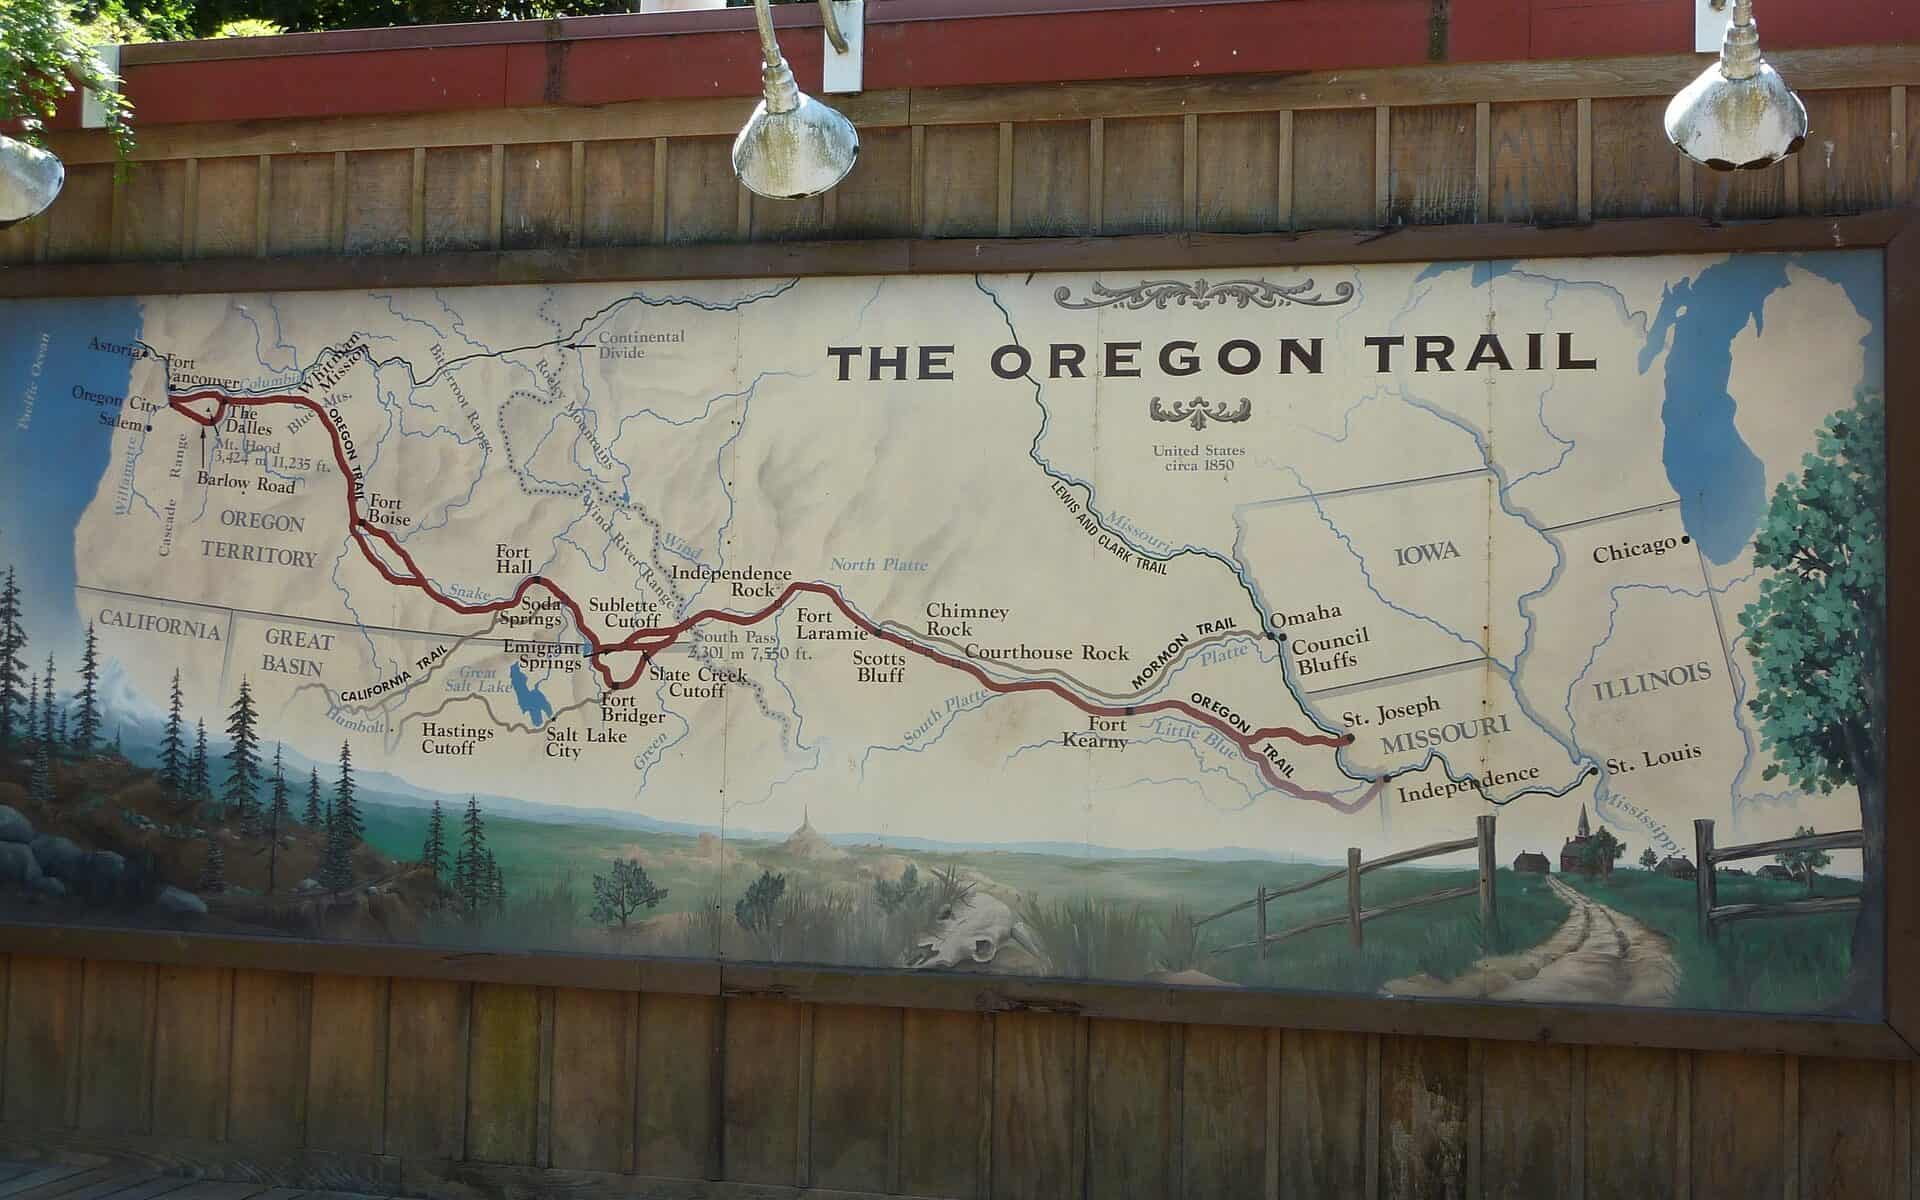
Below is a map of the Oregon Trail. Take a couple minutes to examine it before we discuss it as a class.

Discussion Questions
-What is do you notice about the map as the trail moves westward? What happens to the terrain, or land?
-What landforms do you see on the map along the trail in Colorado, Wyoming, and Idaho?
-Recall our lesson on geographic features in the US. Which notable geographic features would the pioneers on the Oregon Trail have passed through?
-Using what you know about how the pioneers traveled along the trail, which parts of the trail do you think would have been the toughest? How do you think the pioneers overcame these obstacles?

Coming Attractions
Next class, we will look at:
-Life on the Oregon Trail and
-Interactions between pioneers and indigenous peoples along the Trail

Lesson Vocabulary
Landmark: a notable feature or object of a landscape that is easily recognizable
Manifest Destiny: an American belief that fueled westward expansion efforts in North America
Wagon Trains: a group of wagons that travels together
Prairie Schooner: another name for a covered wagon that comes from the bonnet shape of the wagon’s canvas cover
Terrain: a synonym for land
Landform: a feature of the land such as a mountain, plain, plateau, peninsula, etc.

Tour Around Your Neighborhood

Hello 3rd graders! Have you ever used a map before? Maps are tools that we can use to help orient ourselves and figure out directions to get somewhere. Some maps show us the geography of the land area, some show us the highways and roads while other maps like thematic maps show us the weather of the specific area. For today’s assignment, you are going to be asked to create your own map of your neighborhood after taking a walking tour around. With a parent or guardian, you are going to take a walk around your neighborhood and make note of any specific landmarks like coffee shops, parks, or stores that make up your neighborhood. Then you will be asked to make Google My Map of all the places you visited on your neighborhood walk.

Goal

  • To have the student feel comfortable using an electronic map and become more aware of the own community they live in

Materials

  • Google My Maps Account
  • Electronic device
  • Paper & pencil

Instructions

  • Make sure all students know how to log into their Google My Maps account and now how to create a new map
  • Show the students the different features of the application and how to add locations, edit names, add images
  • Have them go and the neighborhood walk
  • Have students create their maps using the locations they visited (Minimum 3 locations in the neighborhood)

Gallery Walk

  • After everyone has finished and submitted their maps the student will display their maps on their computer. Then the whole class will go on a gallery walk to see their classmates’ maps and the different things that some students included in their map

Example Neighborhood Walk:

This map was created using the University of Portland as its home base. The tour includes a stop at Sparrow Bakery, a trip to Fred Meyers, a nice stroll to Columbia Park, and then back to campus.

https://www.google.com/maps/d/edit?mid=1n_5ve3WeP235pxvU31qYDWmijWeyZSA&usp=sharing

Featured Image: Image by macrovector on Freepik

Voluminous Potential

AI is an intriguing tool for teachers to explore. While AI cannot understand your students’ interests or make emotional connections, teachers can use AI for lesson or assessment inspiration and then change it to best fit their class.

I asked ChatGPT to create an activity to teach 5th graders volume and this is what it came up with:

Objectives:

  1. To understand the concept of volume
  2. To understand how to measure volume
  3. To practice measuring volume using cubes

Materials

  • Small cubes (such as cube blocks or dice)
  • A clear container (such as a glass or plastic box)
  • A ruler or measuring tape

Instructions:

  1. Introduction: Introduce the concept of volume and explain that it is the amount of space that an object takes up.
  2. Measuring Volume: Show the students how to measure the volume of the container using a ruler or measuring tape. Have them write down the measurements for length, width, and height.
  3. Filling the Container: Have the students fill the container with small cubes, one at a time.
  4. Counting the Cubes: Have the students count the number of cubes they used to fill the container. This number is the volume of the container.
  5. Practice: Repeat the activity with different containers of different sizes, and have the students compare the results.
  6. Calculating Volume: Introduce the formula for finding the volume of a rectangular prism: V = l x w x h, where V is the volume, l is the length, w is the width, and h is the height. Have the students use this formula to calculate the volume of the containers they filled with cubes.
  7. Reflection: After completing the activity, have the students reflect on what they learned about volume and how they can use it in real life.
  8. Conclusion: Summarize the main concepts covered during the activity and reinforce the importance of understanding volume.

Assessment: Observe the students as they complete the activity and ask questions to ensure they understand the concepts. You can also ask them to write a brief summary of what they learned about volume.

While I wouldn’t consider this the most interesting activity ever created, this is a good example of something teachers can use as a starting point to build on and make their own. For example, if this was my class, we might start off with an estimation exploration in which students look at an image of a box of candy and try to guess how much candy is/can fit in it. Or we could change the assessment to a partner poster or gallery walk of work about the most important parts of measuring volume/what they learned.

Citations: chat.openai.com, lexica.art/aperture

If We Had a Million Dollars

This is a third grade math lesson that surrounds budgeting and using money. The lesson will be after students are introduced to the basics of money in the real world. Students will be asked to look at the MyMap created of field trips that would be fun to take if we (as a class) had a million dollars. Students will pair up, pick one location, and are given a budget that they must follow when planning a field trip to that destination. Students will have to consider plane tickets, where we will stay, tickets to the location, food, transportation, exc. This requires at least one device per group so they can research their destination and the cost of the list above.

https://www.google.com/maps/d/edit?mid=17-Jmjxq9Y3_0qZjW4fj5ZiA2aKSrKB4&usp=sharing

The goal should be used to let student investigate where the destinations are located as well information that can also be found on the website. Students should have time to finish this project, and they will present their findings to the class.

Portland Scavenger Hunt

Hi everyone! Ms. P’s 3rd grade class is going on a day-trip to Portland, Oregon, to learn about a major city and get the chance to write about it! This lesson was inspired from, and combines locations from my 3rd grade scavenger hunt field trip, and my 6th grade bridge project.

Common Core Learning Targets:
  • L.3.1. Demonstrate command of the conventions of standard English grammar and usage when writing or speaking.
  • L.3.2. Demonstrate command of the conventions of standard English capitalization, punctuation, and spelling when writing.
  • W.3.2. Write informative/explanatory texts to examine a topic and convey ideas and information clearly.

Instructions:

Today, you, a parent chaperone, and field trip buddy, will be exploring downtown Portland to get inspiration for our next writing project! Take notes about the things you see and do — what is special about each location and each experience? You will be writing a story based on these experiences using descriptive details and event sequences. Look at the map and pick some locations to go, but please pick:

  • At least 3 bridges
  • At least 2 buildings
  • At least 1 park
Bring with you:
  • A packed lunch (school can provide if necessary)
  • Map of Portland with locations marked/Scavenger Hunt List
  • Pen/Pencil
  • Chaperone and field trip buddy!
Scavenger Hunt:
  • Drink from a Benson Bubbler
  • Pose with one of the Animals in Pools fountains
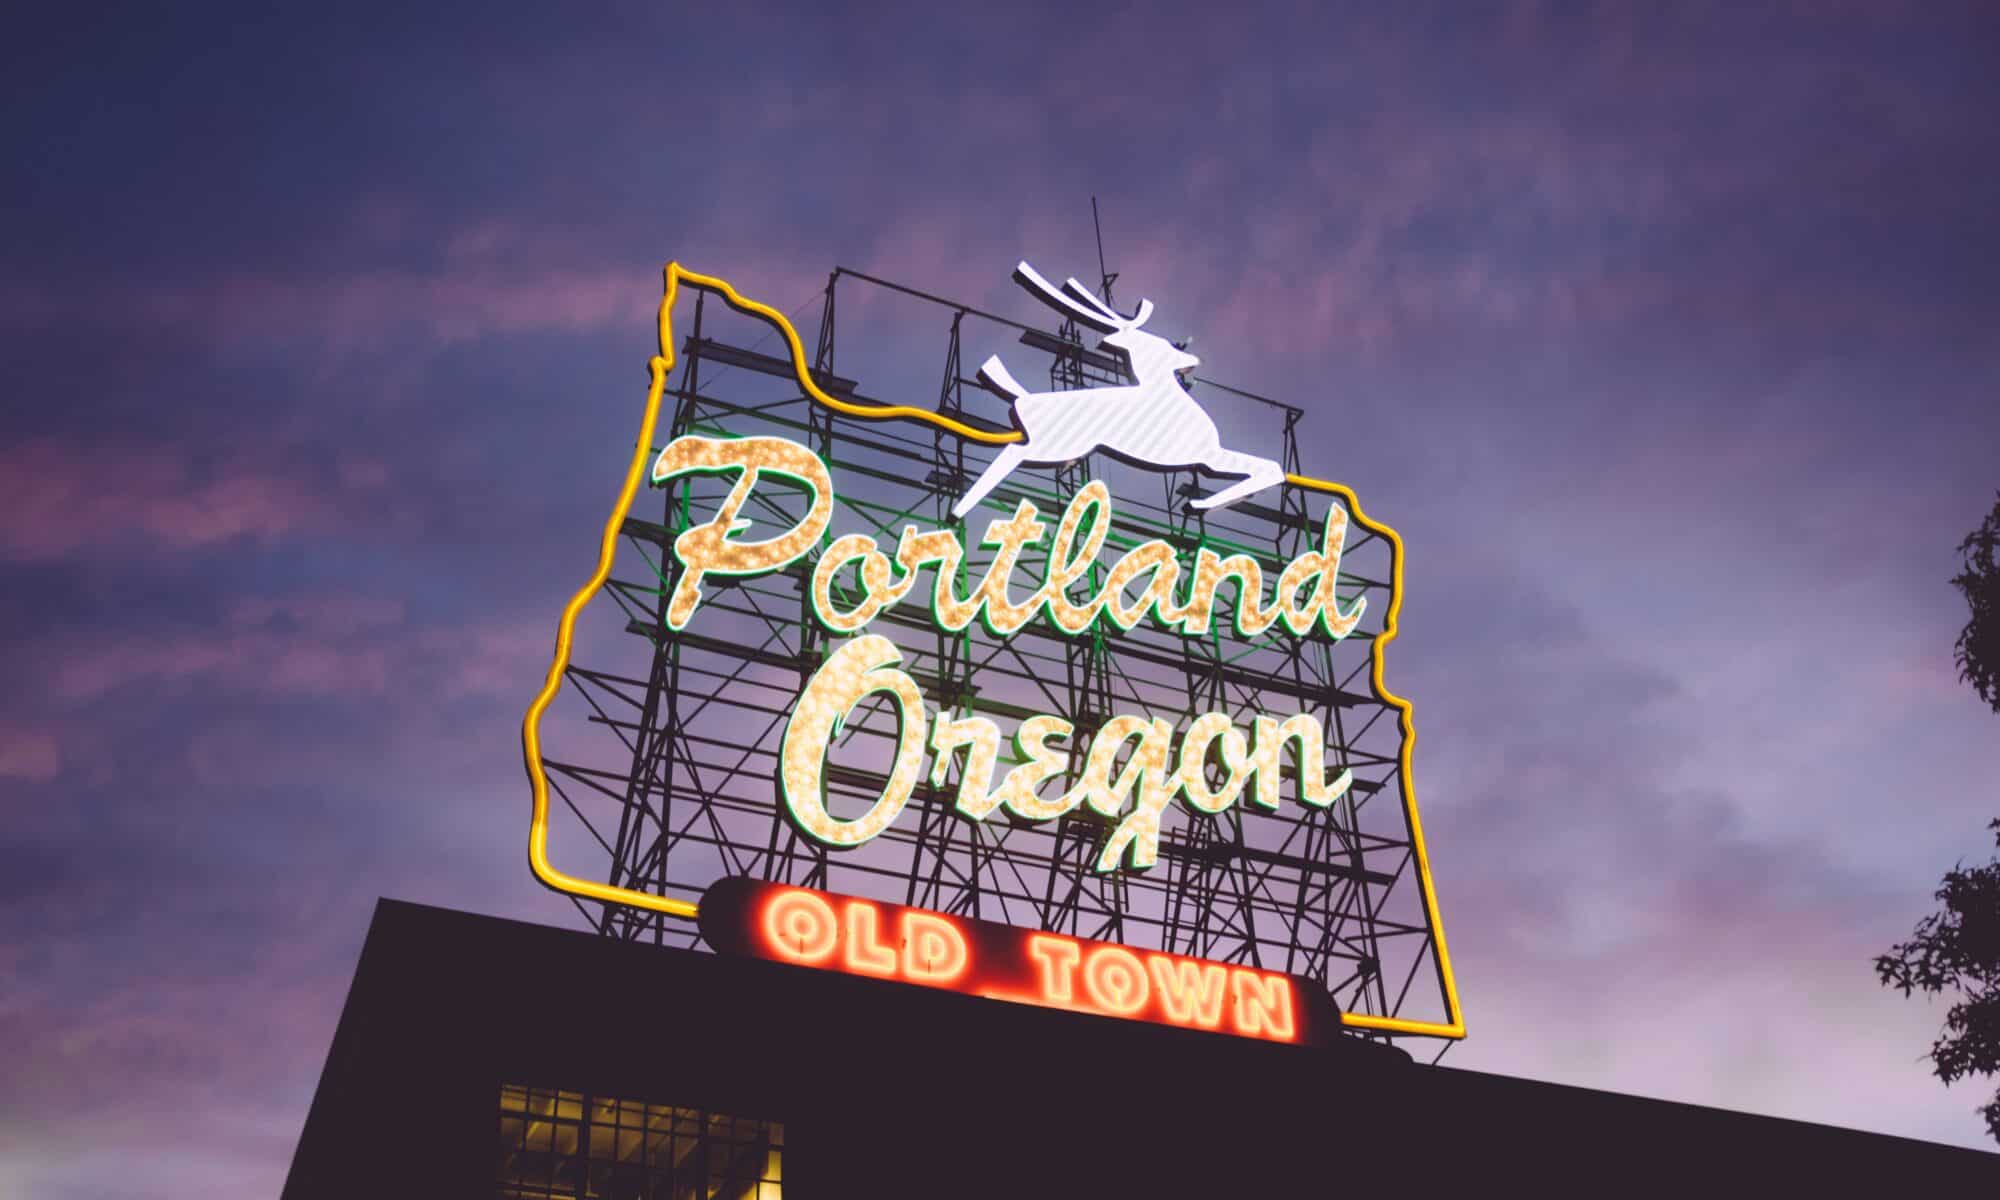
  • Find the white stag sign
  • Perform a song outside of the Keller Auditorium
  • Create a piece of art using plants you’ve found and leave it for someone to find
Map of portland:

Use the map to help you find your way — plan which locations you would like to go to and save them!

End of the day:

We will all meet at 2:30pm at Powell’s Bookstore, marked with a RED heart on the map.


Credits

Photo by peter bucks on Unsplash

-Nicole Pagtakhan

Tour Around Town: Wilsonville

Second Grade Lesson on the Local Community: Boeckman Creek Primary

Hello super second graders!
Have you ever used a map before? Maps are tools that can be used to help us find our way somewhere, and can be super helpful, especially if you want to explore!
Below is a map of our very own town!
I have gone ahead and placed a few markers around of some important locations around our very own city of Wilsonville, and I want YOU to find out how many of each we have, and what their names are!


  1. First, look around the map and get oriented, where’s our school? (Boeckman Creek Primary)
  2. Then, find some key locations that you may have seen/been to before. Murase Plaza? Memorial Park? Town Center Park? Graham Oaks?
  3. Answer the questions provided beneath the map on a scratch piece of paper and turn in to Mr. Marelich for your exit ticket!
  4. Have Fun, and Good Luck on your adventure!

Questions:
How many parks are listed? How many have you been to before?

Which two parks are connected by a trail?

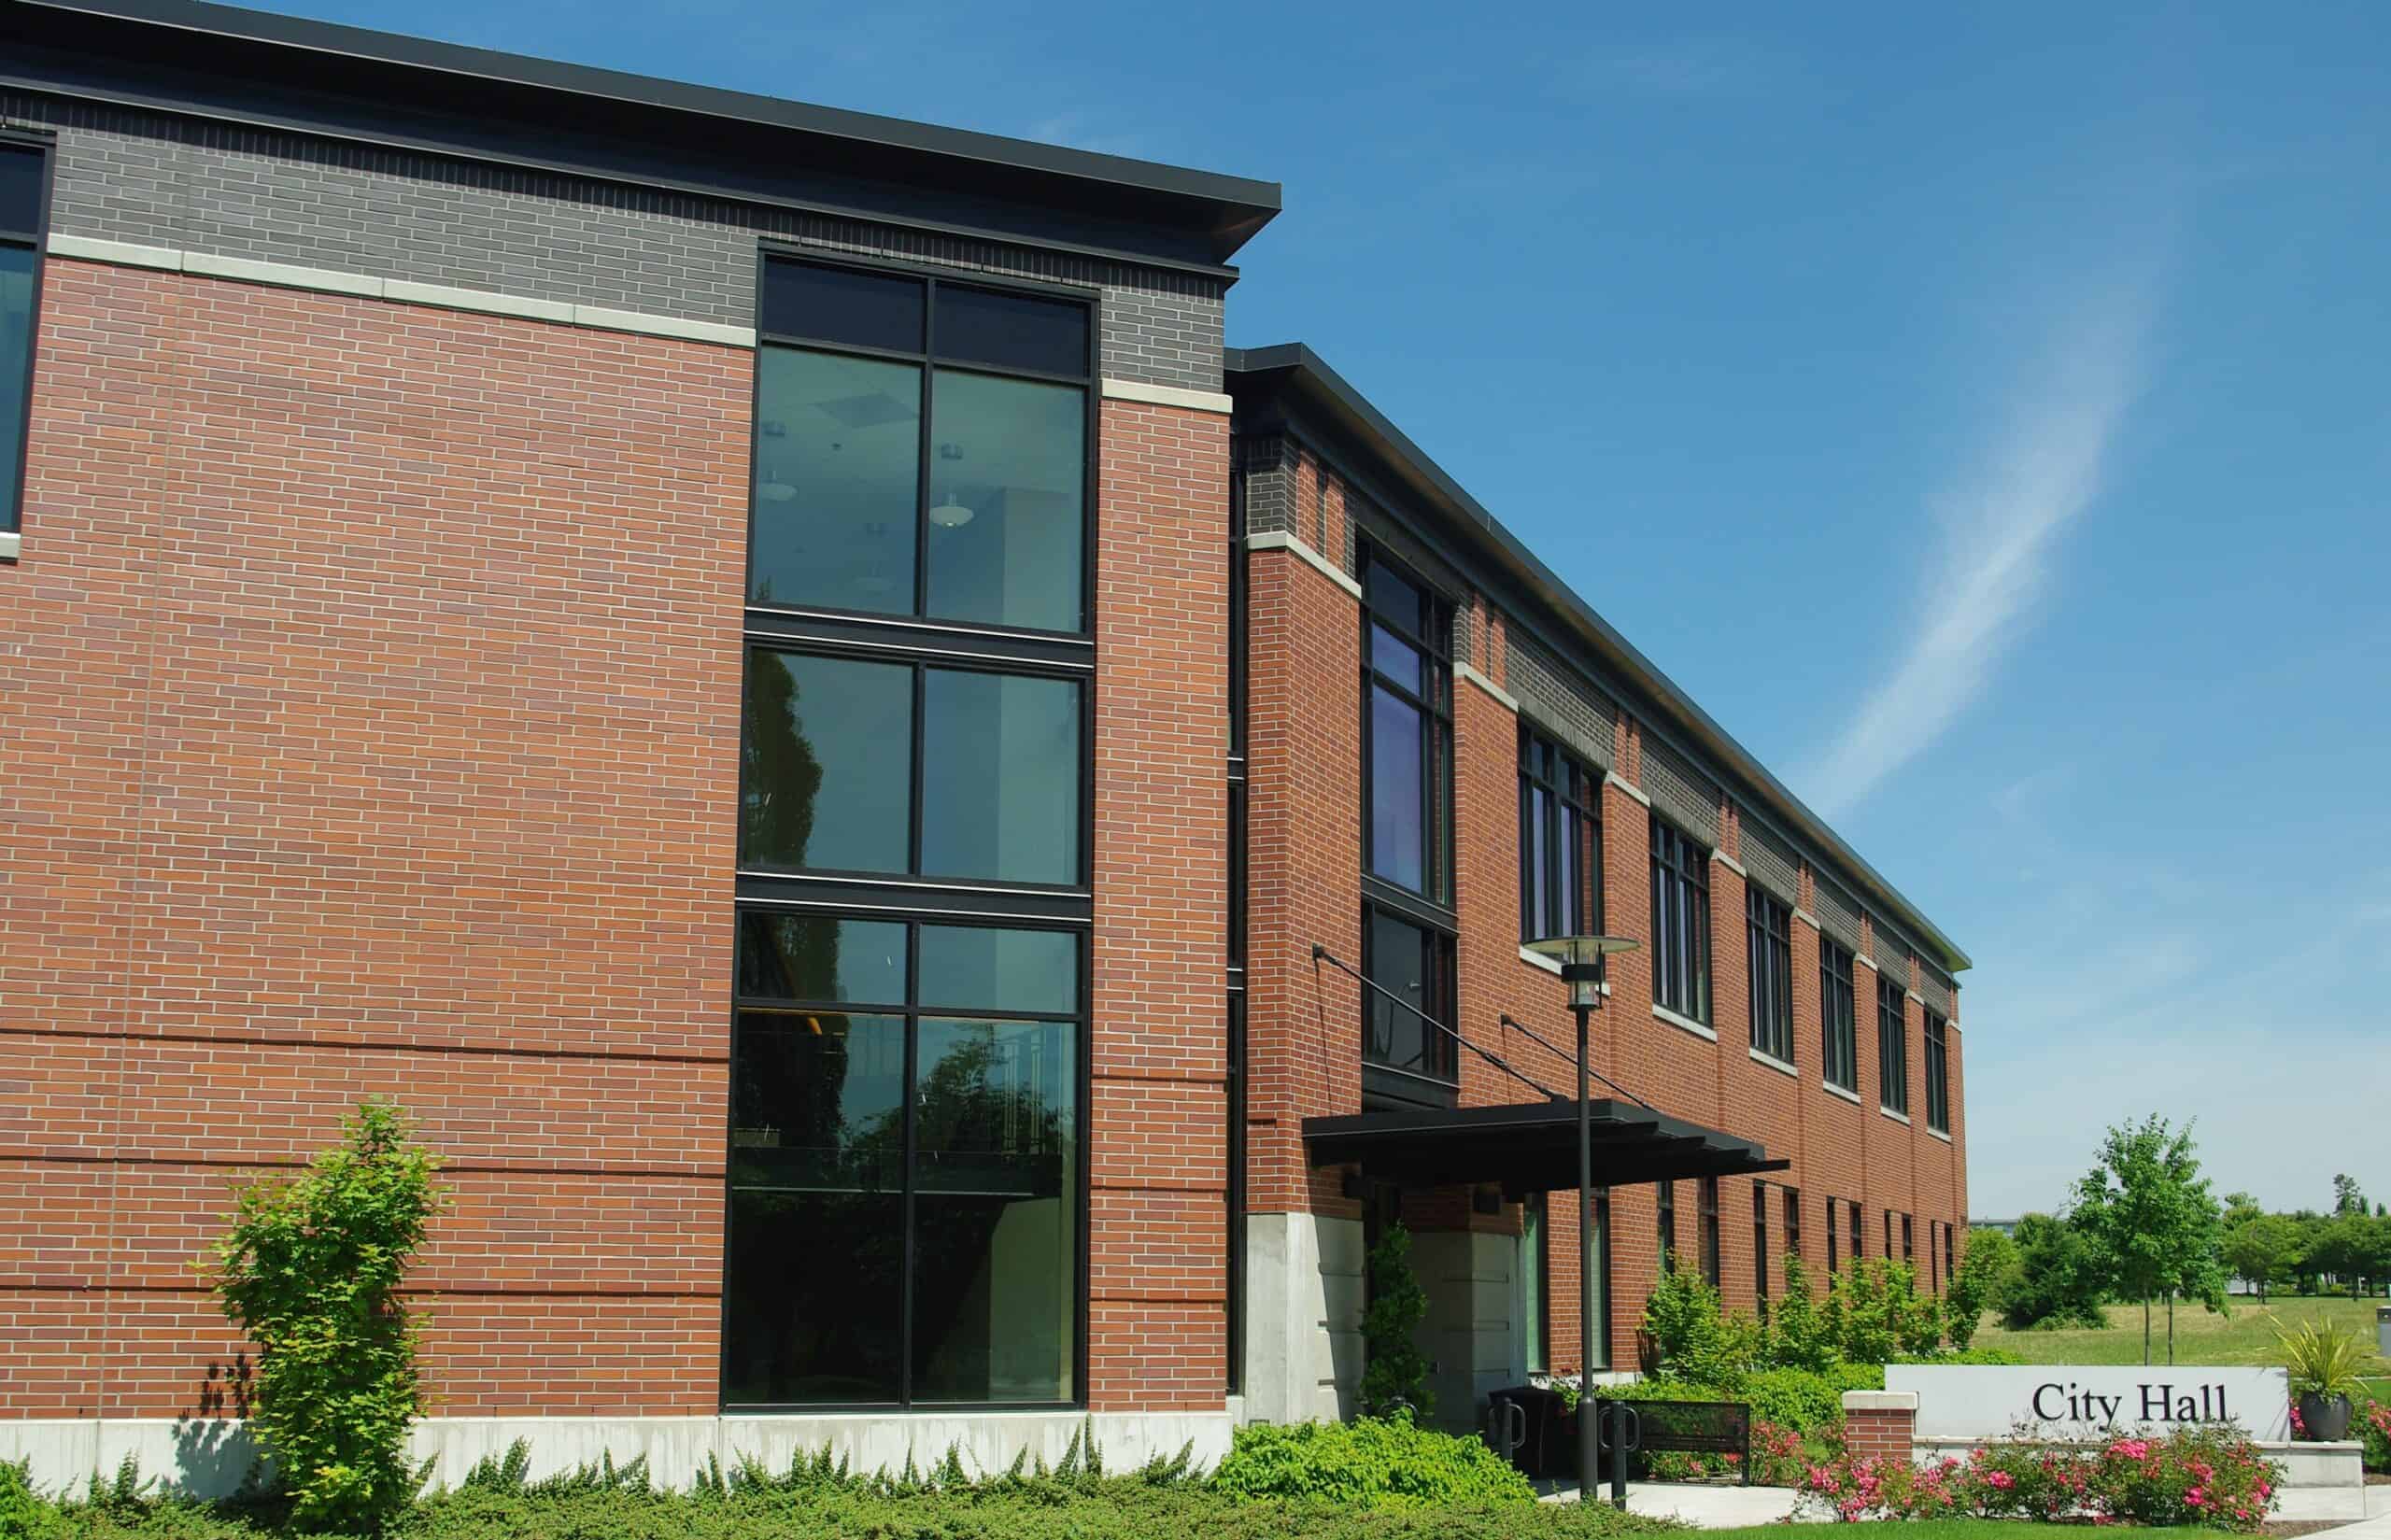
What’s the closest feature near City Hall?

How many primary schools are in Wilsonville?

How many Fire Stations?

How many Police Stations?

Are there any other key locations?


Goal of the Lesson:
The goal of the lesson would be for students to become more aware of the city they live in, as well as gain familiarity with using a map. My hope would be for my students to become familiar with where they can go for help such as the police station and fire station, as well as where the main Public Parks, Primary Schools, and Library are located.

The map helps students find these locations by having them pinned and color coded so that students can see where these high-interest locations are. Students may also turn on satellite view in order to see these locations as they appear from above.


Citations:

Image thanks to: By M.O. Stevens – Own work, CC BY 3.0, https://commons.wikimedia.org/w/index.php?curid=7108597


Our Class Gets Lost in Portland!

Photo by Zack Spear on Unsplash

This activity is targeted for 2nd graders, and would ideally be completed at the beginning of the school year, however it would still be a fun and educational activity later in the year as well.

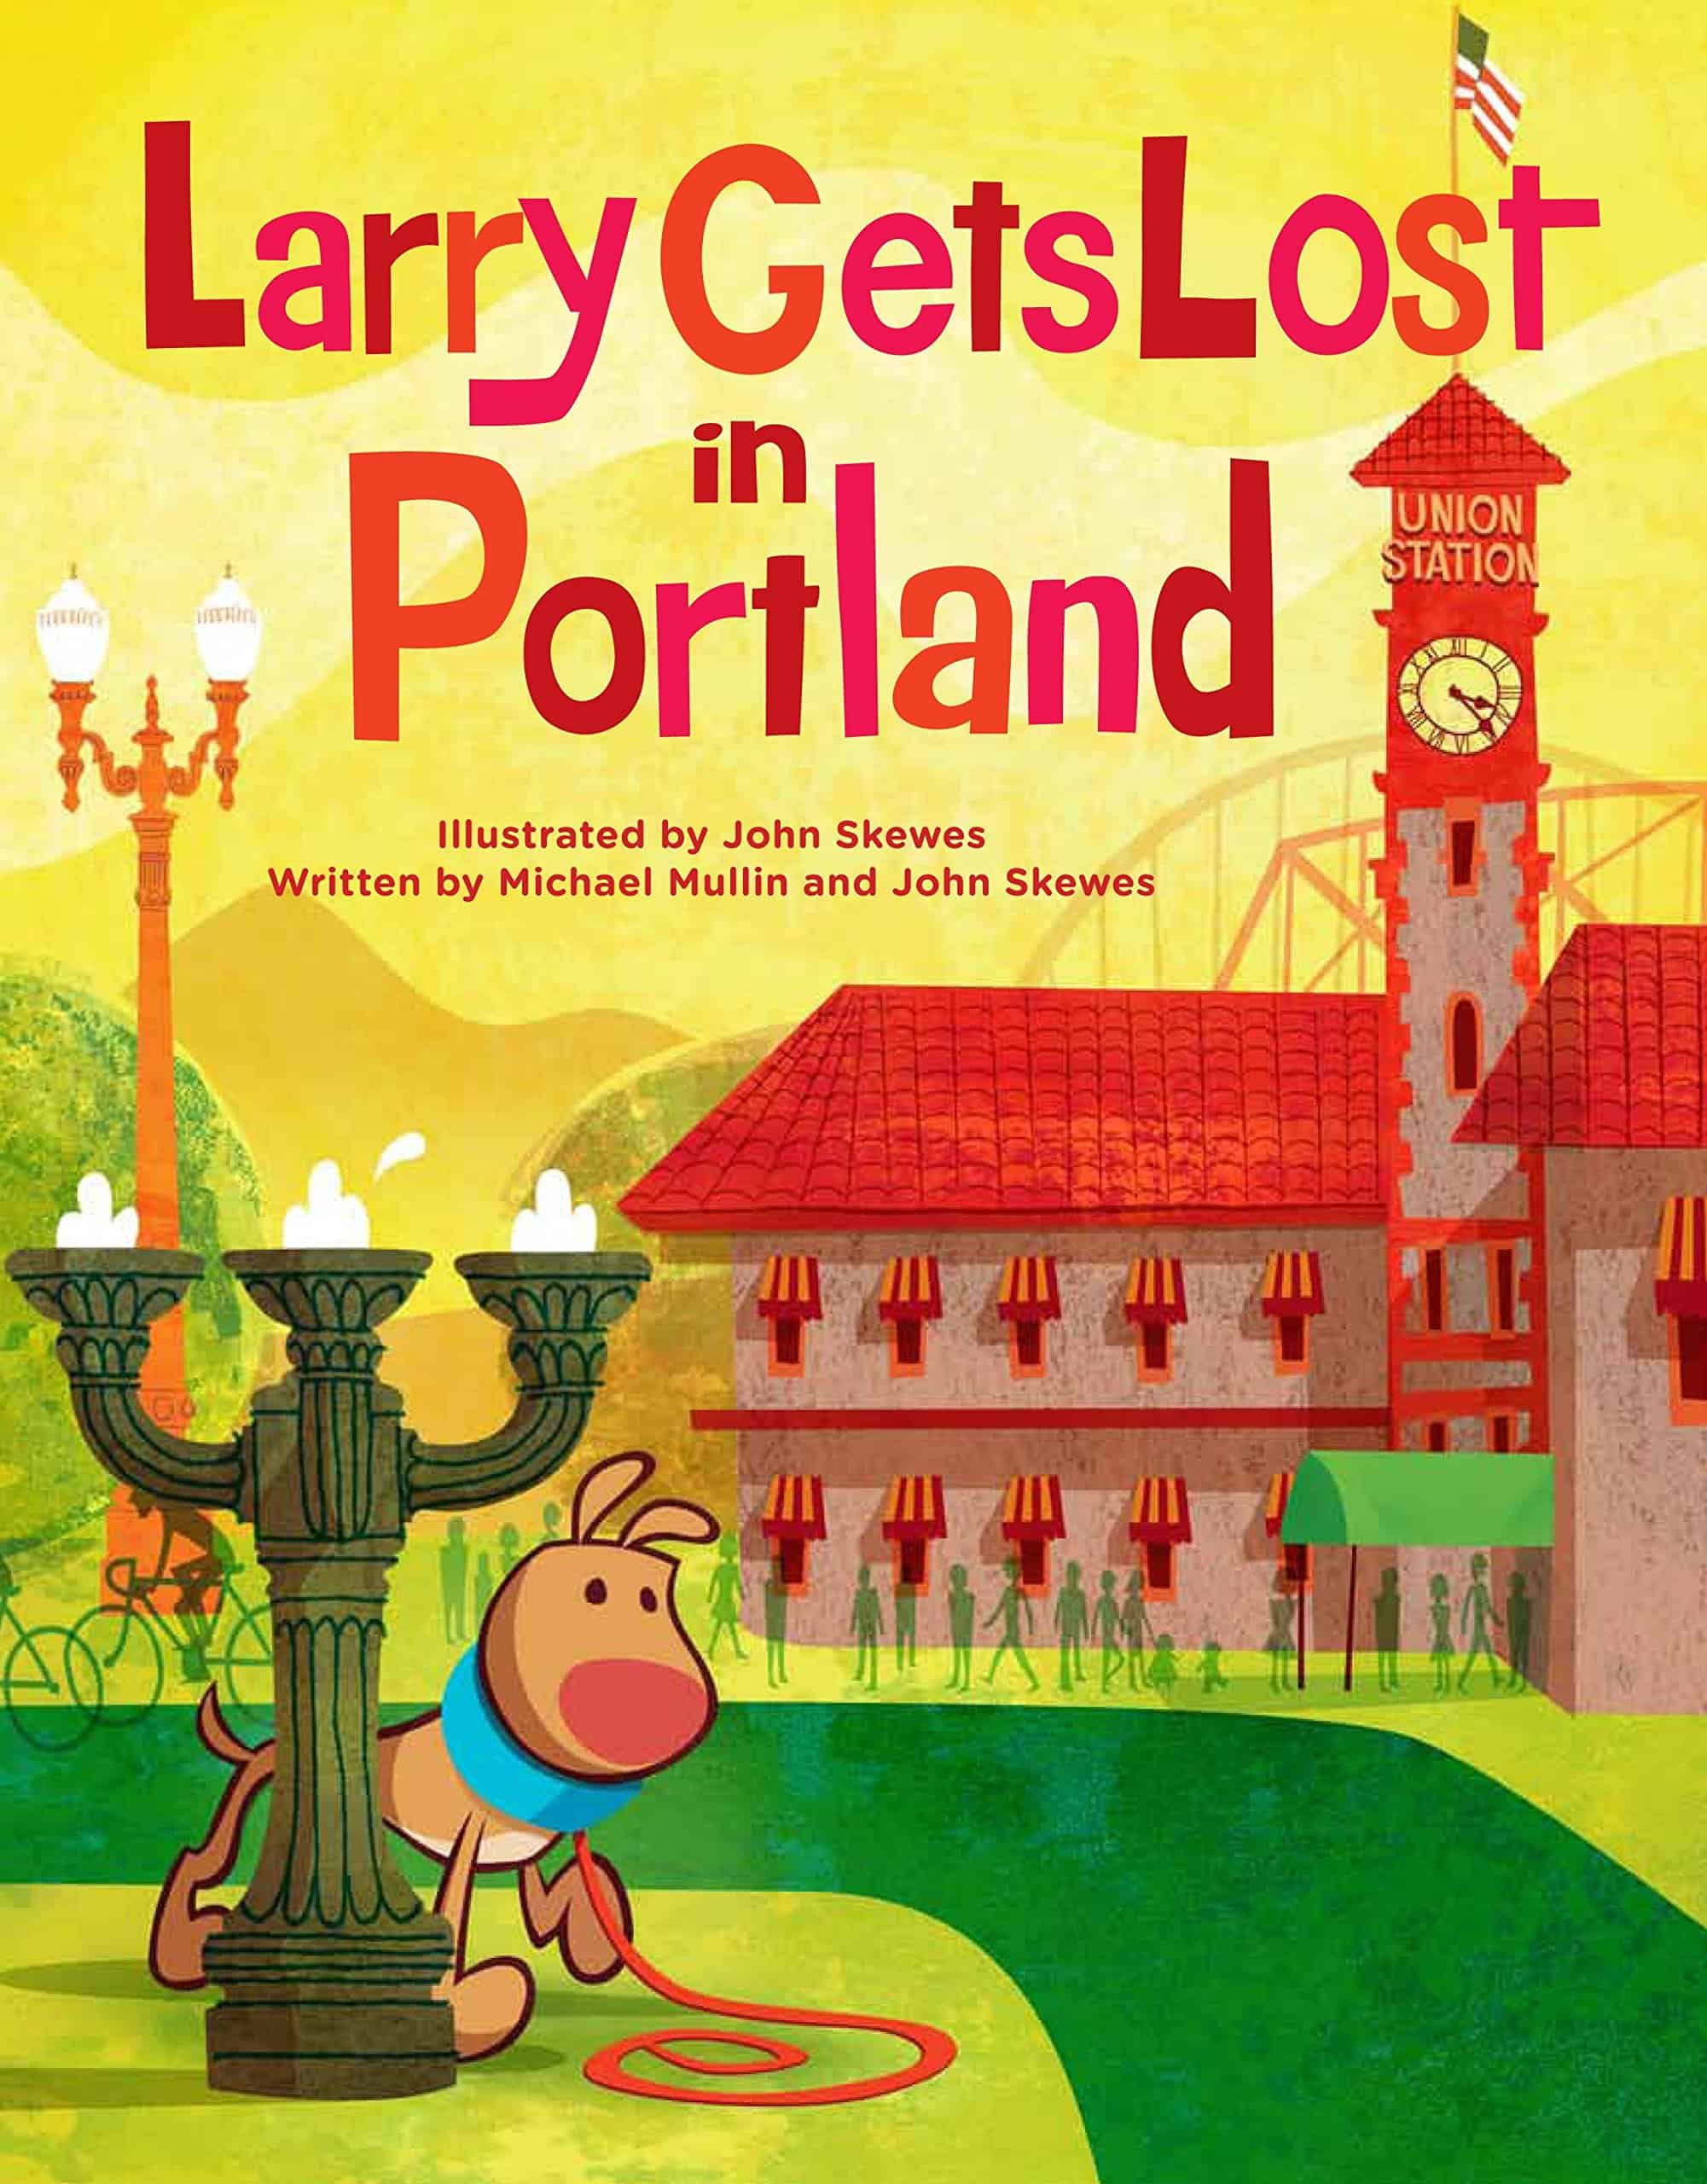
The lesson would begin with the teacher reading the book Larry Gets Lost in Portland, written by Michael Mullin and John Skewes. In this book, Larry goes with his owner Pete and his family on a trip to Portland, Oregon. While there, Larry is distracted by food and loses his family when he chases after it. As he tries to find Pete and his family again, Larry journeys all over Portland and sees all sorts of landmarks and attractions.

Over the course of the book, Larry visits 12 places, but we don’t learn much about each spot beside its name.

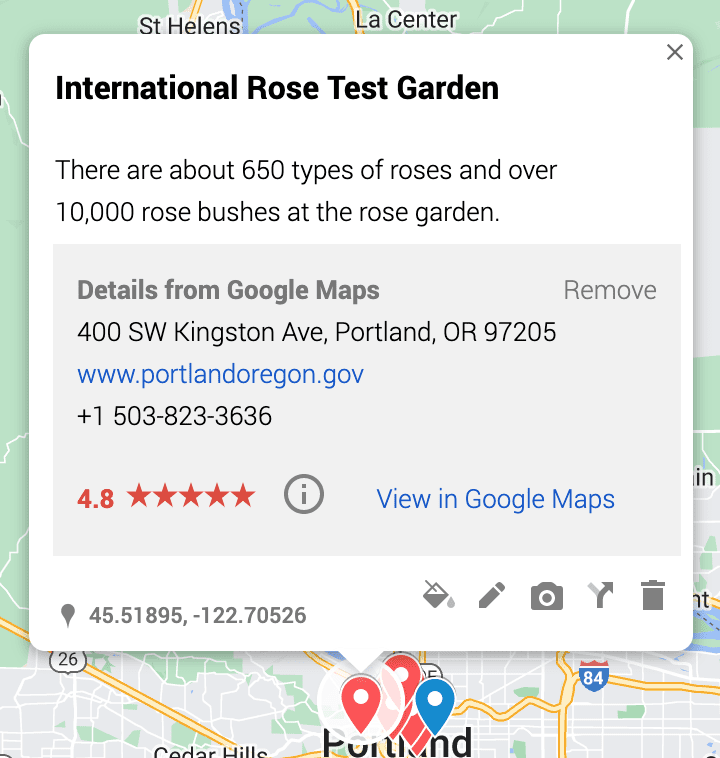
Larry at the Rose Garden

Student Instructions

We’re going to make a map based on where Larry went in Portland and where we like to go in Portland! On your map, you should include all of the places Larry saw, and add 1-2 facts about each location that you researched.

Teacher example: I researched the Portland Rose Garden, and chose to include this fact because it was new information to me and I thought it was interesting
  • Places Larry visited
    • Old Town
    • OMSI
    • The waterfront
    • Hawthorne Bridge
    • The Park Blocks
    • Powell’s Books
    • The zoo
    • International Rose Test Garden
    • Portland Art Museum
    • Jen Weld
    • Hawthorne Bridge
    • Light Rail and streetcar
    • Union Station

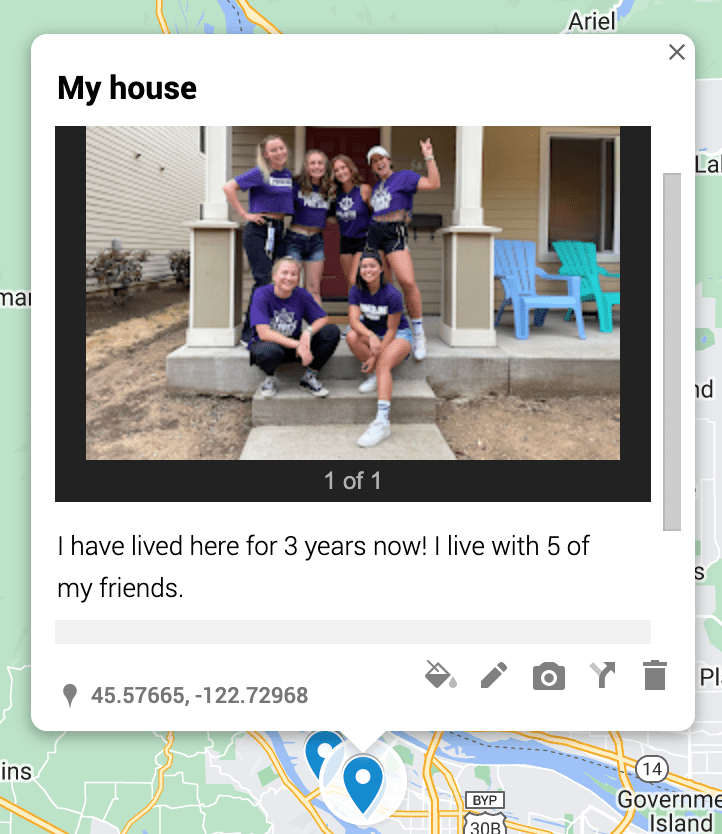
In addition to the 12 location Larry went to, you should add 5-10 places in Portland that are important to you or where you like to go. These places should be in a different layer than the places Larry went, should include a picture (preferably one taken by you or one that includes you in it), and a 1-2 sentence description of what it is and why it is important to you.

Teacher example: This is one of the locations that I added to my map to show a place in Portland important to me.

Once everyone has completed their map, we will share our maps with the class. You will choose one of the places Larry went and tell us what you learned about it during your research. You will then share the locations you added that are important to you, the pictures you included, and what you wrote about each one.

_______________________________________________________________

This project serves to teach students about important features of Portland, learn about other students in their class, and practice research and sentence writing. It would be especially fun and useful at the beginning of the year because it will help students form connections and foster a positive, close-knit classroom community.

My own map for reference/ example:

This project could also very easily be translated to a different location as there are various Larry books in which he gets lost in Boston, New York City, Seattle, the USA, etc.

MyMaps National Park Environmental Science/Geography Journey

I have always wanted to travel the United States, but particularly the many National Parks in our country. I would use my MyMaps I have created for 5th graders to talk about the geography, nature, and environmental anomalies of the United States. This map has some videos, but I would like to do more research on the special aspects of the nature of each national park that I chose. An example would be the geysers and hot springs in Yellowstone National Park and the different kinds of volcanoes at Lassen Volcanic National Park. Students can also pick 1 of the parks and choose to do a project on it as well. The ideas are endless!

Neighborhood Walk

2nd grade Google My Maps Lesson. Students will create a walking map of areas they want to check out in their neighborhood on a walk with family or friends outside of school. This allows them to learn about their community and what resources are near their school.

Image by Andrew Martin from Pixabay

Objective: Students will be able to identify different places and features in their neighborhood using Google My Maps. They will also learn how to create a map using Google My Maps.

Materials:

  • Laptops for each student

Introduction (10 minutes):

  • Ask students if they have ever taken a walk around their neighborhood and what they saw.
  • Explain that they are going to use technology to help them explore their neighborhood and create a walking map. Tell them that they can do this walk with their family or friends outside of school.
  • Introduce Google My Maps and how it works while students are on the carpet or at their desks.

Instruction (30 minutes):

  • Have each student log into their Google My Maps account and create a new map.
  • Give students a brief overview of the tools available in Google My Maps (adding markers, labels, lines, etc.).
  • Lead a neighborhood walk, stopping at various places to label and describe what they see (e.g. park, grocery store, etc.).
  • Encourage students to use the map they created to add markers and labels for each place they visit.
  • Help students save their map and share it with the class.

Conclusion (10 minutes):

  • Have students take turns presenting their maps to the class and pointing out the different places and features they identified and the places they want to go.
  • Encourage students to share what they learned about their neighborhood and what they found interesting.
  • Summarize the learning objectives and ask students to reflect on what they learned.

Assessment:

  • Observe students during the neighborhood walk and their use of Google My Maps to assess their understanding of the technology and their ability to identify different places and features in their neighborhood.
  • Review the maps created by each student to assess their understanding of the mapping tools and their ability to create a map.
  • Ask students to reflect on what they learned and what they found interesting to assess their comprehension of the learning objectives.

Example Neighborhood Walk:

I started at Astor School, wanted to walk to McKenna Park, check out University of Portland, then grab a coffee at Cathedral Coffee.

Direct Link: https://www.google.com/maps/d/u/0/edit?mid=1oYnfApW_wQRelSLGJPqdSwmrj3TJRsk&usp=sharing

This lesson was created with chatGPT but I edited it slightly.