Ideas for Final iBook!

After a long, wonderful semester of learning about technology in the classroom and a variety of applications that can be used inside and outside the classroom to foster creativity, discussion, and collaboration, I think we should make our final book project be an iBook titled: “A Teacher’s Guide to Technology.” The iBook would be a larger compilation of everything we have explored over the past semester that could be used in our future teaching careers as a reference, as well as a guide for current teachers who are navigating the technological world at this moment. Due to the fact that technology is constantly changing, our book may only be useful for a couple of years, but being able to see all of our work and exploration come together in a shared book could be pretty special for everyone.

In the book, pairs or individuals would create a chapter or section explaining each, or the majority of the applications in depth, from Adobe Spark, to Toontastic. Each pair or person could explain some pros and cons to the application, talk about how they used it (and perhaps include examples that they made), and write a hypothetical lesson plan using the technology! We could do an entire section on “video” and manipulating video, as well as presentations, class activities, creativity, etc. I have loved seeing the past iBooks and I think this could be a cool representation of what we have been doing the past semester!
iBook Lesson Proposal

By: Margaret Buzard and Melissa Sta. Maria

Context – 4th grade, science, research project, summative project on habitats or animals .

Content – the students will be learning about cute but deadly animals and where they are from.

Process – The teacher will give students a list of animals to choose from that are “cute, but deadly”. The students will then be tasked with researching this particular animal and finding out the specifics of where they are from, why they are deadly, and other fun facts. If students have other animals they would like to research off the list, they can speak personally with the teacher.
This information will then be inputted into a Google Form, for the teacher to integrate this into MyMaps to demonstrate their research skills and knowledge of animals and their habitats.

Layout – since MyMaps is not compatible with iBooks we might have to get creative with screenshots and captions to express how MyMaps will work with the lesson.

Audience – this lesson idea will be presented for teacher use.

Our original lesson plan idea:

This lesson would be used during a science unit on dangerous animals. On MyMaps, you will notice several different icons and their general locations on the map. Once you click on a particular icon, you will see the  adorable picture of the animal that lives there. However, if you click the arrow to see the next image, you discover the dangerous side of the animal. Below these images, you will find the common location of this animal as well as the reasoning for why they are so dangerous.

In our field experience classrooms, we have noticed how excited kids get when they see dangerous animals. These are typically creatures they may not see on a daily basis, so this lesson would build on their curiosity and invite  them to explore the world around them. Students could upload their own cute, but deadly animal to understand how appearances can be deceiving.


iBooks: An ED-Tech Celebration

For our final classroom project, I suggest we create an iBook that encapsulates all that we have learned, created, and explored during our time in ED 424. This iBook could serve as a resource for teachers, students, and parents – regardless of age, technological capability, or subject area. In this iBook, each author would write about and demonstrate something we have learned in class. One author might create a screen cast on how to use Apple’s “Swift Playgrounds,” while another author may contribute to the project by creating a chapter on “Digital Hygiene” and the importance of citing sources across all areas of content. We have had 14 weeks of class and there are 13 members in the classroom, ensuring that each person would have a specific content area that they could use to create a chapter in the iBook.

In this iBook, authors can use the many tools we have learned and integrate them into the iBook – ultimately making this a summative, “meta”-assignment. Authors can use screen-casting, content creation, and more to create an immersive iBook experience.

Once the iBook is completed, teachers can use the resource to quickly understand what technology tool to use for a given task, while also receiving a synopsis on how to best use the technology. Each chapter could include examples of the technology that we created throughout the semester to further aid the resource. Students and parents alike could use this resource to better understand how to use different pieces of technology that students may be required to use in class. Furthermore, this resource – although designed for teachers – could provide value to anyone seeking to use any of the technology outlined in the iBook.

This iBook, created by ED 424 students, could serve as a significant learning opportunity for the authors while providing immense value to anyone involved with or interested in Education Technology.

Nick

Lesson Proposal

Throughout this class, we have learned about a variety of technological tools that can be valuable for an interactive learning experience in the classroom. The majority of these tools I was unaware of, so I think it has been extremely useful to learn how to integrate these into our future lessons.

One great tool that we got to try is Toontastic. Toontastic allows students to create their own short, animated videos. This is a great resource for students to report on knowledge they have learned, whether it be on a book or on a science experiment, or to tell a short story. There are many options for students to customize their story on the app.

For our final project, we are proposing using Toontastic and screen casting in a science lesson. Ideally, this lesson would be done in a third or fourth grade classroom on their iPads. First there would be a lesson done on what the scientific method is. Then, we would do a screencast on how to use Toontastic. Finally, students would be able to create their own Toontastic video based off of a science project they have decided to do at home. Toontastic would work well for this because there is already a template available to make videos in the format of a science experiment. This would obviously be created for students to use, rather than a demonstration for teachers. I think that this would be a good introductory lesson if we decided to do a book including a variety of science lessons.

Lesson Proposal- TED-Ed

Over the course of this semester I have learned about a lot of different tools and programs. This class has opened my eyes to the positive contribution technology can have to classroom lessons and how technology can be used to support rather than distract. 

One program that I was really impressed by is TED-Ed due to its ability to transform basic mini-lessons into lessons that can be accessed outside of the classroom. TED-Ed provides teachers with a slew of educational opportunities and allows parents to take part in their child’s learning. TED-Ed is a great way to extend lessons, can be used in a flipped-classroom, allows students to review classroom material and is also a way for students to view lessons when absent. I plan on providing teachers with a brief tutorial on how to use TED-Ed for their future lessons and will also go over the pros and cons of using this program. I will model how TED-Ed can be used in the classroom by creating a fifth grade science lesson.

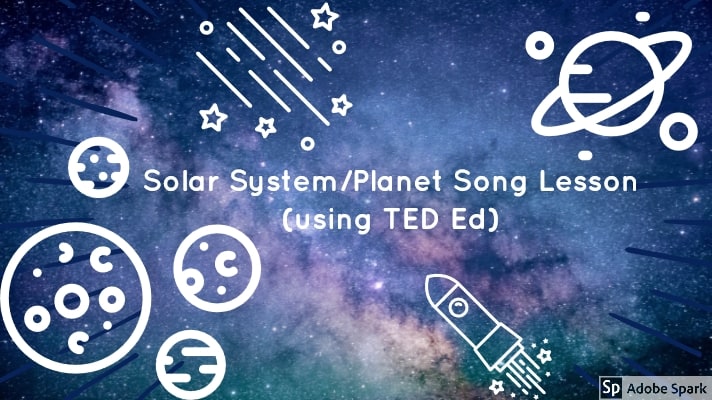
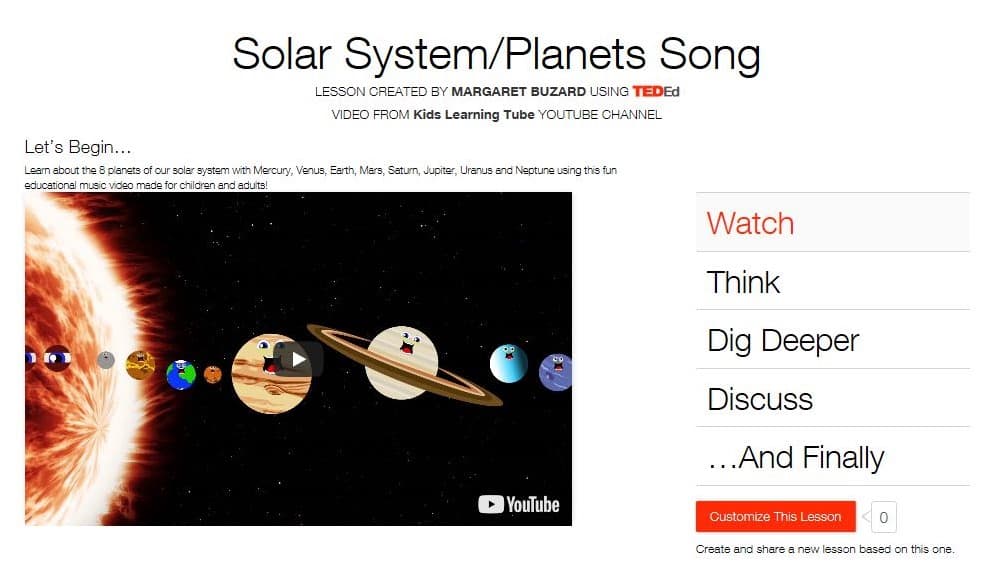
In this lesson plan,  I will include a YouTube video of the characteristics of planets in the solar system. This description of the planets is in the form of a catchy song and will especially help the majority of students who require visuals to learn. TED-Ed also allows for the inclusion of questions that can serve as a formative assessment after watching the video. In addition, students can respond to an open-ended discussion question as well as click access an NGSS website for supplemental information. This website aligns with grade level standards and  offers additional vocabulary and lessons that will support the learning already taking place in the classroom. This TED-Ed lesson, once completed, will be accessible for teachers to use and share, and will also serve as an example of how TED-Ed can be incorporated in the classroom. 

“VideoAnt” (Classroom Discussion through Video)

In Ed Tech class this week, we explored different applications that could be used in the classroom to facilitate discussion and be more hands-on than other technology we might be inclined to use. In addition, we were able to manipulate and edit videos that have already been created in order to build a lesson, advance communication between teacher and student as well as peer-to-peer, and find new and exciting ways to use old content.

The application that I decided to explore specifically is called “VideoAnt.” VideoAnt allows for a creator to take a video that has been previously made and essentially engage in discussion with the video and other people who can view it as well. I decided to pick a video titled “Even and Odd Numbers:  1st grade and 2nd grade Math Lessons.” I thought that I could potentially use it in my field experience classroom right now. I was also curious to see how a video lesson was trying to teach even and odd numbers. All in all, I was pleased by the actual video but I have mixed emotions about VideoAnt.

VideoAnt allows for the video to play while the teacher or editor can comment. With each comment that is made, a bar appears on the bottom of the video screen and the comment becomes bold as the video plays through. People who view the video can add comments, but the video has to be refreshed every time to see new comments. Additionally, when the video is refreshed, the video starts over and the viewer must click on the time stamp of a comment to return to that spot. Therefore, I found the application to be fun and easy to use in terms of commenting on the video, but the physical video was not editable and the comments simply appeared alongside the video but did not affect the viewing of the video. VideoAnt could be a good application for homework (students could view and add comments) and then discussion could be had based on the comments or questions that were shared.

*I only did a couple minutes of the 13 minute video just so people can get the idea of the application!

Happy creating!

Seed Germination Lesson

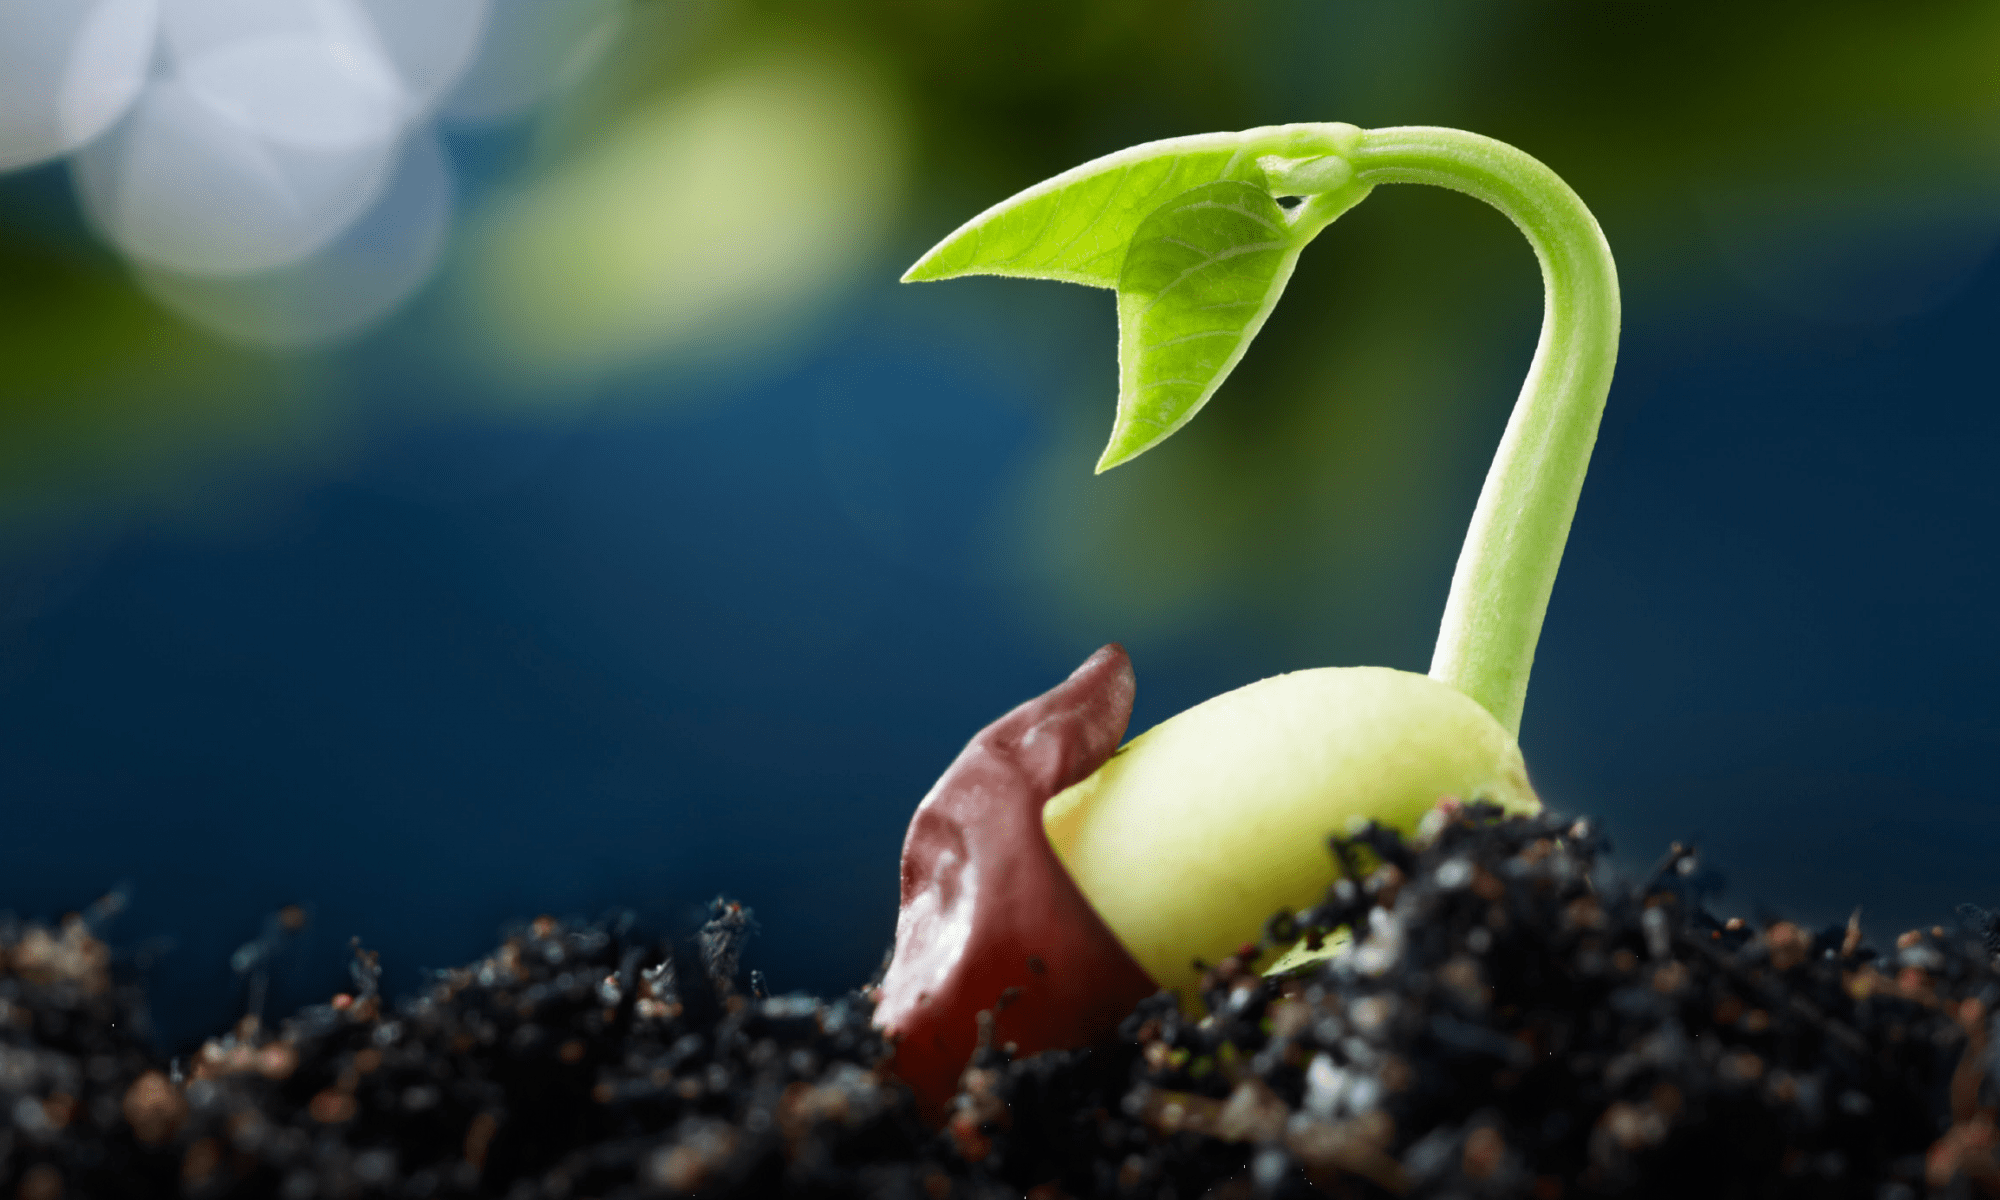
I created a seed germination lesson based on the app “Ed Puzzle.” Ed puzzle is a site that posts interactive videos for students to watch. There are options where you can pause and the site will ask questions about what has been previously viewed. As a teacher, I would use an Ed Puzzle video on seed germination  in a second grade classroom during a science unit on plant growth. Before presenting students with the video, I would assign a class project where students planted their own seeds in small  plastic containers, and placed them under the classroom windowsill to get light. As the unit would progress and the seed began to grow,  students would make observations in their science journals about what they noticed.

Metamorphosis of a Butterfly TedEd Video

For my lesson, I found a TedEd Video of the metamorphosis of a butterfly because my current field placement has been discussing life cycles this entire year. I thought this could be the introduction to a new unit on butterflies for the end of the year. So far they have done owls, frogs, worms, chicks, and many more animals. I liked this video because it had a lot of basic facts that a kindergartener could understand and could help them get used to using the internet to learn new facts. The use of pictures is helpful for younger grades that are not able to read as much and a video is an alternative to this.

Gravity VideoAnt

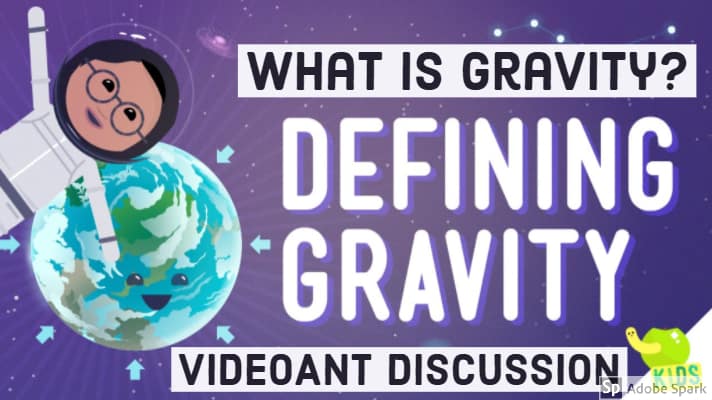
For my video lesson I used video ant to add question to a video made by crash course about gravity. I think this is a great resource to have as a teacher because it allows you to add discussion questions directly onto a video and also allows your students to respond back to your question directly or add on to peer’s responses.
I think videoant can be a very useful tool because it can be used to allow your students to react to the video and get their thoughts down while watching the video. I think that this could be really beneficial for the students who have great thoughts to add to the discussion but are too afraid to speak up in class. This app allows them to write down all their responses which allows the teacher to go back and see all students thinking.
Another plus to this app is that it is simple and easy to use for both the student and the teacher and is easy to export and share with others. However, one major downfall I saw with this app is that I was not able to see new comments without refreshing the page which is a little frustrating and not the best for discussion based in response to peers but could easily be worked around I believe.

Planning a Lesson on TEDEd

This lesson is my first attempt in using TED Ed for planning a lesson. I am planning this based on a unit my current placement did on the solar system and the planets. They used this particular video just to get the kindergarteners excited and give them some basic fast facts that they could write about. This TED Ed lesson extends this fun song by adding questions (“Think”) for after the viewing. There is also a section where I added a spot for children to “Dig Deeper” and learn more, from sites like NASA. I then added a singular “Discussion” question to further the students thinking about our solar system.

Click on the image below to go directly to the lesson!


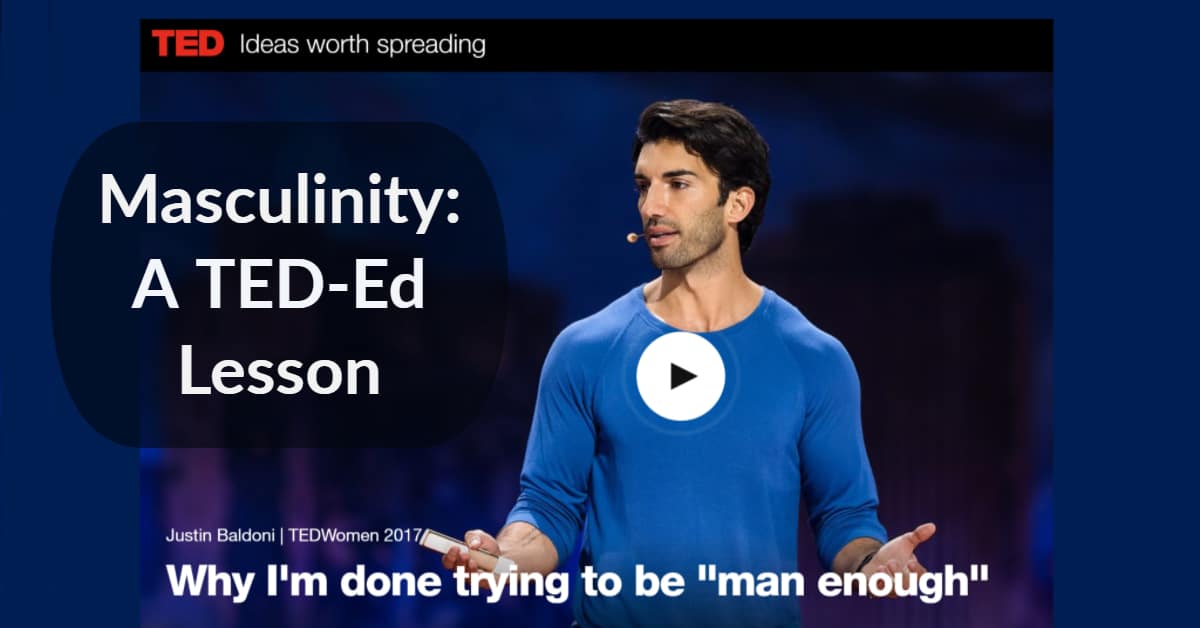
Masculinity:

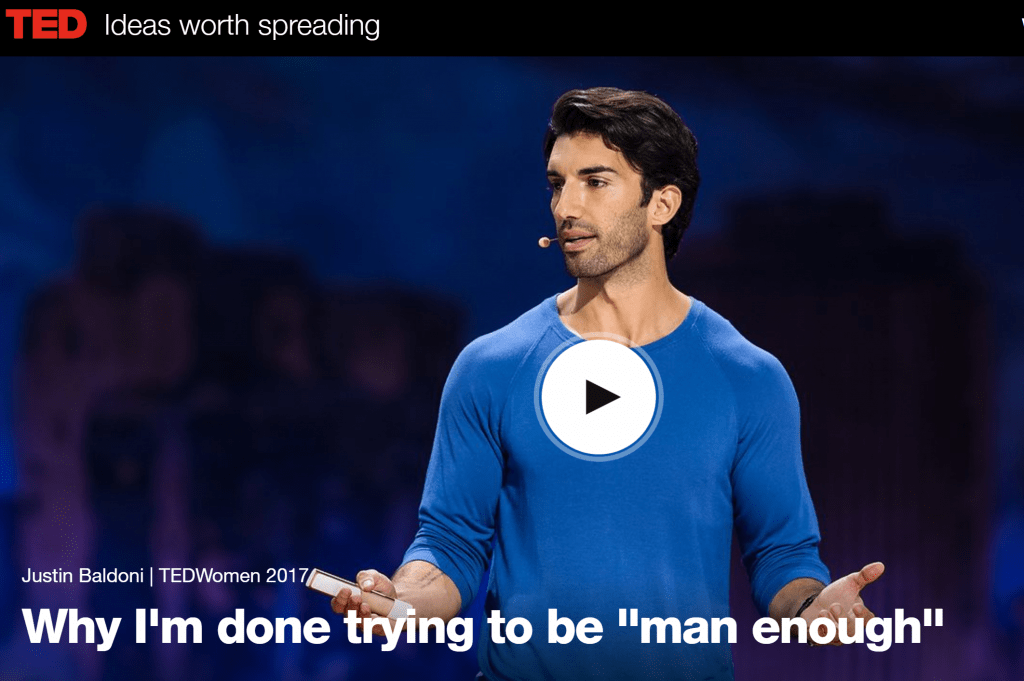
Click the image below for a TED Ed lesson on masculinity – there you will find multiple choice, short answer, and discussion questions centered on the video.

How will you use TED Ed in your classroom?

In what ways could this specific TED Ed lesson be improved?

Click Here:

Thank you,
Nick

50 States and Capitols Edpuzzle Lesson

I chose to use Edpuzzle to create a video lesson. I found this website to be very easy to use with some really fun features. You can use videos from a lot of different websites such as youtube, Ted Talks, Khan academy, etc.. You are able to shorten the videos, add comments, overlay your voice to create your own content that goes along with the picture content in the video and add questions or comments for the students to answer.

The video I created was based on a 50 states and capitols video I found and I added some fun questions that you can test yourself with.