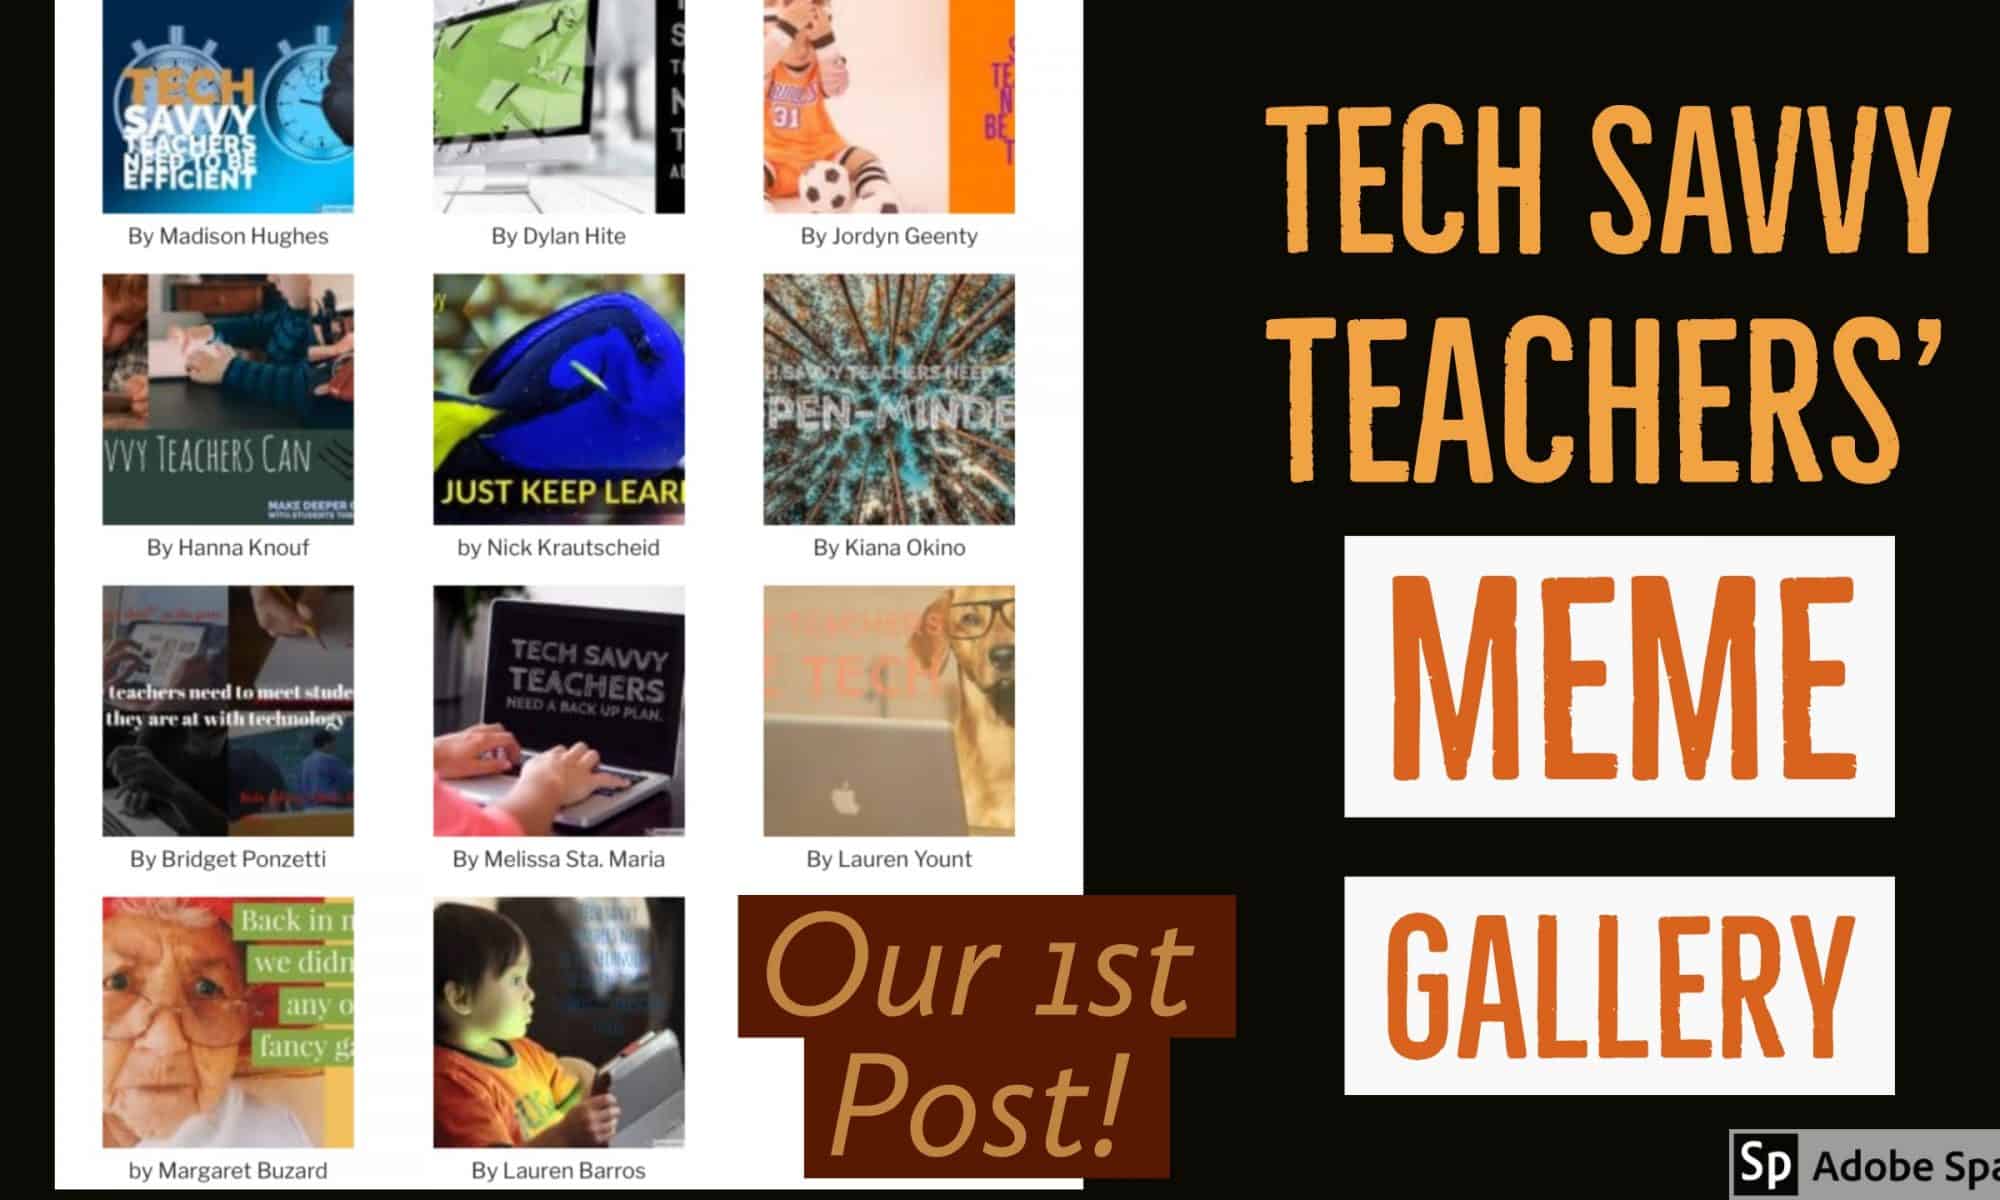
Our first class opened with a chance to use AdobeSpark Post and create our first WordPress post. Students worked in small groups discussing their vision of the tech-savvy teacher. Then they were invited to turn those ideas into memes using AdobeSpark Post. The memes and an explanation anchored their first blog post. Both apps taught without much direct instruction.
See their full posts here.
Sample post: Assignment 2
Note: This is an example of what your Assignment 2 post might look like.
I am more interested in you practicing your public domain search skills than working on an elaborate “activity.” I also want you to learn how to create a gallery in WordPress.
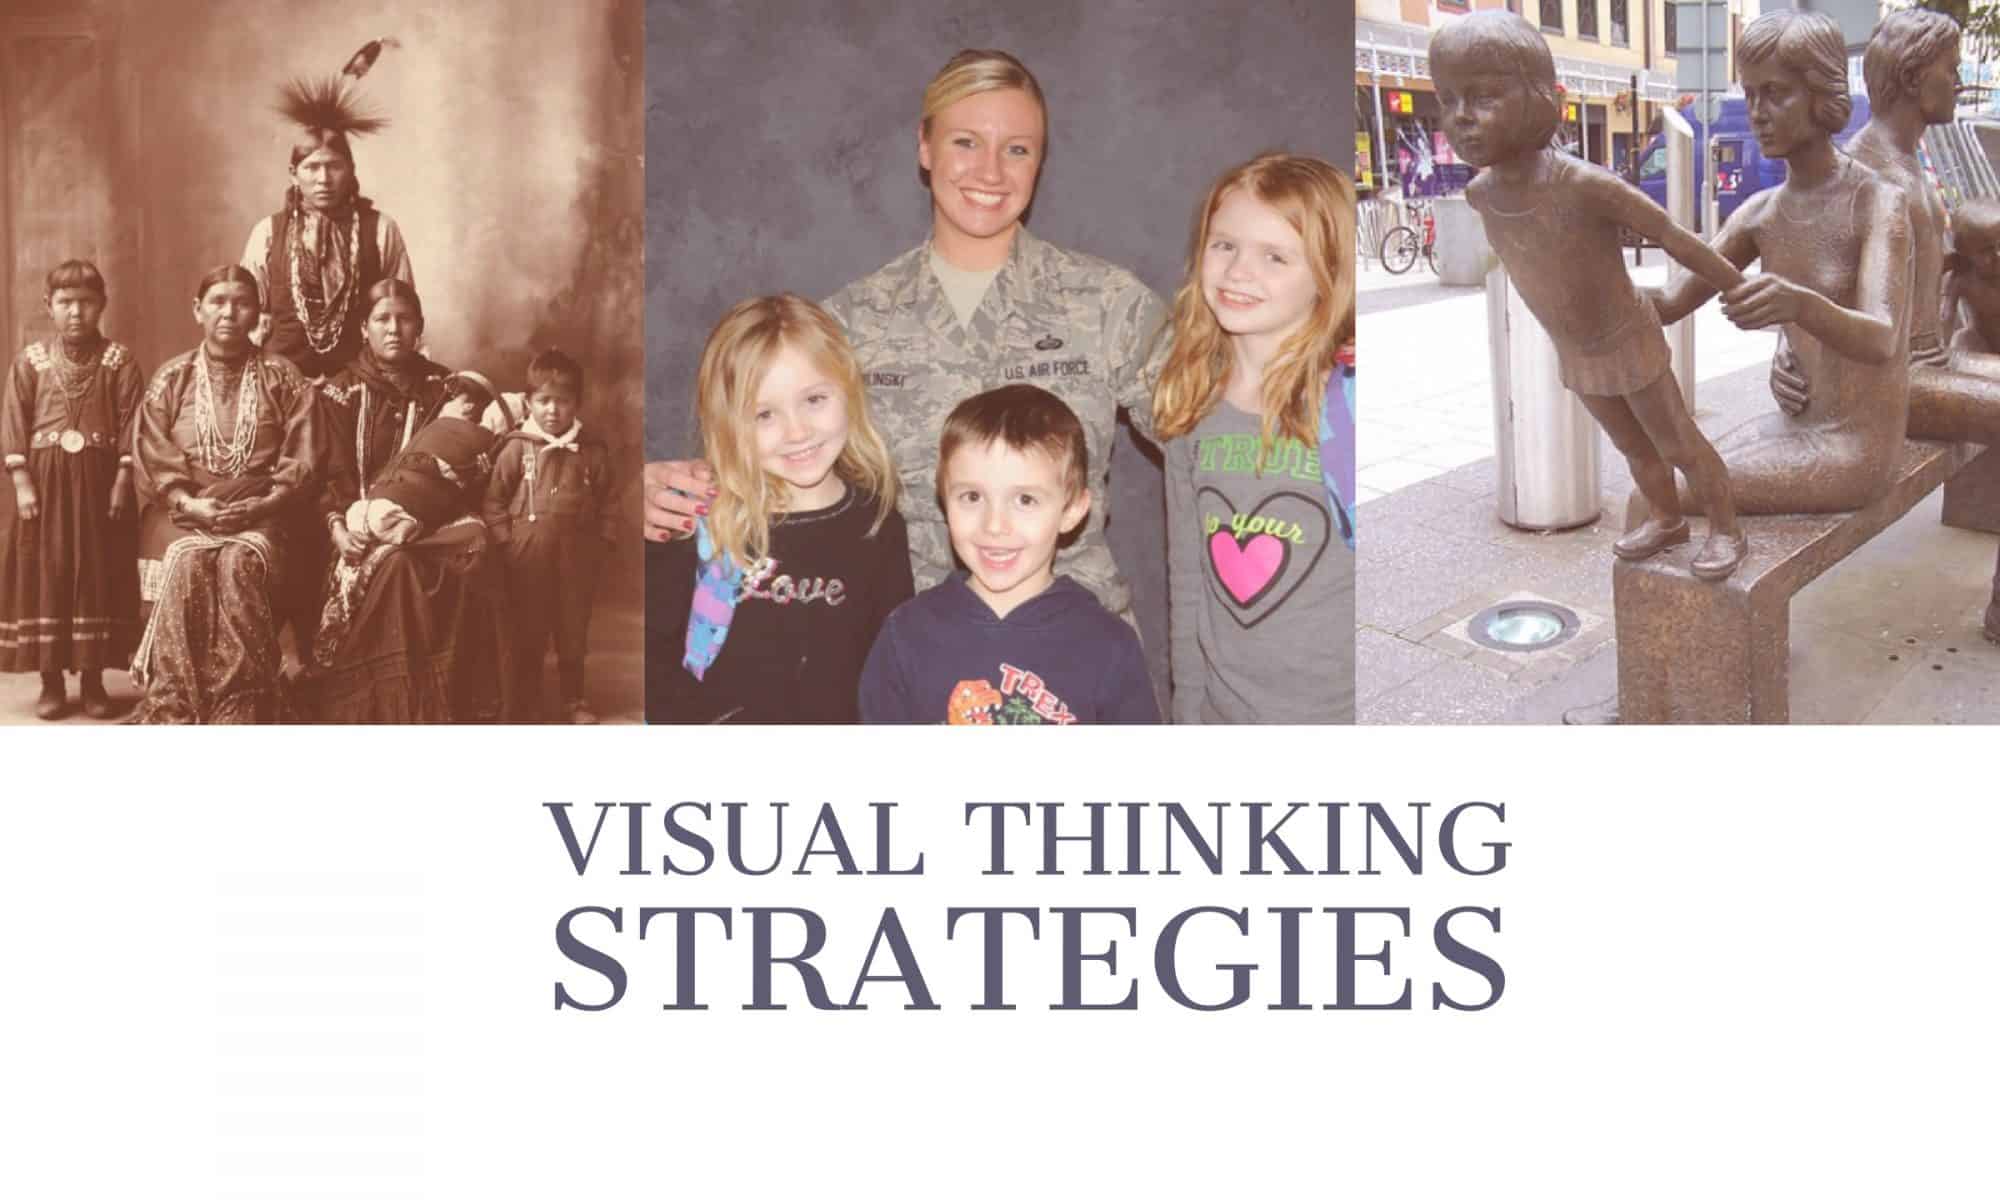
Visual Thinking Strategies Activity
My activity uses Visual Thinking Strategies. In my public domain search I found three images all based on the idea of family. I would lead students in a “close reading” of the images in a whole class setting. My goal: to help students learn to use what they already know to figure out what they don’t.
Guiding questions:
- What’s going on in this picture?
- What do you see that makes you say that?
- What more can we find?
Image sources:
The Family, a sculpture by Robert Thomas, in Cardiff
Class 2: Digital Literacy
This class will lead off with a discussion of our first class and assignment. Next, Peter will do a short presentation: “Digital Literacy” It explores the skills we need to be “literate in the modern world.”
- Find, decode and critically evaluate information
- Curate, store and responsibly share information
To hone our digital literacy skills, we will explore search techniques with a focus on finding public domain or Creative Commons licensed content. For more information on public domain searches visit our Edtech Methods Toolkit / Digital Hygiene
Peter will explain that students would be wise to start using some note taking tools assist them with digital storage and curation. He uses Evernote, but that’s recently become a paid-only app. Good free apps include Apple Notes, Microsoft OneNote, and Google Keep. It’s best to find an app that works across all your devices.
ASSIGNMENT 2: Due Jan 28th ? Completed work
We will use this assignment as a chance to practice our public domain search skills. It will also involve a bit of curation to decide which images to use. More on curation skills.
Students should think of a brief learning activity that involves using at least three images. For example: vocabulary, pre-reading activity, activate prior knowledge etc. (Don’t worry too much about activity – we’re mastering some WordPress skills) See sample post here.
Use the images in a blog post that serves as a quick guide to how you might use these images in the activity. Be sure to include the images with citations and also have at least one featured image. (Could be one of the images or something different you made with Adobe Spark).
Students should be sure to check that the images used are public domain or creative commons licensed. Include a brief citation with creator, source and link to image. (as I did below)
WordPress help:
Image credit: Hans-Peter Gauster / unsplash
Class 1: Tech-Savvy Teacher’s Meme Smackdown
Here’s the flow of our first class – a chance to get to know more about the course and try our hand at our first two tech tools.
- This our first class … so … some intro activities.
- Peter will offer a quick demo of AdobeSpark Post – a great tool for creating striking title slides with public domain content. See video below for more.
- Students will get a quick overview of WordPress and be pointed to our YouTube playlist.
- Next, students will work in small groups discussing their vision of the tech-savvy teacher. They will be invited to turn those ideas into memes using AdobeSpark Post
- While students are working, Peter will get each student logged into our WordPress account.
- We’ll have a meme smackdown and reflect on the activity and how the classroom workflow was designed and managed.
Assignment 1 / Completed Work
Task 1: For your first blog post write an elaboration / explanation of your meme. The post is due by midnight Sunday Jan 21.
Students should be sure their post includes a featured image (meme) made using AdobeSpark. Use your meme from class or make a new one.
Here’s some post prompts – feel free to use one or more for inspiration.
How the meme reflects …
- What you’ve learned about edtech in the classroom.
- The challenges or opportunities of edtech.
- Where do I want to be in my use of edtech tools in 3 years.
Task 2: Before our 1/24 class, comment on at least 2 student posts. It’s a conversation, not simply a … “nice job.”
Image credit: Adobe Spark
Fight Fake News with Critical Thinking
Lessons in Critical Thinking is now available free at iTunes. It includes critical thinking lessons in science, math, literature and media literacy.
During our discussion of digital literacy and “Fake News,” we realized that our middle and high school level students need more practice in the critical evaluation of information. Using some of our favorite edtech tools, we developed six engaging lessons which promoted critical thinking skills in a variety of content areas. Then, using iBooks Author, we compiled the lessons into this iBook .
For more work by this fine class visit our students page.
Student-designed critical thinking lessons include:
- Dihydro-What? Science Lesson by Kristen Turner
- Using TV Ads to Teach Persuasive Writing by Jennifer Upchurch
- The Choice is Yours: integrating a “choose your own adventure” into math class by Eli McElroy and Tamalin Salisbury
- How to Read Between the Lines of Research by Hannah O’Brien
- Do You Believe It To Be True Or False? by Jeremy Jon Reyes Pingul
- Civically Sublime by Kurt Anderson, Bekah Kolb, Ryan Greenberg
Class 15: Finishing our iBook
This week we will finalize our critical thinking lessons for inclusion into our collaborative iBook.
TECHNICAL ASPECTS
The iBooks will be designed using iBooks Author in the Mac lab. Students will bring digital versions of their project content – including all image and sound files, text files, citations and URLs. Here’s a quick guide to managing your files to get ready for iBooks Author: edtechMethods Tool Kit: iBooks Author
I’ve created a YouTube channel with some short tutorials that students may wish to refer to. See iBooks Author Tips.
We’ll take a look at Adobe Spark / Posts for making some graphics to add to our project.
End of Semester Checklist
- Complete course assessment at SmartEvals
- All blog posts completed – see list here.
- Finished iBook Author file uploaded to our shared Google Drive
- When in iBooks Author you can create a PDF version – Select Share / Export / Then choose PDF. Then take your PDF and upload to TaskStream for final assessment.

Class 14: Working with iBooks Author
Digital technologies have put us in charge of the information we access, store, analyze and share. Creating an iBook harnesses those motivational factors into an engaging learning experience. The ease of distribution across the world (via iTunes) means students can communicate with a broader, and more authentic audience than just their teacher and class peers.
This week we will wrap up our first drafts of our critical thinking lessons for inclusion into our collaborative iBook.
Technical aspects
The iBooks will be designed using iBooks Author in the Mac lab. Students will bring digital versions of their project content – including all image and sound files, text files, citations and URLs. Here’s a quick guide to managing your files to get ready for iBooks Author: edtechMethods Tool Kit: iBooks Author
I’ve created a YouTube channel with some short tutorials that students may wish to refer to. See iBooks Author Tips.
We’ll take a look at Adobe Spark / Posts for making some graphics to add to our project.
Assignment
Students should write a brief blog post that serves as a course reflection. Begin by re-reading your first post in response to the prompt “What do you want to learn about edtech?” What progress have you made? Successes, frustrations? Suggestions for this course?
Please post by April 27th.
Image credit: Adobe Spark
Class 12: Google Hackathon
In today’s class we will explore the ever-changing world of Google apps for education. I’ve created a Google site with a section devoted to Google tools – docs, forms, MyMaps, slides, sites and more. After spending some time exploring the resources, students will have the chance to create an activity using a Google app.
Assignments
- Use a Google tool to design an activity. Create a blog post that explains the intent of the activity and includes an embedded version of the Google tool.
- Prepare for using iBooks Author to showcase your critical thinking lesson. Check this page for getting your content ready for using iBooks Author
Image credit: Google photos icon link
Class 10: Teaching with Data Visualizations
Quite often edtech tools are used by the teacher rather than the students and don’t do much more than make things prettier.
Think: Teacher at Smartboard as replacement for the overhead.

New digital technologies allows us to “see” information in new ways.
Think: Students analyzing text using Wordle
Many apps and websites can be a great tool to introduce the research method – form a hypothesis, gather and analyze data, revise hypothesis (as needed), draw conclusions, assess research methods. Working in teams students can easily pose research questions, run the data, revise and assess their research strategy. Students can quickly make and test predictions. They can then present and defend their conclusions to other classroom groups. All skills called for by the new Common Core standards.
In today’s class we will explore a sampling of free online data visualization tools that can be used in the classroom. Students will be asked to incorporate one of these tools into a lesson design.
GapMinder World: manipulate moving bubble graphs, select x and y axis from a variety of data sets
NGram Viewer: online research tool that allows you to quickly analyze the frequency of names, words and phrases -and when they appeared in the Google digitized books. Ideas for classroom use Books Ngram Viewer. For more advanced searches using NGram Viewer click here.
Chronicling America has digitized newspapers from across America from 1836-1922. You can search word frequency here. Search Chronicling America and visualize the results across space and time at USNewsMap project
Bookworm: a collection of simple and powerful way to visualize trends in repositories of digitized texts.
- Movies: dialogues of movie and TV shows
- ArXiV: science publications
- US Congress: bills, amendments, and resolutions (by political party)
Timelapse: is a global, zoomable video that lets you see how the Earth has changed over the past 32 years.
Metrocosm: All the World’s Immigration Visualized in 1 Map
Combine multiple online tools for research: For example, Black History in America:
Map of White Supremacy mob violence here
Mapping the “Negro Travelers’ Green Book” here
Assignment
Choose one or more of these digital tools (or use a favorite our yours) and blog about how you would use it in an activity, lesson or unit. A few things to keep in mind:
- Be sure you design a lesson that allows your students to be using the tool
- Be sure to include an embed of the tool (if possible) or at least a screen shot.
- Blog post due: 3/30
Image credits:
Header: AdobeSpark public domain
Insert: Teaching with a SMART Board / Flickr
Sample write up: Where I’m from
This is a model blog post that demonstrates a write up for the Blended / Flipped Lesson assignment. Bold face is your assignment. Followed by how I would have written it up.
This write up is based on a lesson I used at the beginning of my Alaskan History and Culture course in the MAT program at the University of Alaska SE in summer 2016. See my assignments here: Where I’m From and Google MyMaps lesson: Place
Here’s the work done by Jimmy Andrew – one of my students from a Yup’ik village of 300 people – Kwigillingok Alaska.
Learning objective – content and or skills students will know or be able to do by end of the lesson.
This was the second class of course and it served multiple objectives:
- My primary objective was to introduce the idea of place-based education with a poem and personal reflection on a place they were already familiar with. (later they would learn about another place – Alaska)
- I wanted to give the students a relatively simple tech-based assignment (Using HaikuDeck and creating a WordPress post) to build confidence for more elaborate tech assignments later in the course
- I need to free up class time so that students could get individually logged into their new WordPress accounts
Digital resource(s) you’ll use for flipped / blended elements.
Note: it’s not necessary to develop the digital elements – you can just describe them.
- I designed and posted the lesson to our WordPress blog so that everyone had access to assignment and resources.
- I made a few how-to videos describing how to create a Haiku Deck account, create a presentation, and embed it in Word Press.
- I made few how-to videos on using Google MyMaps
- I reused a collection of how-to videos that I had created for how to use WordPress
Active learning strategies employed with freed up class time.
Students used the time to read the poem for inspiration and get to work designing their own personal “Where I’m From.” Others elected to try the second design option using Google MyMaps using a lesson called Place. While the Haiku Deck approach was more visual poetry, MyMap used geographic tools and a spacial approach to design a Google map tour. Once I was done meeting with individual students to create their WordPress accounts, I was free to move around getting to know students better and assisting them on specific questions.
How the digital resource integrates into other instructional elements of lesson – what’s the flow of the lesson?
The digital content was created and posted to the web in advance. At the end of the previous class I asked students to read both lesson options (HaikuDeck and MyMaps) in advance and think which lesson they want to try and how they will respond. The day of the class, most of our 3-hour session was spent with students working with HaikuDeck or MyMap. Then they began turning their work into their first blog post. Many students were excited to “show off” their creations with one another.
Benefit for student content mastery, collaboration or learning workflow – Why is it worth it flip / blend some of the content.
Using these digital resources enabled students to begin the course with an easy “tech skills win.” Every student was successful in completing the assignment and posting it on WordPress. I was able to re-use my WordPress how-to videos originally made for another course. Along with the how-tos for HaikuDeck and MyMaps, I was freed up to handle the management of new WordPress accounts and spend some one-on-one time with all my new students.
Class 8: Flip content means more time for student interaction
Introduction
From Are We Innovating, or Just Digitizing Traditional Teaching?
“A few months ago, I noticed an increased amount of discussion around the notion of blended learning. Many of these conversations started on a similar note: “We’re blended—all of our teachers use Google Classroom.” However, in probing further, I often discovered that these tools had merely digitized existing content and classroom procedures.
Instead of filling an inbox on the teacher’s desk with packets and worksheets, students now completed the exact same procedures online. Rather than write homework assignments on the board, teachers posted them to the students’ digital news feeds. While blended learning brings with it the promise of innovation, there is the peril that it will perpetuate and replicate existing practices with newer, more expensive tools.”
Flipped and blended learning can easily fall victim to edtech’s fascination with faster. Better. Shinier. Instead, we will utilize our new skills in digital content creation to design a lesson that utilizes additional class time to foster greater student interaction.
Class overview
Class will begin with a brainstorm session where we consider how we can use flipped and blended resources to enhance classroom interactions. After pitching some ideas to one another, students will get down to developing an outline of how they could design an activity, lesson or unit. Those designs will be incorporated into a blog post due 3/23.
Note: Some class time will also be devoted to updating our critical thinking design project and previewing iBooks Author which will be used for showcasing our lesson.
Assignment
Next week (3/16) there’s no class because of break. Students have two assignment due when we return. (3/23)
- Be prepared to give a 5 min demonstration of your critical thinking lesson.
- Complete your flipped / blended model lesson as a blog post.
See my sample lesson blog post here
Flipped / blended model lesson should include the following elements. See sample completed assignment here.
- Learning objective – content and or skills students will know or be able to do by end of the lesson
- Digital resource(s) you’ll use for flipped / blended elements. Note: it’s not necessary to develop them – you can describe it.
- Active learning strategies employed with freed up class time (follow this link for lots of ideas)
- How the digital resource integrates into other instructional elements of lesson – what’s the flow of the lesson?
- Benefit for student content mastery, collaboration or learning workflow – why is it worth it flip / blend some of the content.
Class 7: Create and Share Content
Note: We will begin class by using this Google form to assess progress on our Critical Thinking Design Project.
Today’s class is the second in our three-class exploration of blended and flipped learning. Last week we looked at options for screencasting / slidecasting. This week we’ll look add a few more options for teachers or students to create content. Students will practice their skills in preparation for our next class where we will look at how to incorporate blended / flipped content into lesson design.
There many options for creating content – but here’s two categories and some free tools that will have many application for lesson designers.
Techniques we’ve already used
- Create content using VoiceThread and share with student. Shoot your own video – edit with iMovie. See class 5.
- Use Mac’s QuickTime Player or CaptureSpace to create a screencast / slidecast. See class 6
Create and share slides
- Export Powerpoint or Keynote slides to Slideshare – sample by former student Peter Gallagher. Peter’s extensive collection of Slideshares.
- Here’s how to add an audio narration to a PowerPoint or a Keynote slide show.
- Use Google slides – here’s an example of how to animate a math problem. Here’s a hack for adding a narration to Google slides.
Create and share videos
- Add narration to PowerPoint or Keynote (#2 above) Then export as videos which can be shared as files or uploaded to YouTube. This is the technique Jeremy used to make his slidecast)
- Create a Paperslide video
- Create an animation using Toontastic 3d. It’s fun and a free tool from Google that works on smartphones, tablets, and select Chromebooks. Other animation creation options with free intro levels are Plotagon or Powtoon.
Host video content (created by you or found online) in a lesson
Add your commentary / questions, monitor student responses.
- Use EDPuzzle (includes library of lessons you can use)
– Works with YouTube, Vimeo.
– Has shortcuts to many popular videos series including: , Khan A, Numberphile, Crashcourse, National Geographic and more.
– Can be embedded.
– Sample Grade 3: Mathablanca - Use TEDed (includes library of lessons you can use)
– YouTube content only.
– Cannot be embedded.
– Sample: Who’s the Historian in Your Classroom
To simply share your YouTube or Vimeo videos without nuisances such as annotations and related videos using SafeShare.TV
Image credit: Creative Commons / Adobe Spark

