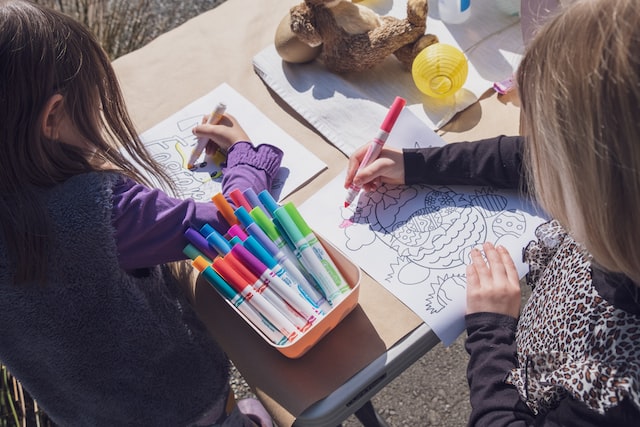
How to Spice Up Your Writing

5th grade descriptive writing lesson.

Student facing learning goal: I can write a descriptive paragraph using sensory details and vivid words.

Adding details to writing is a great way to engage your reader and make your writing more interesting. Do you know what the word “vivid” means? Something that’s vivid produces a powerful feeling or strong, clear images in the mind.

What is descriptive writing and how is it different from other sources of writing? Descriptive writing is used to describe a person, place or thing in such a way that a picture is formed in the reader’s mind. It can be added to a narrative to help the reader understand your story better and become more interested.

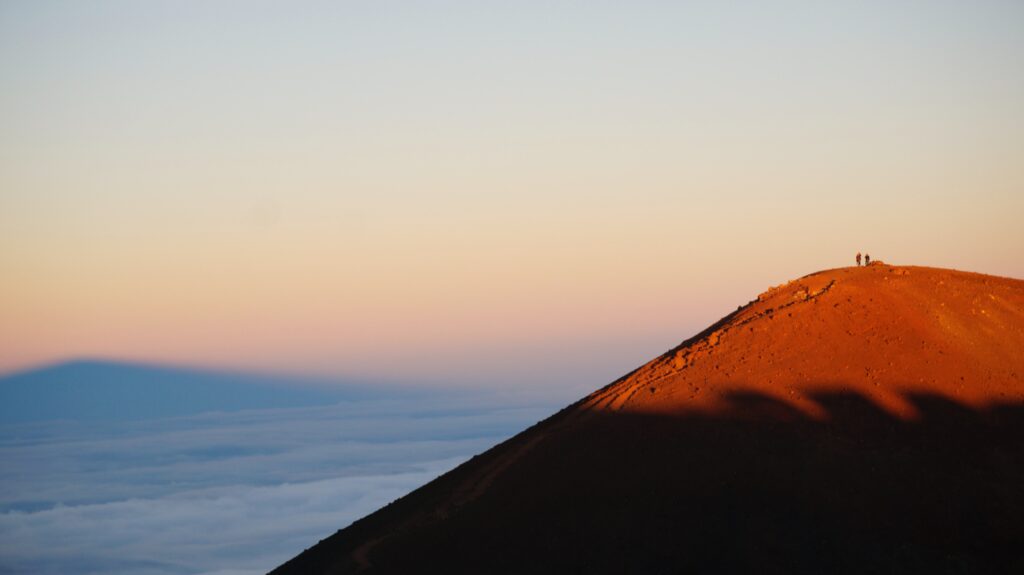
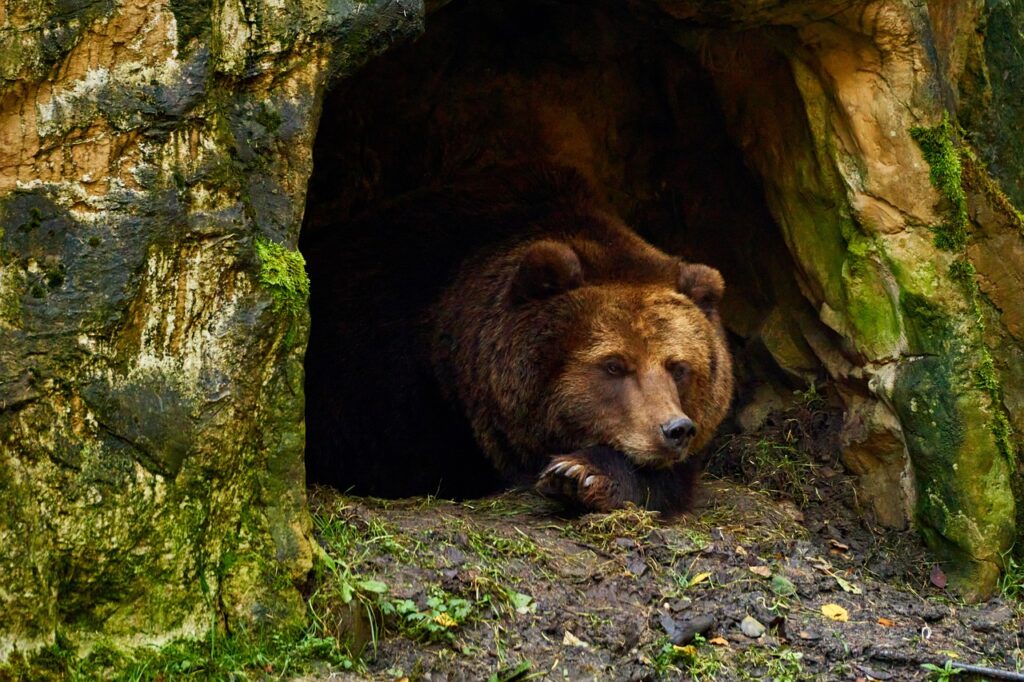
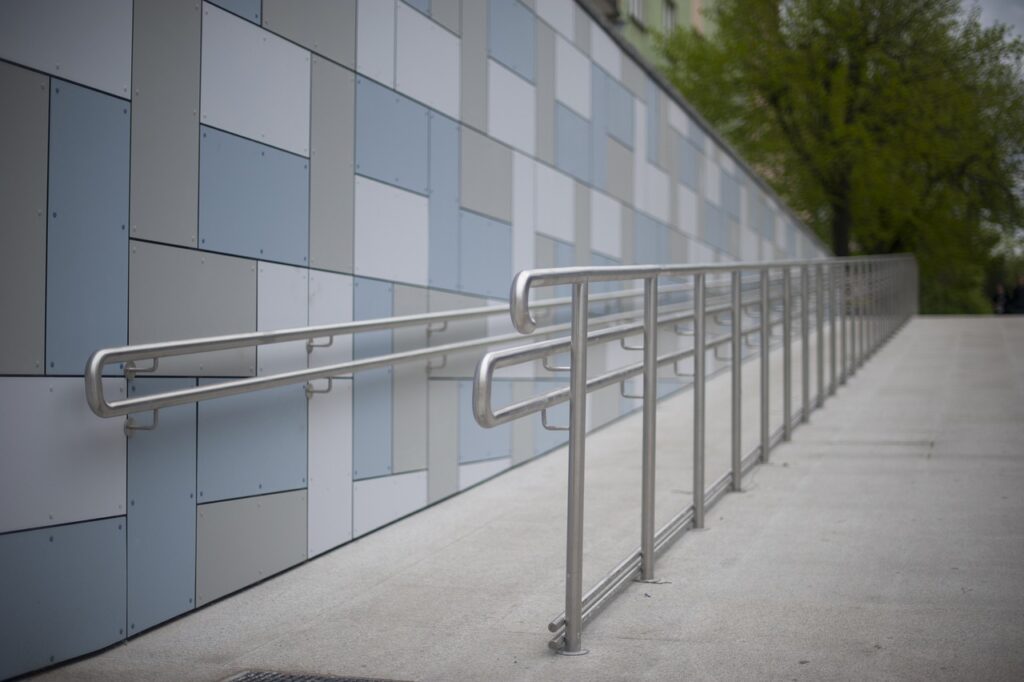
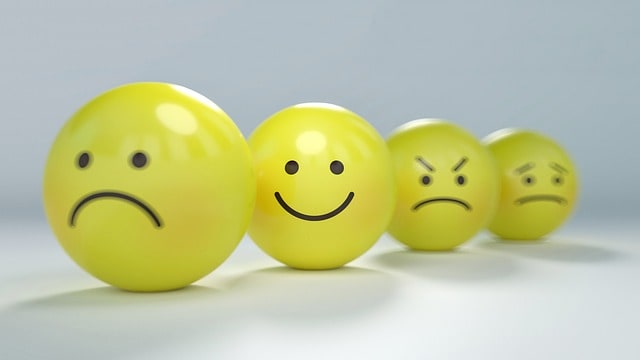
We’re going to look at a few images and silently take a minute to think about how you would describe what you see and imagine when you look at them.

An important part of descriptive writing is adding sensory details. What are the 5 senses? Sight, touch, hearing, taste, and smell. Let’s go back to the picture of the flower garden for a moment. What do you see in this image? What do you think you would hear if you were there? What do you think you would smell or touch? Let’s move to the baseball stadium. What do you think you would see? What would you hear? Would you be eating anything? What would you smell or touch?

We’re going to transition to writing a short descriptive paragraph using vivid words and sensory details. You’ll have about 10 mins to describe your favorite food (or dessert). We’re going to be sharing with a partner so make sure you do your best work.

Put pencils down and switch notebooks with a partner. Read your partner’s paragraph, circle any sensory details or vivid/descriptive words you notice and then talk to your partner about what you like about their paragraph, what you circled, and how you think they could improve.

Image citations:

Illuminated Woods by Steven Kamenar on Unsplash.

Image by Matt Anderson on Unsplash.

Image by Jakob Rosen on Unsplash.

hearing by heathersabrina from Noun Project.

touch by heathersabrina from Noun Project.

smell by heathersabrina from Noun Project.

Sight by heathersabrina from Noun Project.

taste by Iacopo Neri from Noun Project.

Glad you came to your Senses

Image by Clker-Free-Vector-Images from Pixabay

This lesson is designed for a 4th grade class but this can be used with a 3rd and 5th grade class too. The goal of this lesson is for students to understand their five senses (touch, hear, feel, see, and taste) and use descriptive language to describe the settings in their writings.

Students will be asked to imagine a given prompt setting word. Students will have to imagine what is around them using their five senses. After about a minute, the teacher can show a picture of the setting to help students who need a little bit more help and allow students to compare what they saw in their imagination.

As a group, the class can create a list of things that students saw or imagined using their 5 senses.

Prompts and images

Beach

Image by MustangJoe from Pixabay

Snow

Wooden Cabin

Image by Monika from Pixabay
Image by ❄️♡💛♡❄️ Julita ❄️♡💛♡❄️ from Pixabay

With the wooden cabin, talk about why it is important to describe the setting, there can be snow outside or it can be sunny.

Will the Weather, Weather my clothes?

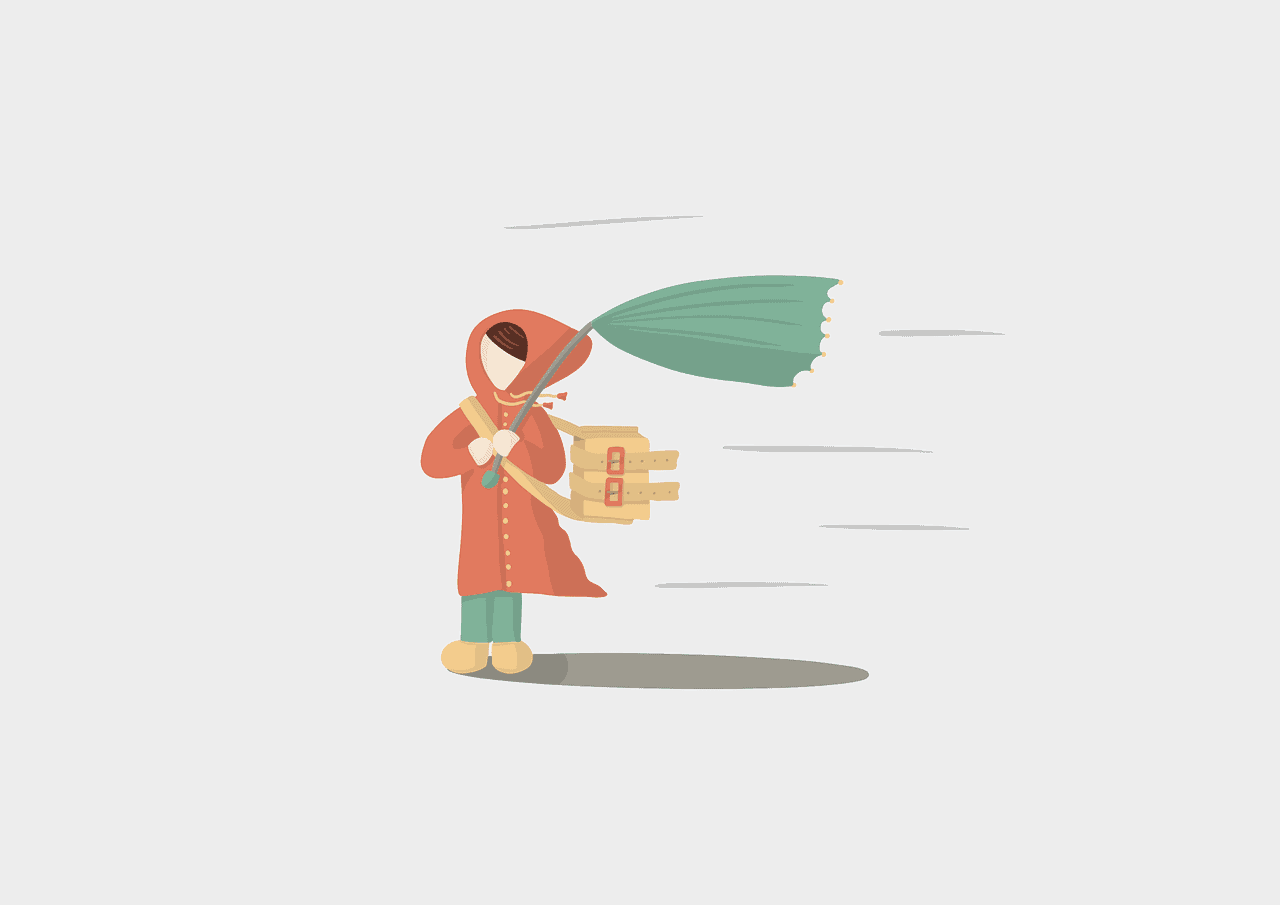
Featured Image by cromaconceptovisual from Pixabay

Will the weather, weather my clothes? A confusing sentence but one that is important for our young students to unpack and appropriately ask themselves as they become more independent and in charge of dressing themselves.

The first thing to do is to decipher the text. The word weather refers both to the temperature and state of the atmosphere outside AND the act of something wearing away or changing in texture due to the exposure of something, for example, the weather outside.

In conducting this lesson with Kindergarteners, the goal is for students to complete the activity with the confidence of choosing the appropriate attire for any day’s weather.

Teachers should begin the lesson by asking students to look outside and SEE what the weather looks like today. Is it so bright you have to cover your eyes from the sun? Are the trees swaying back and forth in the wind? Perhaps they can also describe how it FEELS when they stepped outside this morning. Were you holding yourself close to hide from the cold? When you looked down at your feet, was the ground wet and covered in puddles?

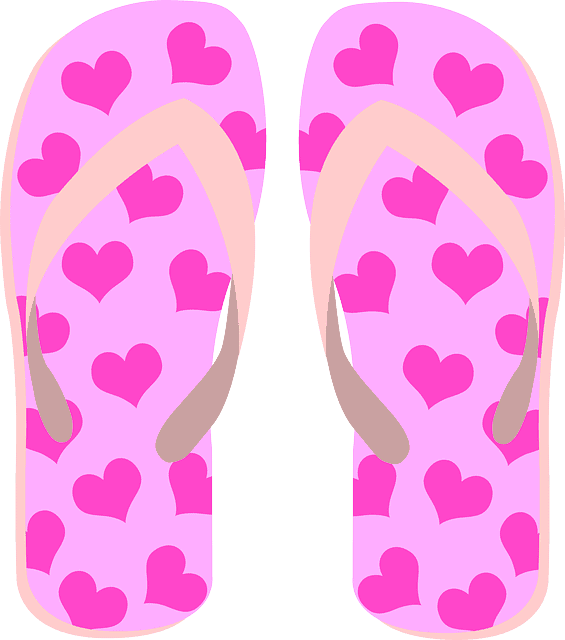
Next, have students share what they are wearing and how it helps them stay protected and comfortable in today’s weather. Ask them if they think they would feel comfortable and happy if they wore clothes unsuitable for the weather. For example, if it is snowing ask if their feet would stay warm in sandals, or if it is sunny with no clouds, perhaps wearing a big fluffy jacket would keep them cool. Encourage your students to explain why they would or would not choose to wear certain clothing in particular weather.

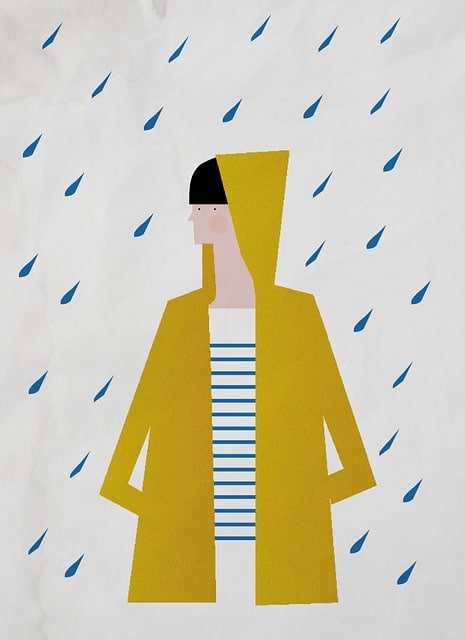
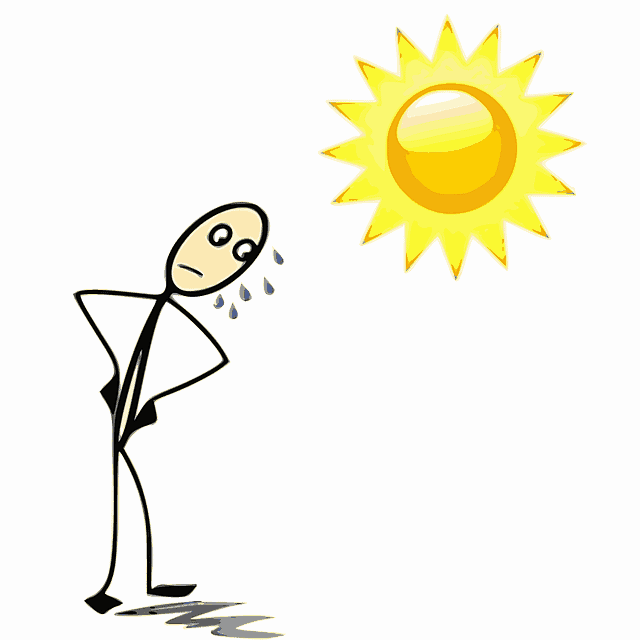
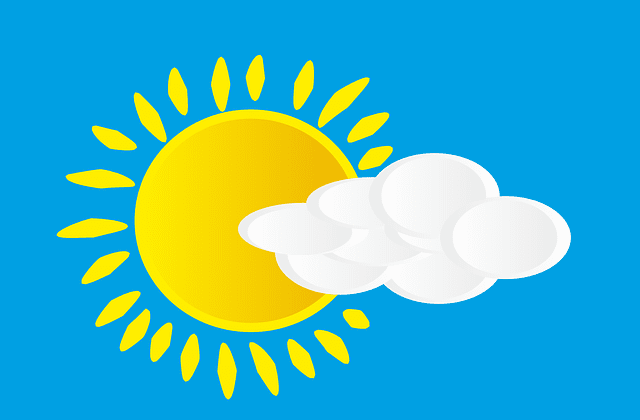
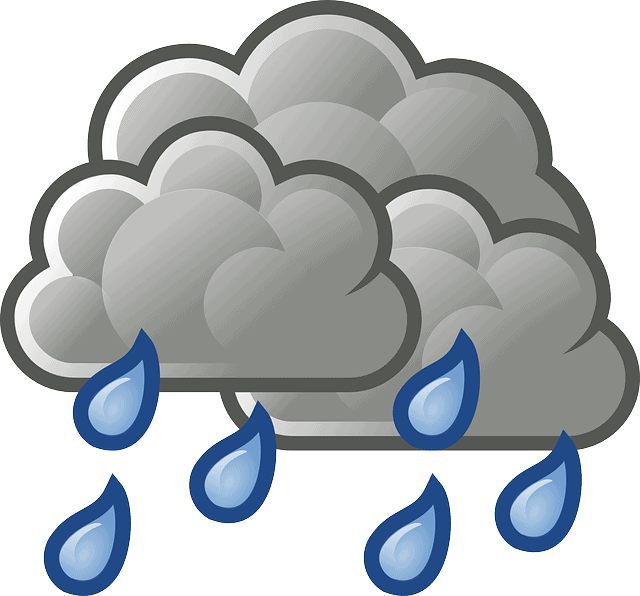
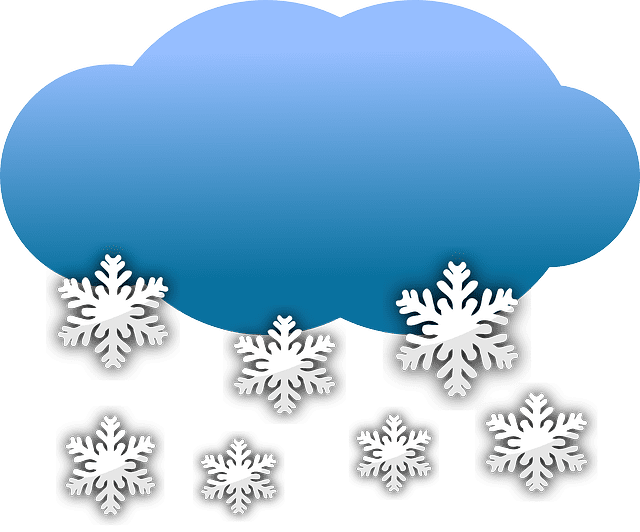
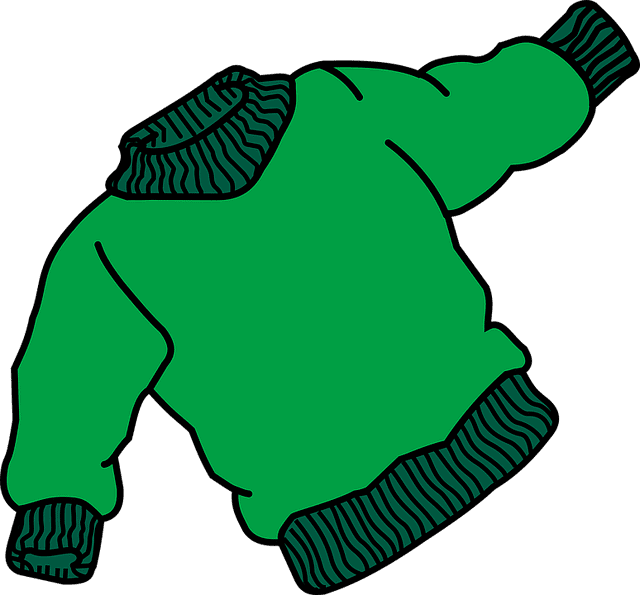
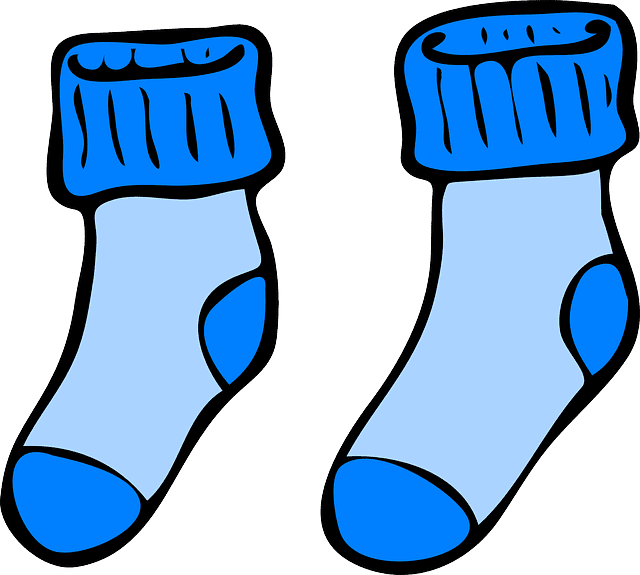
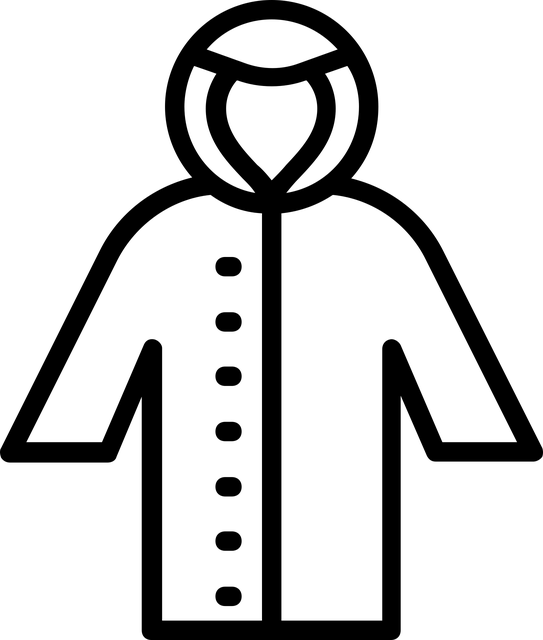
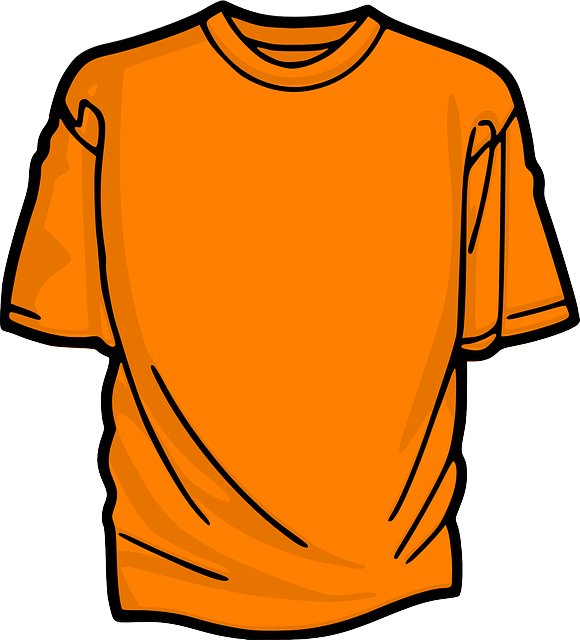
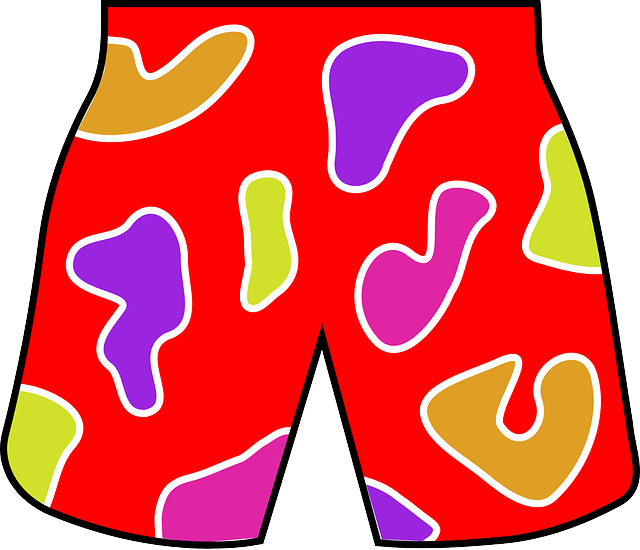
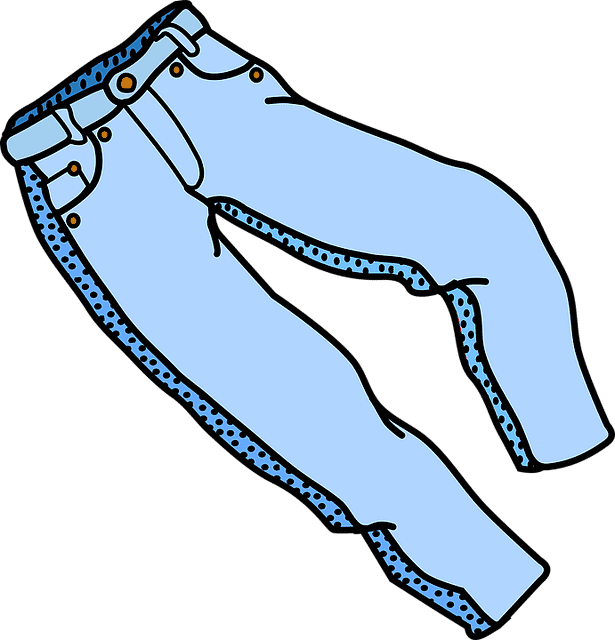
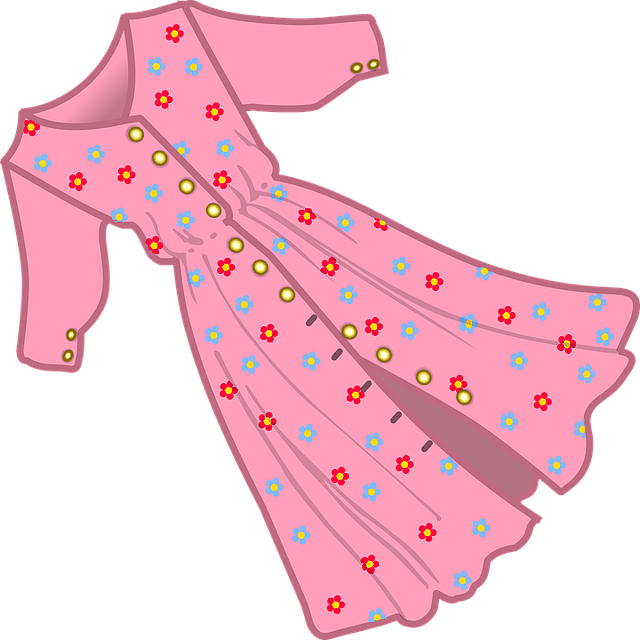
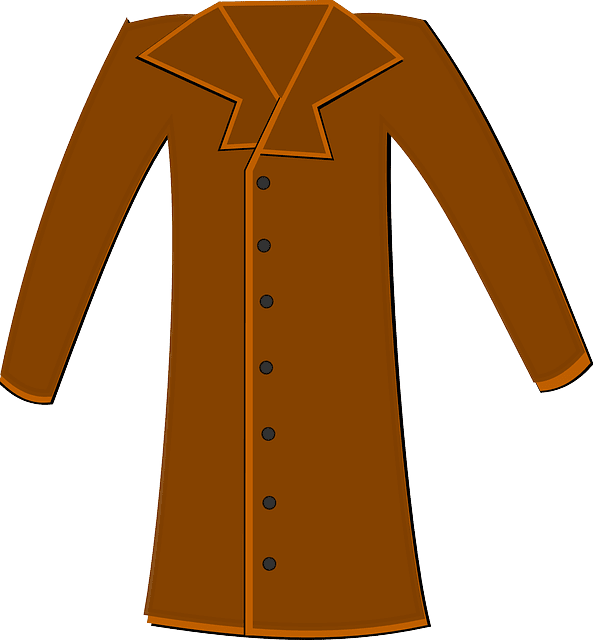
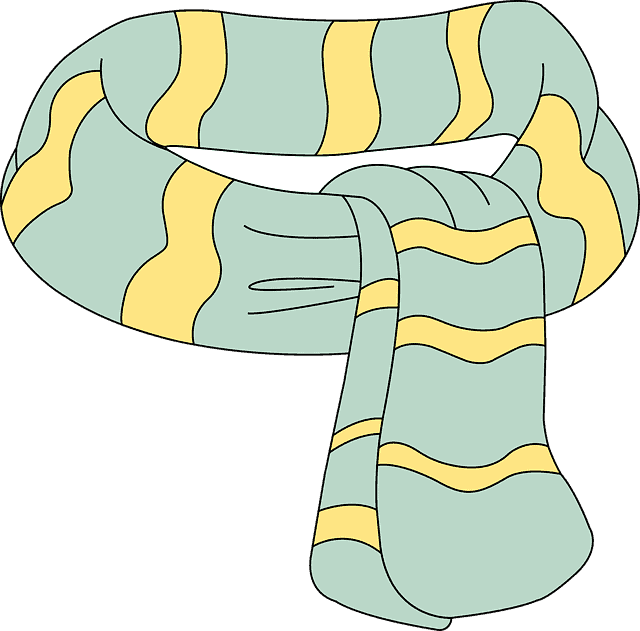
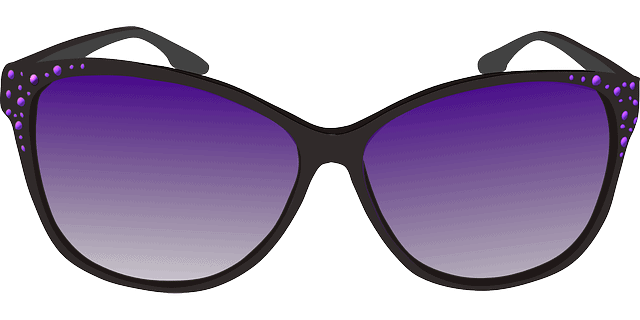
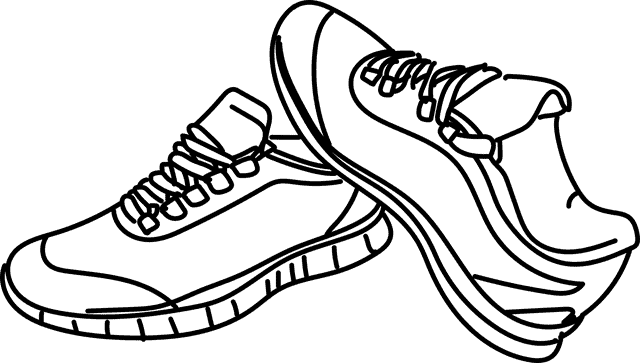
For the lesson’s activity, display photos of different weather or symbols that represent the weather, and varying articles of clothing. Have students find a partner and create complete outfits using the items of clothing shown, and match them to the appropriate weather they can be worn in. After, ask pairs to share one of the outfits they created and for what weather they chose. Once shared, you can ask the class if their choices would help keep the person wearing them comfortable and happy. Would the weather, weather their clothes?

Slideshow 1 links: Sunny https://pixabay.com/vectors/sun-cloud-sky-sunrays-sunlight-346710/ ; Cloudy https://pixabay.com/vectors/cloud-cloudy-gray-sky-weather-149827/ ; Rain https://pixabay.com/vectors/rain-heavy-rain-cloudy-rainy-drops-98538/ ; Snow https://pixabay.com/vectors/cloud-snow-flakes-winter-weather-306404/

Slideshow 2 links: Sweater https://pixabay.com/vectors/clothes-clothing-pullover-shirt-1294933/ ; Socks https://pixabay.com/vectors/socks-winter-warm-blue-wool-baby-306802/ ; Flipflops https://pixabay.com/vectors/flip-flops-bathing-shoes-beach-shoes-298723/ ; Raincoat https://pixabay.com/vectors/coat-jacket-overwear-raincoat-6260282/ ; T-Shirt https://pixabay.com/vectors/t-shirt-front-short-orange-306168/ ; Shorts https://pixabay.com/vectors/shorts-beach-clothing-summer-149409/ ; Pants https://pixabay.com/vectors/clothes-clothing-hose-trousers-1294974/ ; Dress https://pixabay.com/vectors/cloth-clothing-dress-female-frau-1294908/ ; Jacket https://pixabay.com/vectors/coat-clothing-long-fashion-winter-310158/ ; Scarf https://pixabay.com/vectors/scarf-clothing-fashion-cloth-6212163/ ; Sunglasses https://pixabay.com/vectors/sunglasses-glasses-purple-summer-159705/ ; Sneakers https://pixabay.com/vectors/shoes-tennis-sport-racket-2835012/

How Mountains Are Born

This lesson is for 4th and 5th graders and combines the subjects geography and ELA.

Students will start by reading part of a text about how mountains are formed.

The teacher will then generate with students a list of the key ideas for how mountains are formed, as well as a few examples or details of those ideas provided in the text.

Afterward, students will think about other mountains they know of that are not listed in the text. The teacher will create a list with students of these mountains.

Students will then get into small groups and do research to come up with two to three mountains from around the world that fit into the different categories of the key ideas discussed as a whole class (how mountains are formed).

Citations:

Photo by Rohit Tandon on Unsplash

Photo by Mark Tuzman on Unsplash

Photo by Karsten Winegeart on Unsplash

Photo by aditya anjagi on Unsplash

Photo by Andreas Gäbler on Unsplash

Photo by Bruce Irving on Unsplash

Weather Report

Weather Report – Kindergarten Science Activity

Image by Pexels from Pixabay

  1. For the first part of the activity, the whole class will be working together to identify the weather conditions of a given image.
  2. The teacher will start the activity by asking the students to generate a list of weather terms (cloudy, sunny, snowy, etc.)
  3. Next, the teacher will ask students to identify the weather conditions of each image in a set (pictured below).

Image by NatureFriend from Pixabay

Image by Shlomaster from Pixabay

Image by LUM3N from Pixabay

Image by Ioannis Ioannidis from Pixabay

4. After the whole class portion, students will be given a worksheet that has a set of images, similar whole class ones (pictured below).
5. Students will identify the weather conditions of each of the images, then they will write a sentence about the weather in the image (ex. “it is snowy outside”).

Image by David Mark from Pixabay

Image by Bogdan Radu from Pixabay

Image by MaBraS from Pixabay

Forest Animals

This lesson is designed for kindergarteners, and combines science and reading by learning about the forest environment and the animals that live there while using learned sight words and practicing sentence structure.

During group instruction, students will learn about specific animals that live in the forest (bear, bird, squirrel, rabbit, fox, deer) and their shelters (den, nest, burrow, brush). The students will practice these vocabulary words using a “my turn, your turn” strategy. While introducing the animals, the teacher will ask questions to the class to encourage discussion and dialog; questions may include:

  • What are animals that live in the forest?
  • How are the bear and the fox similar?
  • What do you think the shelters for these animals are?
  • What is different about the bird and the fox shelters?
  • etc.

As the teacher introduces animals and shelters, they will show the class visual representations of each one.

After introducing all of the animals and shelters, we will practice using the question and response sentence frames by choosing an animal to insert, and identifying its shelter. The teacher will choose an animal and its shelter to practice with, then the class will choral read both the question and response.

Question: Where is the (animal) in the forest?
Response: I see the (animal) in the (shelter).

Student Activity

In partners, one student will choose an animal and use the first sentence frame to ask their partner the question. Their partner will use the second sentence frame to respond, using the same animal and recognizing its correct shelter. Students will take turns switching roles until the activity is over.

Sources
Image by Daniel Mačura from Pixabay
Image by Robert Balog from Pixabay
Image by 현 정 from Pixabay
Image by fiamja from Pixabay 
Image by Alastair Newton from Pixabay
Image by Andy M. from Pixabay
Image by Ralph from Pixabay
Image by hashan from Pixabay
Image by Manfred Richter from Pixabay  
Image by NakNakNak from Pixabay 
Image by Joanjo Puertos Muñoz from Pixabay 

APRENDIZAJE DE UN NUEVO MUNDO

iNTRODUCTION TO THE LESSON

Langauges can play an important role to discovering the world from a different perspective, especially through a different culture, and knowing a language allows people to connect with other people around the world. When thinking of the countries that speak Spanish, here is a list:

  • Mexico
  • Spain
  • Cuba
  • Dominican Republic
  • Puerto Rico
  • Guatemala
  • Honduras
  • Ecuador

There are so many more countries that speak Spanish, or have Spanish influence in them, such as Morocco and its relationship with Spain since they border each other, (learning history can be incredibly fun). Even if students do not want to continue with Spanish, there are plenty of other languages that knowing Spanish will help learning another one, such as Portugese and French.

This lesson is for students in high school learning language, specifically Spanish. Students will be learning vocabulary for planning for the future after high school, whether that is college, studying abroad, or going to a trade school. Students will write a project in Spanish for investigating different opportunities to pursue after high school and how Spanish can play an important role for discovering opportunities. ‘

Students will choose something to research and investigate more about that Spanish will be useful for after high school. We will learn the necessary vocabulary in Spanish for students to be able to do their presentations in Spanish.

  • Yo quiero: I want to
  • Viajar :Travel
  • Estudiar: To study
  • Trabajar: To work
  • En: In
  • Este país: This country
  • En los Estados Unidos: In the United States
  • Etc…

Afterwards, students will present their findings in small groups. In the small groups students will decide which out of everyones project to present to the whole class, and then the whole class will present together in Spanish to the rest of the students.

The target for this project is to think of what opportunities there are after high school, and what uses can language play in all of that. Students will practice their vocabulary and speaking with other students, and also work on building community and communication skills with one another. There will be a presentation for students to present, a piece of writing, some poetry, or something of the sort that students can come up with, which will then be in Spanish.

Image Credits

Image by Lucia Grzeskiewicz from Pixabay

Image by Lubos Houska from Pixabay

Image by Naassom Azevedo from Pixabay

Image by Jan Vašek from Pixabay

Image by PDPics from Pixabay

Mathematizing the World

Context of the Lesson

I am currently student teaching in a high school geometry class. Recently, we went through a version of this lesson as we began learning about the Pythagorean Theorem. My original lesson had a photo from the Capitol Crawl of activists crawling up the steps of the Capitol building in Washington D.C. Unfortunately, I couldn’t find a public domain photo to use, so I made a few edits to the lesson in order to incorporate copyright free images.

Lesson Instructions for Students

First, take a minute to look at the four pictures shown below. How do they relate to each other? How are they different? As you begin to make sense of the photos, answer the following questions in your notebook:
– What do you notice?
– What do you wonder?
– What’s a connection you can make?
– What’s a mathematical question you can ask about the images?
After you have answered the four questions, we are going to go around the class and share at least one thing you wrote down.

As students share out their responses, I will write down their answers on the board for all students to see. My hope with this discussion is that themes of accessibility, safety, and inclusion arise. After this discussion, I will talk about the Capitol Crawl where disability rights activists crawled up the 100 steps of the Capitol Building. In 1990, the Americans with Disabilities Act was passed which required accessibility requirements to public spaces. After this conversation, I will then ask my students, “What characteristics make a ramp safe?” After brainstorming some characteristics of a safe ramp, I will share the ADA guidelines for ramps.

Americans with Disabilities Act Ramp Guidelines

  • Ramps are required for any chance in level greater than 1/2 inch
  • Ramps have a maximum slope of 1:12 (4.8 degrees)
  • Ramps have a minimum width of 36 inches
  • There must be a minimum 5 feet by 5 feet flat area at the top and bottom of the ramp for turning
  • Ramps may be no longer than 30 feet horizontally between flat rest or turn platforms

Group Activity

For the rest of class, students will work together in groups to design a ramp that meets the given scenario and ADA guidelines. Students will have to use the Pythagorean Theorem in order to get accurate measurements.

A school has 4 steps to the front door. Each step is 7 inches tall. Design a ramp for the school that meets the ADA guidelines.

Credits
Featured Image:
Image by Christopher Strolia-Davis from Pixabay
Gallery:
Photo by Vidar Nordli-Mathisen on Unsplash (bottom right)
Photo by Franzie Allen Miranda on Unsplash (middle right)
Photo by Malik Skydsgaard on Unsplash (upper right)
Photo by Diego Gennaro on Unsplash (left)
Group Activity Image:
Image by Andrzej Rembowski from Pixabay

SEL Lesson- 3rd Grade

Introduction

This lesson is aimed at 3rd graders but could be used in 3rd-5th grades.

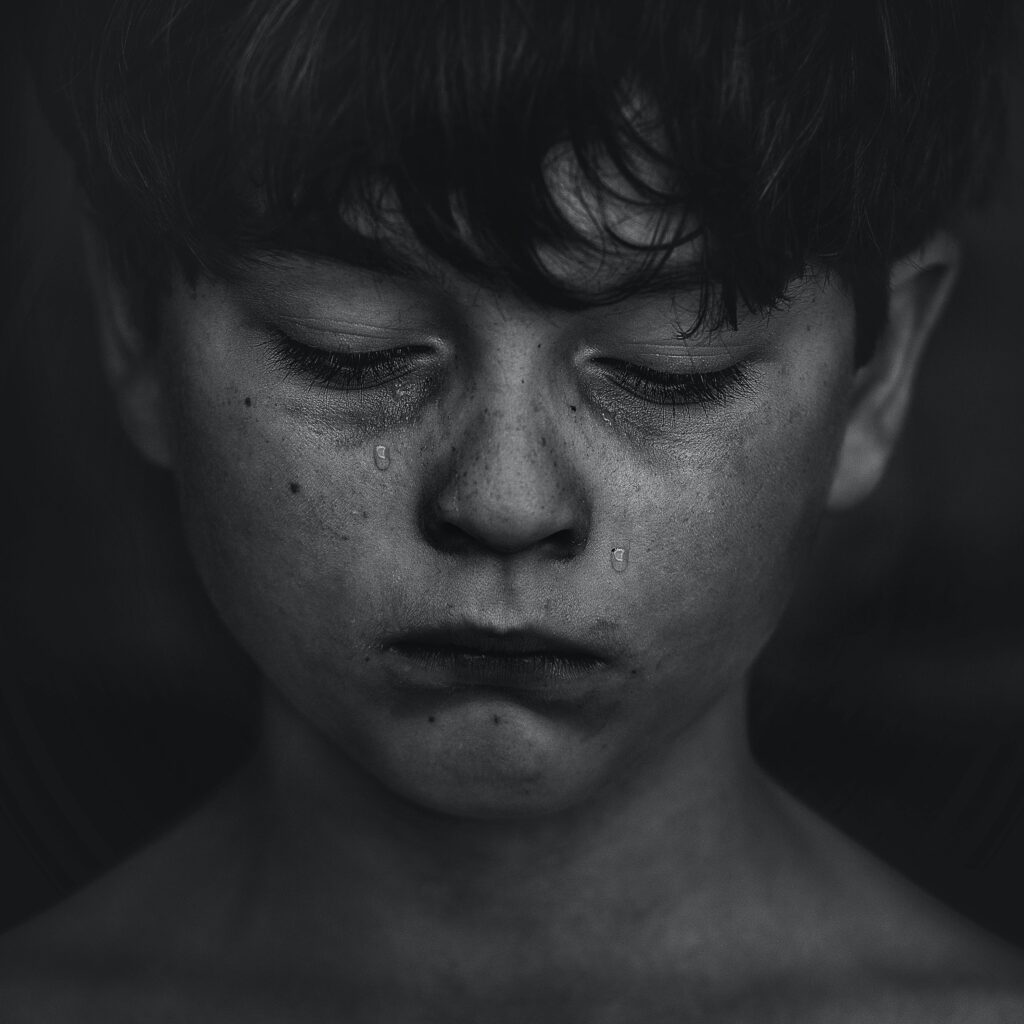
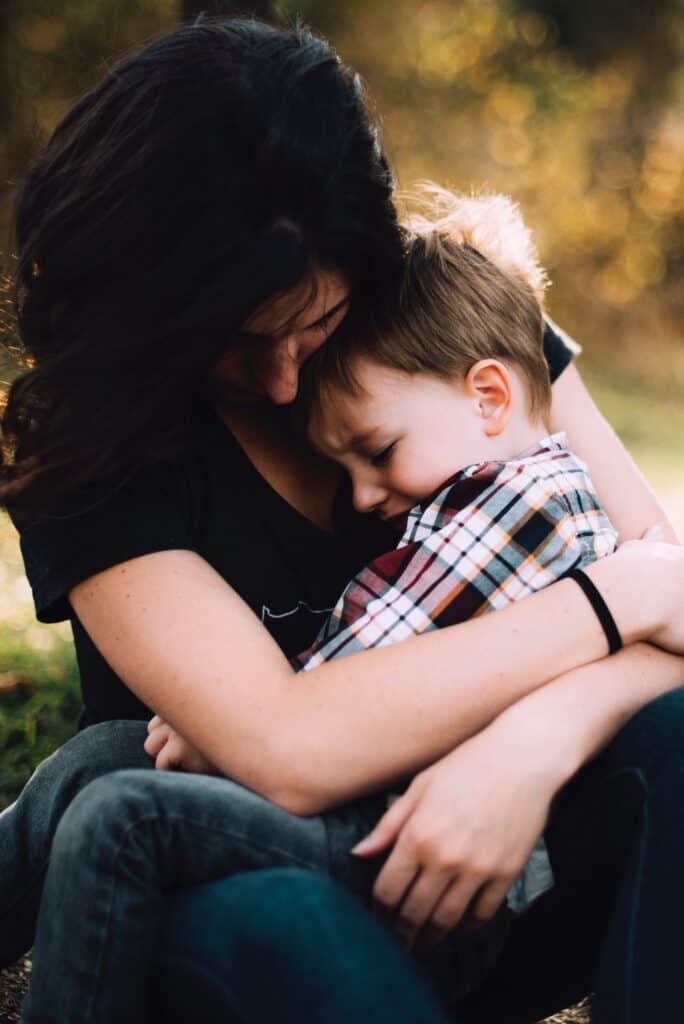
Emotions are something that we all experience, but emotions can look different for everyone. For example, when someone is happy they may start smiling or become energetic. Just because they may not be smiling does to mean that they cannot be happy.

Today we are going to look at different ways that people show their emotions so that we can recognize how our friends might feel. When we are able to understand how others feel we can show empathy for them. Empathy is when we are able to understand and share the feelings of others. We can put ourselves in their shoes and understand what it might feel like to be that person.

.Empathy means that we must use our brains and our hearts to understand others!

Naming Other’s Emotions

What might these two kids be feeling?

Yes- They are probably feeling happy or excited! We can see the smiles on their faces and the excitement they are feeling.

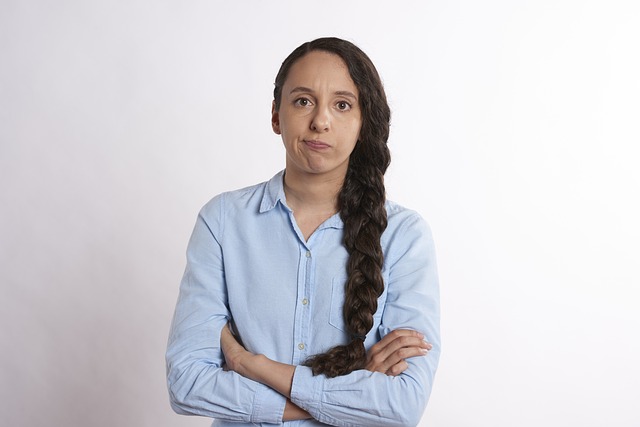
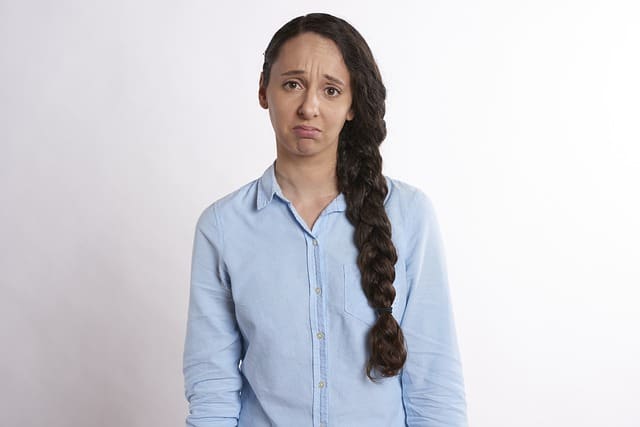
What might these people be feeling?

What differences can you notice between the two different emotions this person is feeling? How can you tell?

Yes- On the left, she may be feeling annoyed while on the right she may be feeling sad.

It is important to look for physical signs that may give us an idea of how people are feeling.

Image Credits

Image by Gino Crescoli from Pixabay

Image by Mohamed Hassan from Pixabay

Image by StartupStockPhotos from Pixabay

Photo by Kat J on Unsplash

Photo by Jordan Whitt on Unsplash

Image by Robin Higgins from Pixabay

Teaching Time

In 2nd grade I specifically remember learning how to tell time. It was a bright yellow with the long hand blue and the short hand red. The number of minutes were in a very small font above the hour number. My parents could no longer send me to bed earlier than 8:00pm. Now, I use this skill multiple times every day. My ultimate curiosity is how long the Gregorian calendar has been in place and when was the 24-hour day created? Did it always have 60 minutes, each with 60 seconds to compose a whole hour? I would make sure to incorporate that history each time I teach this lesson. This picture is by Malvestida from Unsplash.

Credit: Malvestida on Unsplash

I would teach this lesson in small groups of no more than 5 kids at a time. I would teach them that we make 2 full circles around a clock every day, which is a total of 24 hours. In 1 hour we have 60 minutes, but each minute has 60 seconds. Our short hand is the hour and the long hand is how many minutes it is. I know that it’s weird that there are 12 hours on here, but since it goes around 2 times that is where we get the number 24 from. When we get to the number 1, our short hand will say 1, but our long hand will say 5 minutes. For each big number we have on the clock, we keep it to tell us the hour but we also use it to count how many minutes there are. When it comes to the minutes, the numbers go by fives. A 1 has 5 minutes and the 2 means it has been 10 minutes, etc. It keeps going until we get to the 12 and we start again! Since we go around this clock 2 times in a day, we say am for the morning and pm for the afternoon and evening.

Credit: Alan Rodriguez on Unsplash

I would bring in paper plates already made with a pin in the middle with a short hand and a long hand. I would have students write the hours, minute numbers in the increments of 5, and the little lines in between. I would have 1 student give me a time that I would replicate on the paper plate clock and then show them. Then I would give them about 3 different times to replicate on their paper plate clocks. Students will be able to bring them home and practice with an adult. My main focus is to keep this simple and hands on. If a student is confused, I would pull them into a support session with me.

The 5 Senses

Image by StockSnap from Pixabay

This lesson is designed for 3rd graders but could be used from grades 2-4. In this lesson, students will practice using the 5 senses (Touch, sight, smell, taste, hear) while viewing images in order to understand how to make their writing more engaging.

In this lesson we are going to be talking about the 5 senses. The 5 senses are important because they allow you to add detail in your writing to make it more interesting to read!

Look at the image below and imagine that you are there yourself. Now think about what you may hear, touch, taste, smell, and see if you were there in real life.

Image by Somchai Sumnow from Pixabay

Now, copy and complete these 5 sentences into your writing notebook:

I can hear _____________________________

I can touch ____________________________

I can taste _____________________________

I can smell _____________________________

I can see _______________________________

Now let’s do it again with this image! Really imagine that you are there yourself and be as creative as you can!

Image by Somchai Sumnow from Pixabay

Now, copy and complete these 5 sentences into your writing notebook:

I can hear _____________________________

I can touch ____________________________

I can taste _____________________________

I can smell _____________________________

I can see _______________________________

This time there are three images. Do the same as before and imagine how you may be experiencing this place through each of your five senses. This time you get to choose what image you would like to use for inspiration!

Image by Somchai Sumnow from Pixabay

Image by Kasjan Farbisz from Pixabay 

Image by Pexels from Pixabay 

Again, copy and complete these 5 sentences into your writing notebook:

I can hear _____________________________

I can touch ____________________________

I can taste _____________________________

I can smell _____________________________

I can see _______________________________

Think about using the five senses in your own writing to describe the setting of your stories. This makes the reader feel like they are actually there!

Red, Yellow, and Green Foods – Nutrition Lesson

This lesson could be introduced in Kindergarten but could be used for up to 2nd graders for learning about healthy eating.

When it comes to food, some can be bad for you (red), okay for you in moderation (yellow), and good for you (green). I’m going to show you some examples of red foods, yellow foods, and green foods. You can think of a stoplight to help you understand. Red means stop or no, yellow means okay or maybe, and green means go.

Here are some red foods. What do you notice?

Here are some yellow foods. What do you notice?

Here are some green foods. What do you notice?

Now I want you to look at the food below and see if you think it is a red, yellow, or green food.

Chocolate is yellow! This is because it can be good for you in small amounts.

Think about what foods you eat that are red, yellow, or green!

Credits:

Image by Agata from Pixabay

Image by PublicDomainPictures from Pixabay

Image by Clker-Free-Vector-Images from Pixabay

Image by OpenClipart-Vectors from Pixabay

Image by Chrystal Elizabeth from Pixabay

Image by Pexels from Pixabay

Image by Szabolcs Molnar from Pixabay

Image by congerdesign from Pixabay

Image by WikimediaImages from Pixabay