
Mathematizing the World

Context of the Lesson

I am currently student teaching in a high school geometry class. Recently, we went through a version of this lesson as we began learning about the Pythagorean Theorem. My original lesson had a photo from the Capitol Crawl of activists crawling up the steps of the Capitol building in Washington D.C. Unfortunately, I couldn’t find a public domain photo to use, so I made a few edits to the lesson in order to incorporate copyright free images.

Lesson Instructions for Students

First, take a minute to look at the four pictures shown below. How do they relate to each other? How are they different? As you begin to make sense of the photos, answer the following questions in your notebook:
– What do you notice?
– What do you wonder?
– What’s a connection you can make?
– What’s a mathematical question you can ask about the images?
After you have answered the four questions, we are going to go around the class and share at least one thing you wrote down.

As students share out their responses, I will write down their answers on the board for all students to see. My hope with this discussion is that themes of accessibility, safety, and inclusion arise. After this discussion, I will talk about the Capitol Crawl where disability rights activists crawled up the 100 steps of the Capitol Building. In 1990, the Americans with Disabilities Act was passed which required accessibility requirements to public spaces. After this conversation, I will then ask my students, “What characteristics make a ramp safe?” After brainstorming some characteristics of a safe ramp, I will share the ADA guidelines for ramps.

Americans with Disabilities Act Ramp Guidelines

  • Ramps are required for any chance in level greater than 1/2 inch
  • Ramps have a maximum slope of 1:12 (4.8 degrees)
  • Ramps have a minimum width of 36 inches
  • There must be a minimum 5 feet by 5 feet flat area at the top and bottom of the ramp for turning
  • Ramps may be no longer than 30 feet horizontally between flat rest or turn platforms

Group Activity

For the rest of class, students will work together in groups to design a ramp that meets the given scenario and ADA guidelines. Students will have to use the Pythagorean Theorem in order to get accurate measurements.

A school has 4 steps to the front door. Each step is 7 inches tall. Design a ramp for the school that meets the ADA guidelines.

Credits
Featured Image:
Image by Christopher Strolia-Davis from Pixabay
Gallery:
Photo by Vidar Nordli-Mathisen on Unsplash (bottom right)
Photo by Franzie Allen Miranda on Unsplash (middle right)
Photo by Malik Skydsgaard on Unsplash (upper right)
Photo by Diego Gennaro on Unsplash (left)
Group Activity Image:
Image by Andrzej Rembowski from Pixabay


SEL Lesson- 3rd Grade

Introduction

This lesson is aimed at 3rd graders but could be used in 3rd-5th grades.

Emotions are something that we all experience, but emotions can look different for everyone. For example, when someone is happy they may start smiling or become energetic. Just because they may not be smiling does to mean that they cannot be happy.

Today we are going to look at different ways that people show their emotions so that we can recognize how our friends might feel. When we are able to understand how others feel we can show empathy for them. Empathy is when we are able to understand and share the feelings of others. We can put ourselves in their shoes and understand what it might feel like to be that person.

.Empathy means that we must use our brains and our hearts to understand others!

Naming Other’s Emotions

What might these two kids be feeling?

Yes- They are probably feeling happy or excited! We can see the smiles on their faces and the excitement they are feeling.

What might these people be feeling?

What differences can you notice between the two different emotions this person is feeling? How can you tell?

Yes- On the left, she may be feeling annoyed while on the right she may be feeling sad.

It is important to look for physical signs that may give us an idea of how people are feeling.

Image Credits

Image by Gino Crescoli from Pixabay

Image by Mohamed Hassan from Pixabay
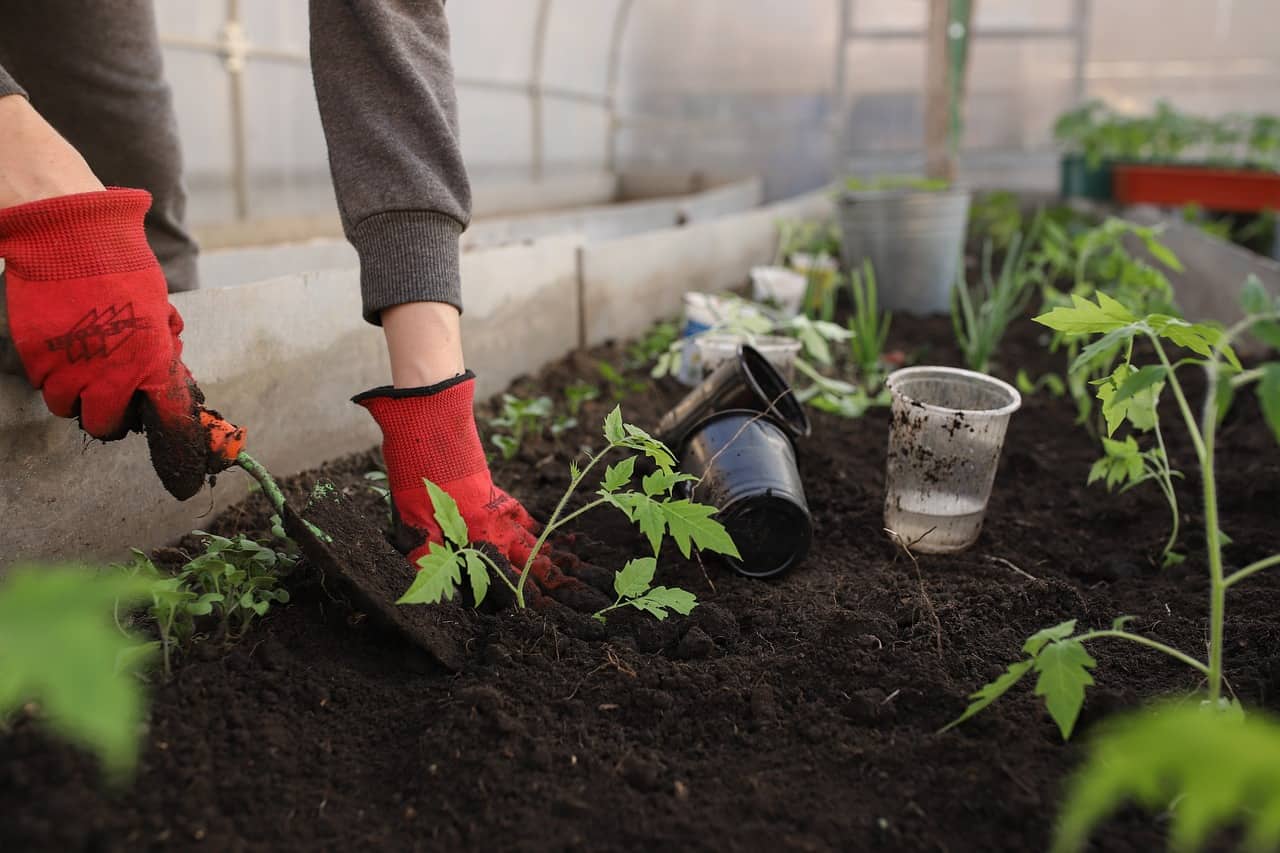
Image by StartupStockPhotos from Pixabay
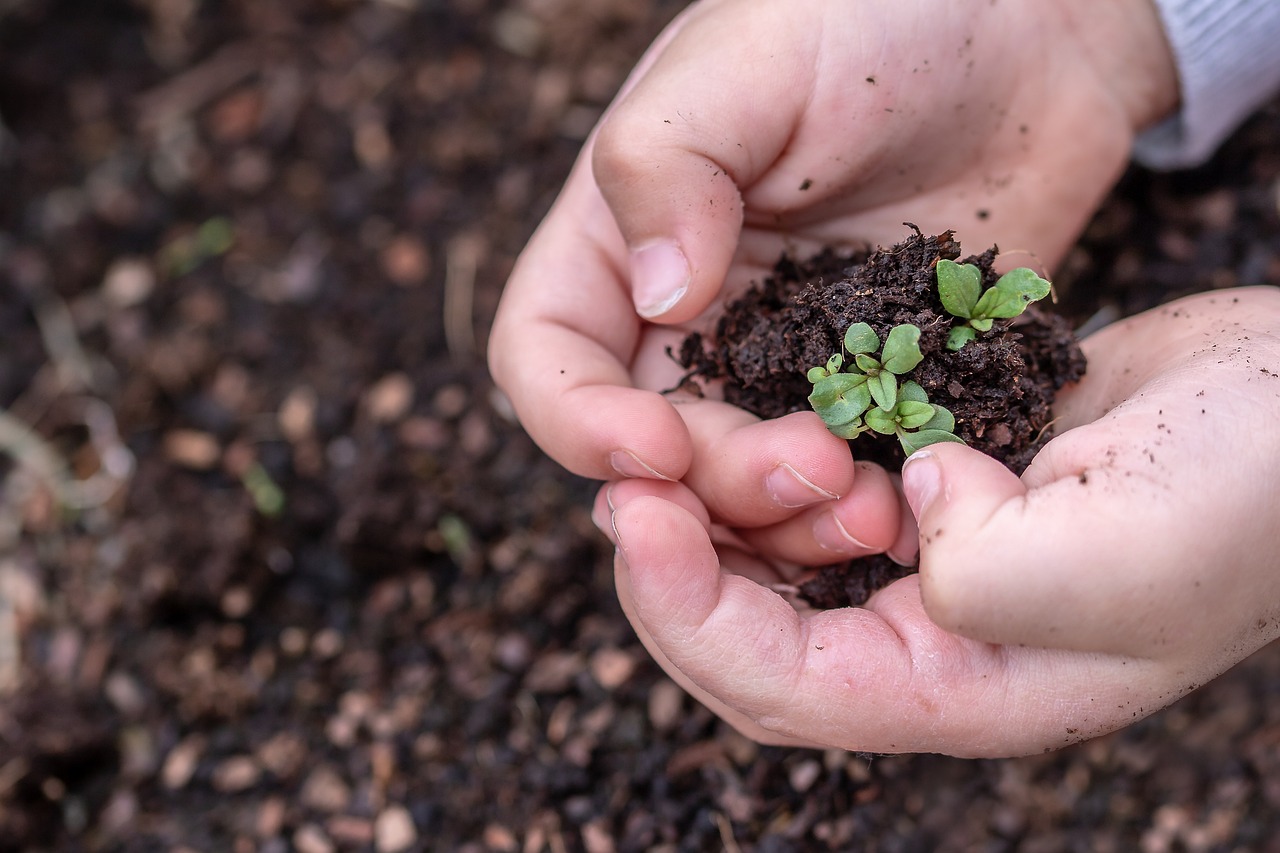
Photo by Kat J on Unsplash

Photo by Jordan Whitt on Unsplash

Image by Robin Higgins from Pixabay
Teaching Time

In 2nd grade I specifically remember learning how to tell time. It was a bright yellow with the long hand blue and the short hand red. The number of minutes were in a very small font above the hour number. My parents could no longer send me to bed earlier than 8:00pm. Now, I use this skill multiple times every day. My ultimate curiosity is how long the Gregorian calendar has been in place and when was the 24-hour day created? Did it always have 60 minutes, each with 60 seconds to compose a whole hour? I would make sure to incorporate that history each time I teach this lesson. This picture is by Malvestida from Unsplash.

Credit: Malvestida on Unsplash

I would teach this lesson in small groups of no more than 5 kids at a time. I would teach them that we make 2 full circles around a clock every day, which is a total of 24 hours. In 1 hour we have 60 minutes, but each minute has 60 seconds. Our short hand is the hour and the long hand is how many minutes it is. I know that it’s weird that there are 12 hours on here, but since it goes around 2 times that is where we get the number 24 from. When we get to the number 1, our short hand will say 1, but our long hand will say 5 minutes. For each big number we have on the clock, we keep it to tell us the hour but we also use it to count how many minutes there are. When it comes to the minutes, the numbers go by fives. A 1 has 5 minutes and the 2 means it has been 10 minutes, etc. It keeps going until we get to the 12 and we start again! Since we go around this clock 2 times in a day, we say am for the morning and pm for the afternoon and evening.

Credit: Alan Rodriguez on Unsplash

I would bring in paper plates already made with a pin in the middle with a short hand and a long hand. I would have students write the hours, minute numbers in the increments of 5, and the little lines in between. I would have 1 student give me a time that I would replicate on the paper plate clock and then show them. Then I would give them about 3 different times to replicate on their paper plate clocks. Students will be able to bring them home and practice with an adult. My main focus is to keep this simple and hands on. If a student is confused, I would pull them into a support session with me.

The 5 Senses

Image by StockSnap from Pixabay
This lesson is designed for 3rd graders but could be used from grades 2-4. In this lesson, students will practice using the 5 senses (Touch, sight, smell, taste, hear) while viewing images in order to understand how to make their writing more engaging.

In this lesson we are going to be talking about the 5 senses. The 5 senses are important because they allow you to add detail in your writing to make it more interesting to read!

Look at the image below and imagine that you are there yourself. Now think about what you may hear, touch, taste, smell, and see if you were there in real life.

Image by Somchai Sumnow from Pixabay

Now, copy and complete these 5 sentences into your writing notebook:

I can hear _____________________________

I can touch ____________________________

I can taste _____________________________

I can smell _____________________________

I can see _______________________________

Now let’s do it again with this image! Really imagine that you are there yourself and be as creative as you can!

Image by Somchai Sumnow from Pixabay

Now, copy and complete these 5 sentences into your writing notebook:

I can hear _____________________________

I can touch ____________________________

I can taste _____________________________

I can smell _____________________________

I can see _______________________________

This time there are three images. Do the same as before and imagine how you may be experiencing this place through each of your five senses. This time you get to choose what image you would like to use for inspiration!

Image by Somchai Sumnow from Pixabay

Image by Kasjan Farbisz from Pixabay 
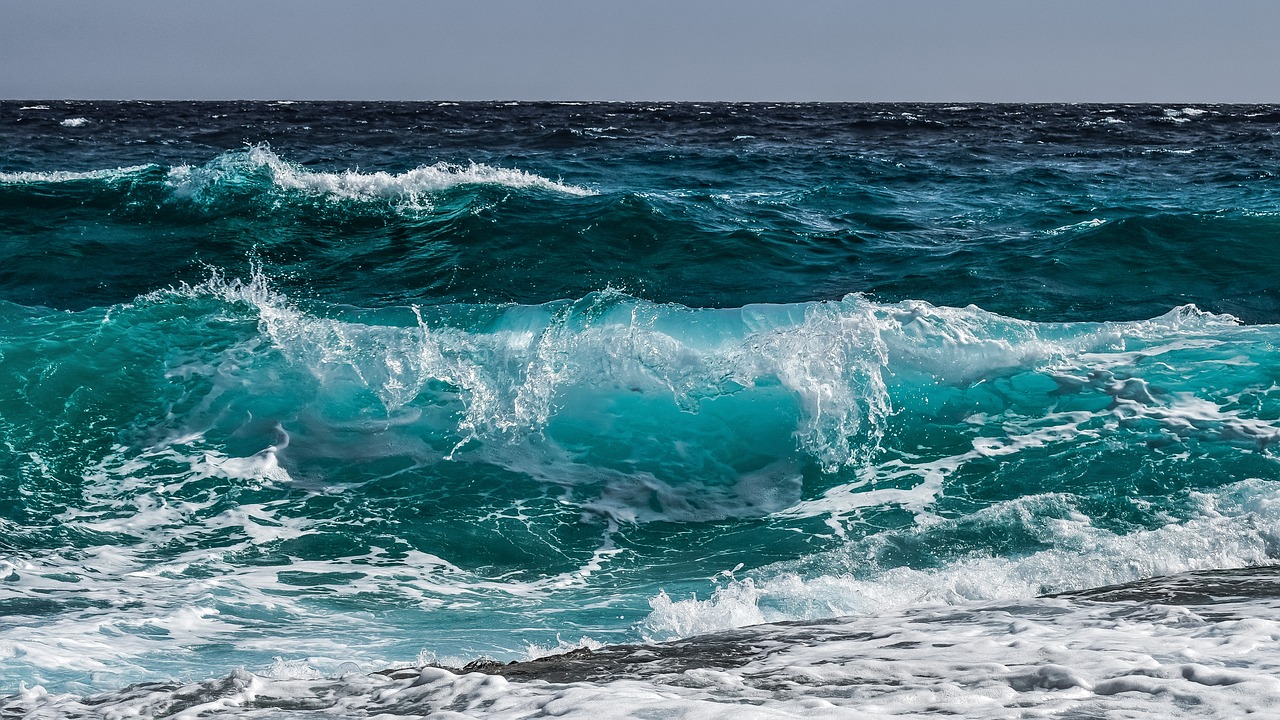
Image by Pexels from Pixabay 
Again, copy and complete these 5 sentences into your writing notebook:

I can hear _____________________________

I can touch ____________________________

I can taste _____________________________

I can smell _____________________________

I can see _______________________________

Think about using the five senses in your own writing to describe the setting of your stories. This makes the reader feel like they are actually there!

Red, Yellow, and Green Foods – Nutrition Lesson

This lesson could be introduced in Kindergarten but could be used for up to 2nd graders for learning about healthy eating.

When it comes to food, some can be bad for you (red), okay for you in moderation (yellow), and good for you (green). I’m going to show you some examples of red foods, yellow foods, and green foods. You can think of a stoplight to help you understand. Red means stop or no, yellow means okay or maybe, and green means go.

Here are some red foods. What do you notice?

Here are some yellow foods. What do you notice?

Here are some green foods. What do you notice?

Now I want you to look at the food below and see if you think it is a red, yellow, or green food.

Chocolate is yellow! This is because it can be good for you in small amounts.

Think about what foods you eat that are red, yellow, or green!

Credits:

Image by Agata from Pixabay

Image by PublicDomainPictures from Pixabay

Image by Clker-Free-Vector-Images from Pixabay

Image by OpenClipart-Vectors from Pixabay
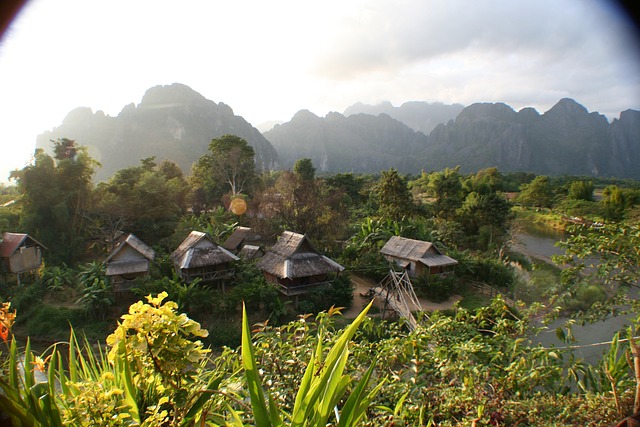
Image by Chrystal Elizabeth from Pixabay

Image by Pexels from Pixabay

Image by Szabolcs Molnar from Pixabay

Image by congerdesign from Pixabay

Image by WikimediaImages from Pixabay

What Do Plants Need to Grow?

Kindergarten/First Grade Science lesson

Plants are living and breathing things that just like humans need special things to help them grow. In this lesson, we will learn the 5 different things plants need to grow and the reasons why? At the end of the lesson, we also learn a fun trick so we never forget what plant needs to grow.

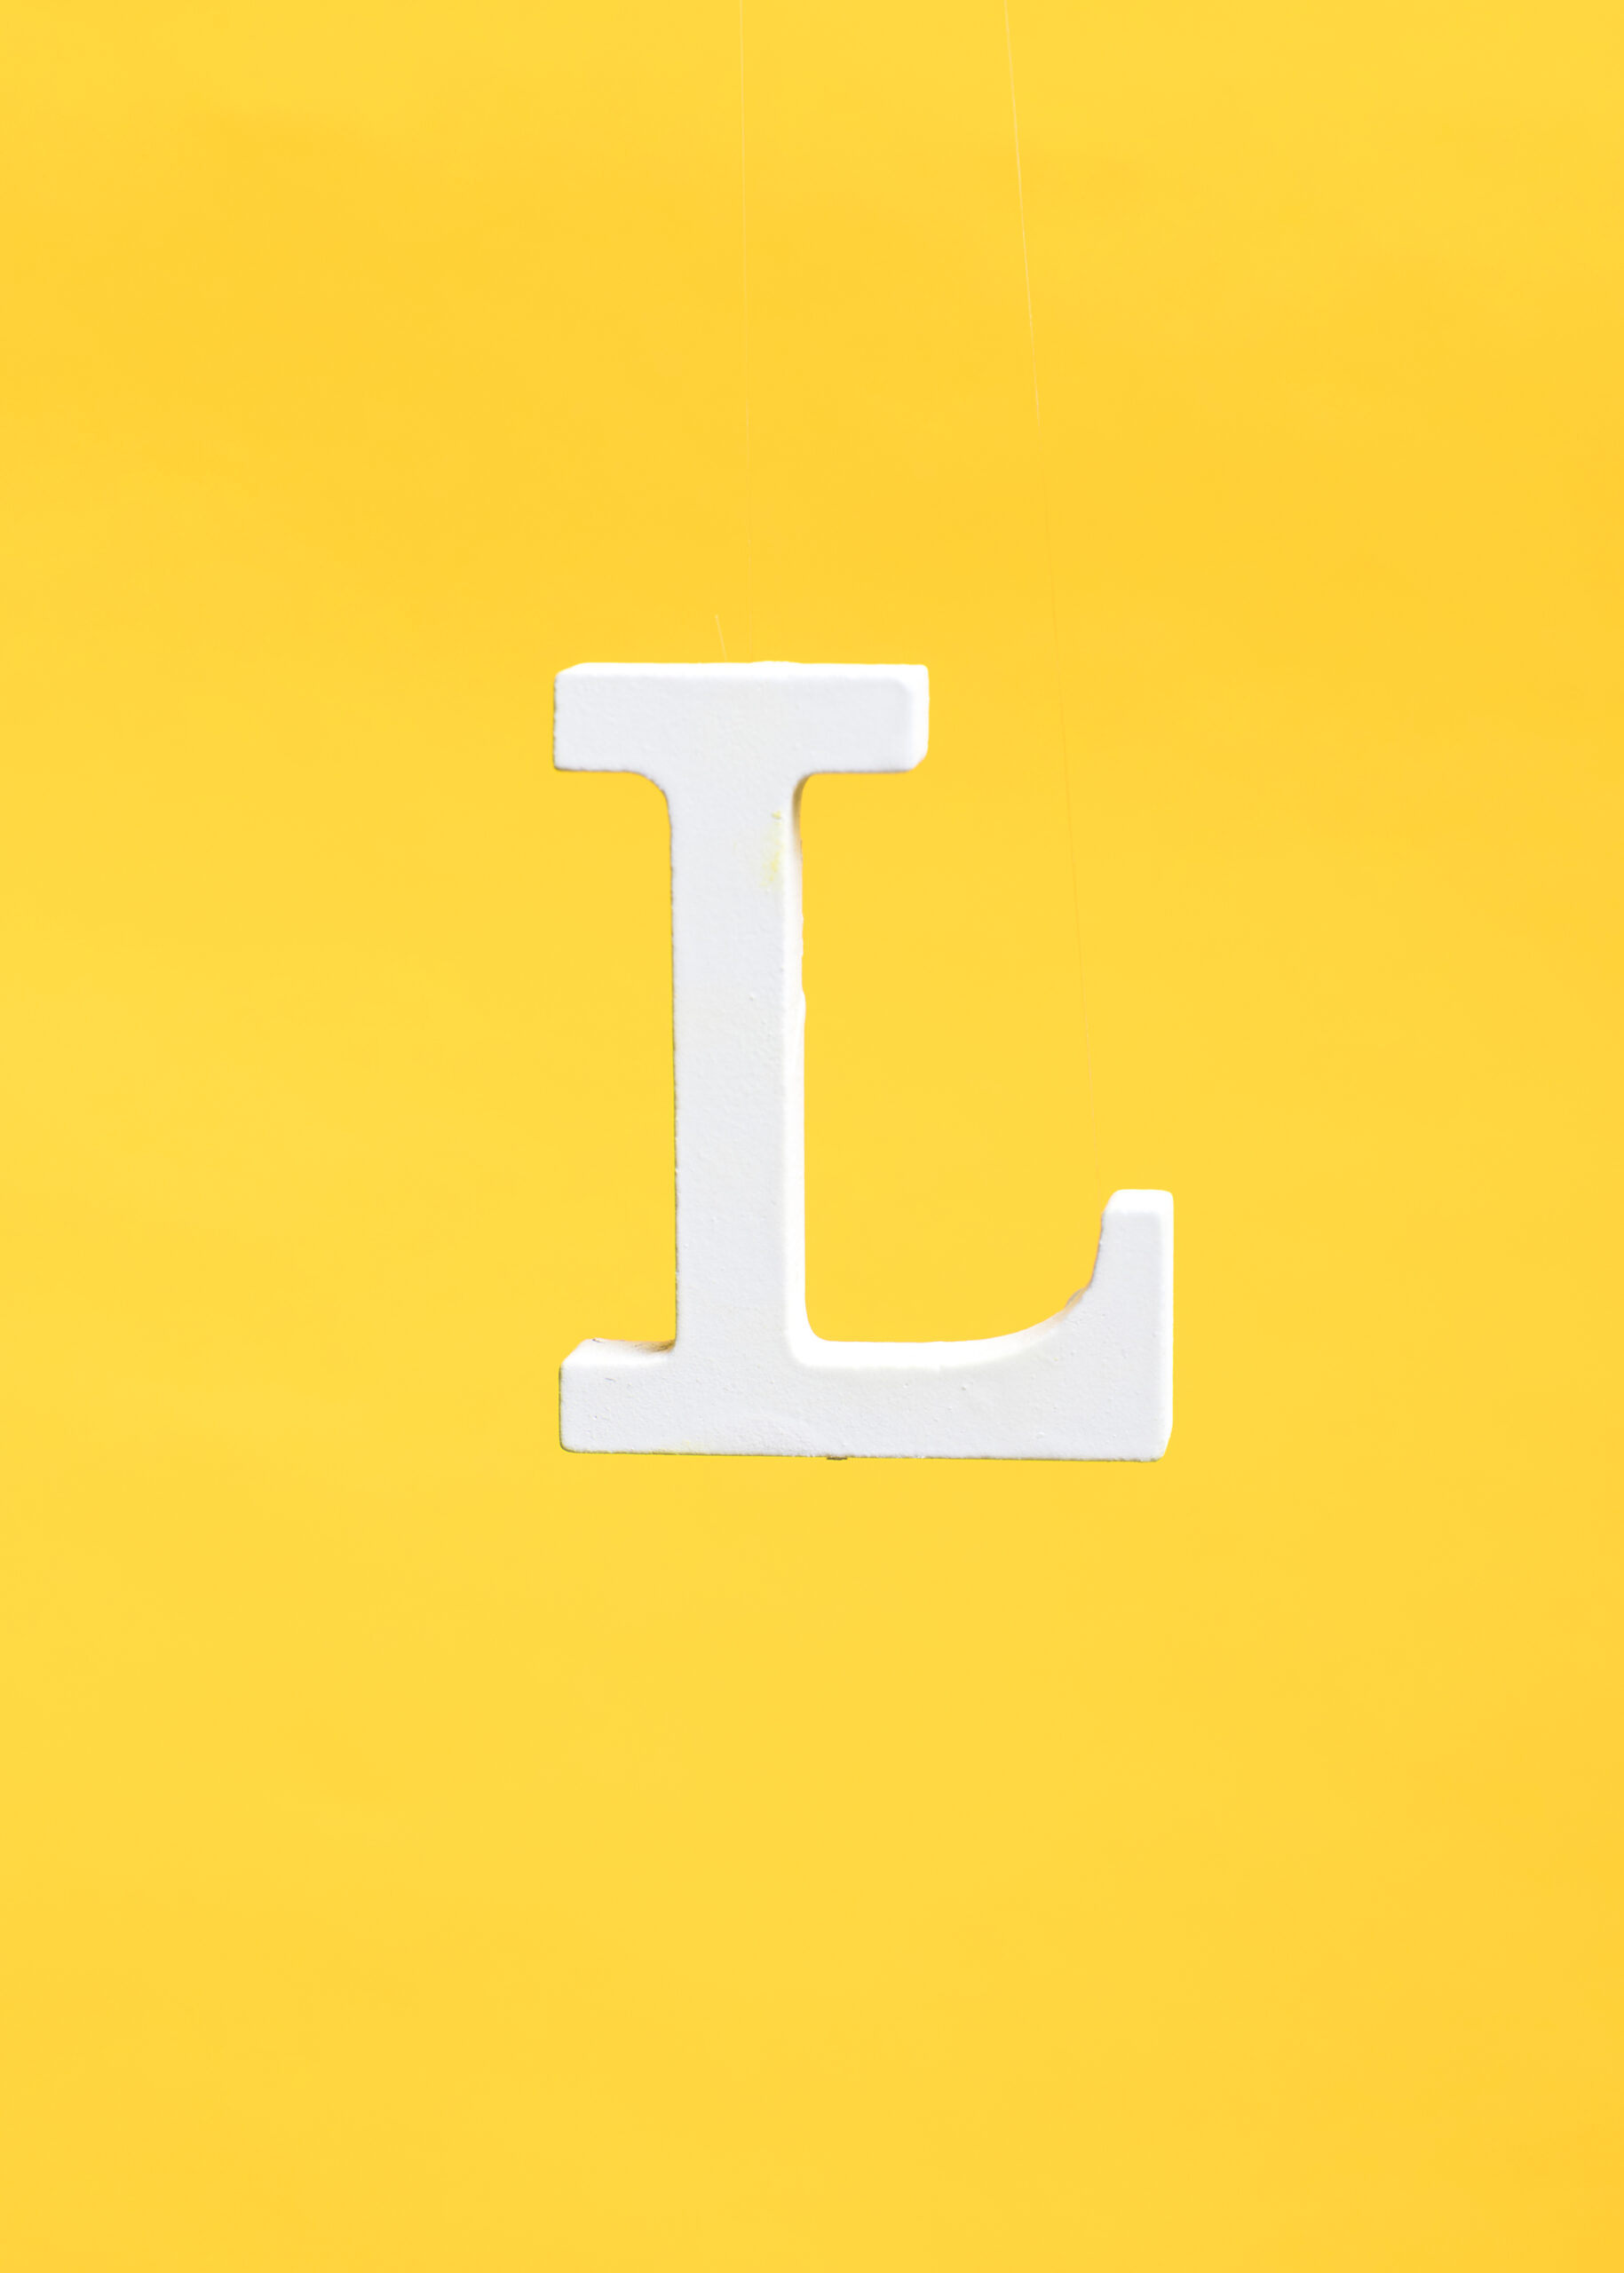
The first thing needed for a plant to grow is something that keeps it warm and starts with the letter L. Looking at the picture what it could be?

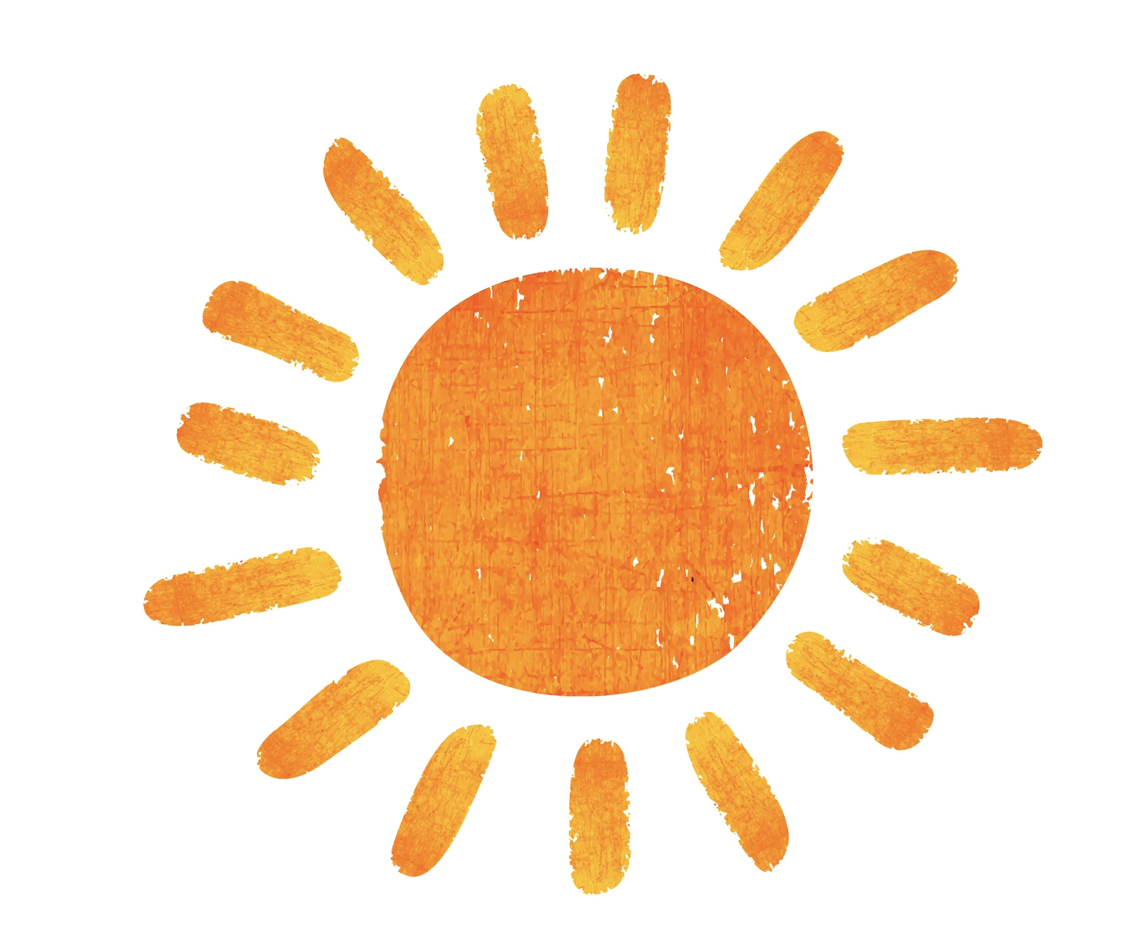
Correct Light! Just like we need to stay warm, plants need a warm temperature! Light coming from the Sun in the sky keeps plants warm and helps to make food for the plants.

The next thing plants need to grow is what helped them to breathe. Use the letter clue and image to help you solve the answer.

Good job, air! Just like we need air, plants need air to breathe. Air is used to make food for plants. Making sure a plant is getting nice fresh air is very important.

Just like we get thirsty so do plants. What do you think plants need if they are thirsty? Use the hint of the first letter of the word W and the image to figure out what the next thing plants need to grow.

Yess water! Water is important for plants because it helps to move food and nutrients to all the different parts of the plant from its leaves all the way down to its roots deep below the soil.

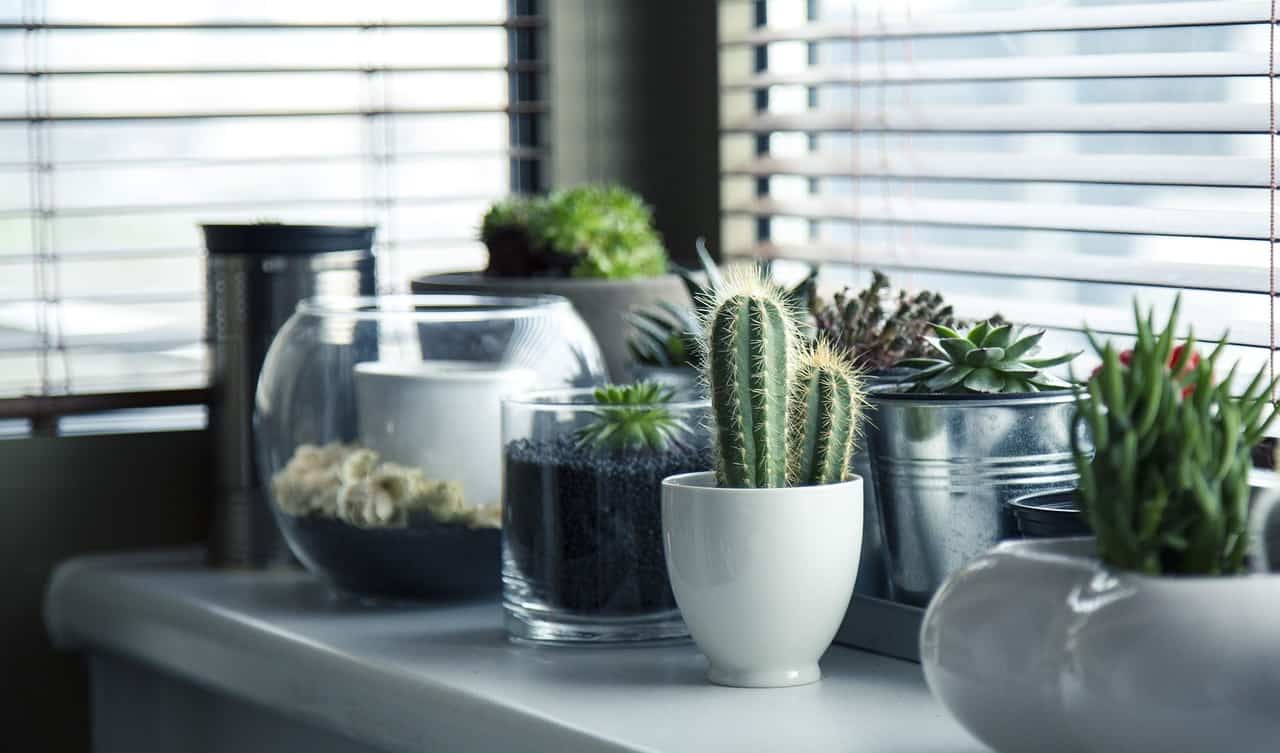
Nutrients are also needed for a plant to grow. because it helps to provide minerals and vitamins to plants’ roots in order to provide the plant with the strength to grow, big and strong, this is why it is very important that plants are planted in nutrient-rich soil to provide food for the plant.

Lastly in order for plants to grow they need… Space!! Just like we need a place to live, plants need a place to live. Plants need space to grow roots so they can grow big and tall. Making sure you are growing a plant in the right pot is very important to keep your plant alive.

As you can see plants are just like living humans who need special things to make sure that they thrive and grow into the beautiful green plants we all know and love. In order to make sure a plant can grow it must need light, air, water, nutrients, and space. If you take the first letters of the 5 words it creates the word LAWNS which is a fun way to remember the 5 things a plant needs to grow, L for light, A for air, W for water, N for nutrients, and S for space.

PLANT TRIVIA

If you see a plant that is dry and looks wilted because it hasn’t rained in days and has no water. What do you think it needs?

Water 🌧

Your plant loves the sun, but is living in a shady area what can you do to help the plant grow?

Move it to a sunny place ☀️

Your plant is starting to become too big for the pot you planted it in what should you do?

Put it in a bigger pot 🪴

Credits

Image by lcallard210 from Pixabay

Image by Freepik

Image by Freepik

Image by rawpixel.com on Freepik

Image by onlyyouqj on Freepik

Image by Dark Nature from Pixabay

Image by rawpixel.com on Freepik

Image by Ekaterina Ershova from Pixabay

Image by Milada Vigerova from Pixabay

Using Images to Develop Geographical Understanding of Commonplaces Across the World

This assignment is targeted to a high school world history class. The purpose of this assignment is for students to cultivate ideas about geography and generate discussion among the students.

Student Instructions – Take 10 minutes to view the images and create compare and contrast chart. Once the time is up, discuss your chart and the questions attached to the pictures with your group mates.

Two methods of farming across the world. Image source: Pixabay / Pixabay

Remember to think about…

What is not shown in these pictures that could give us more perspective? What similarities and differences can we see? How could geography play into these farming methods?

Pixabay / Pixabay / Pixabay / Pixabay

Remember to think about…

How could these houses represent or misrepresent the type of geographical location they are in? What perspective do these zoomed out perspectives of the houses give you? How do these images compare to each other? What do these similarities and differences tell us?

P is for Pig.

This lesson is an intended phonics lesson focusing on the letter P for kindergarteners.

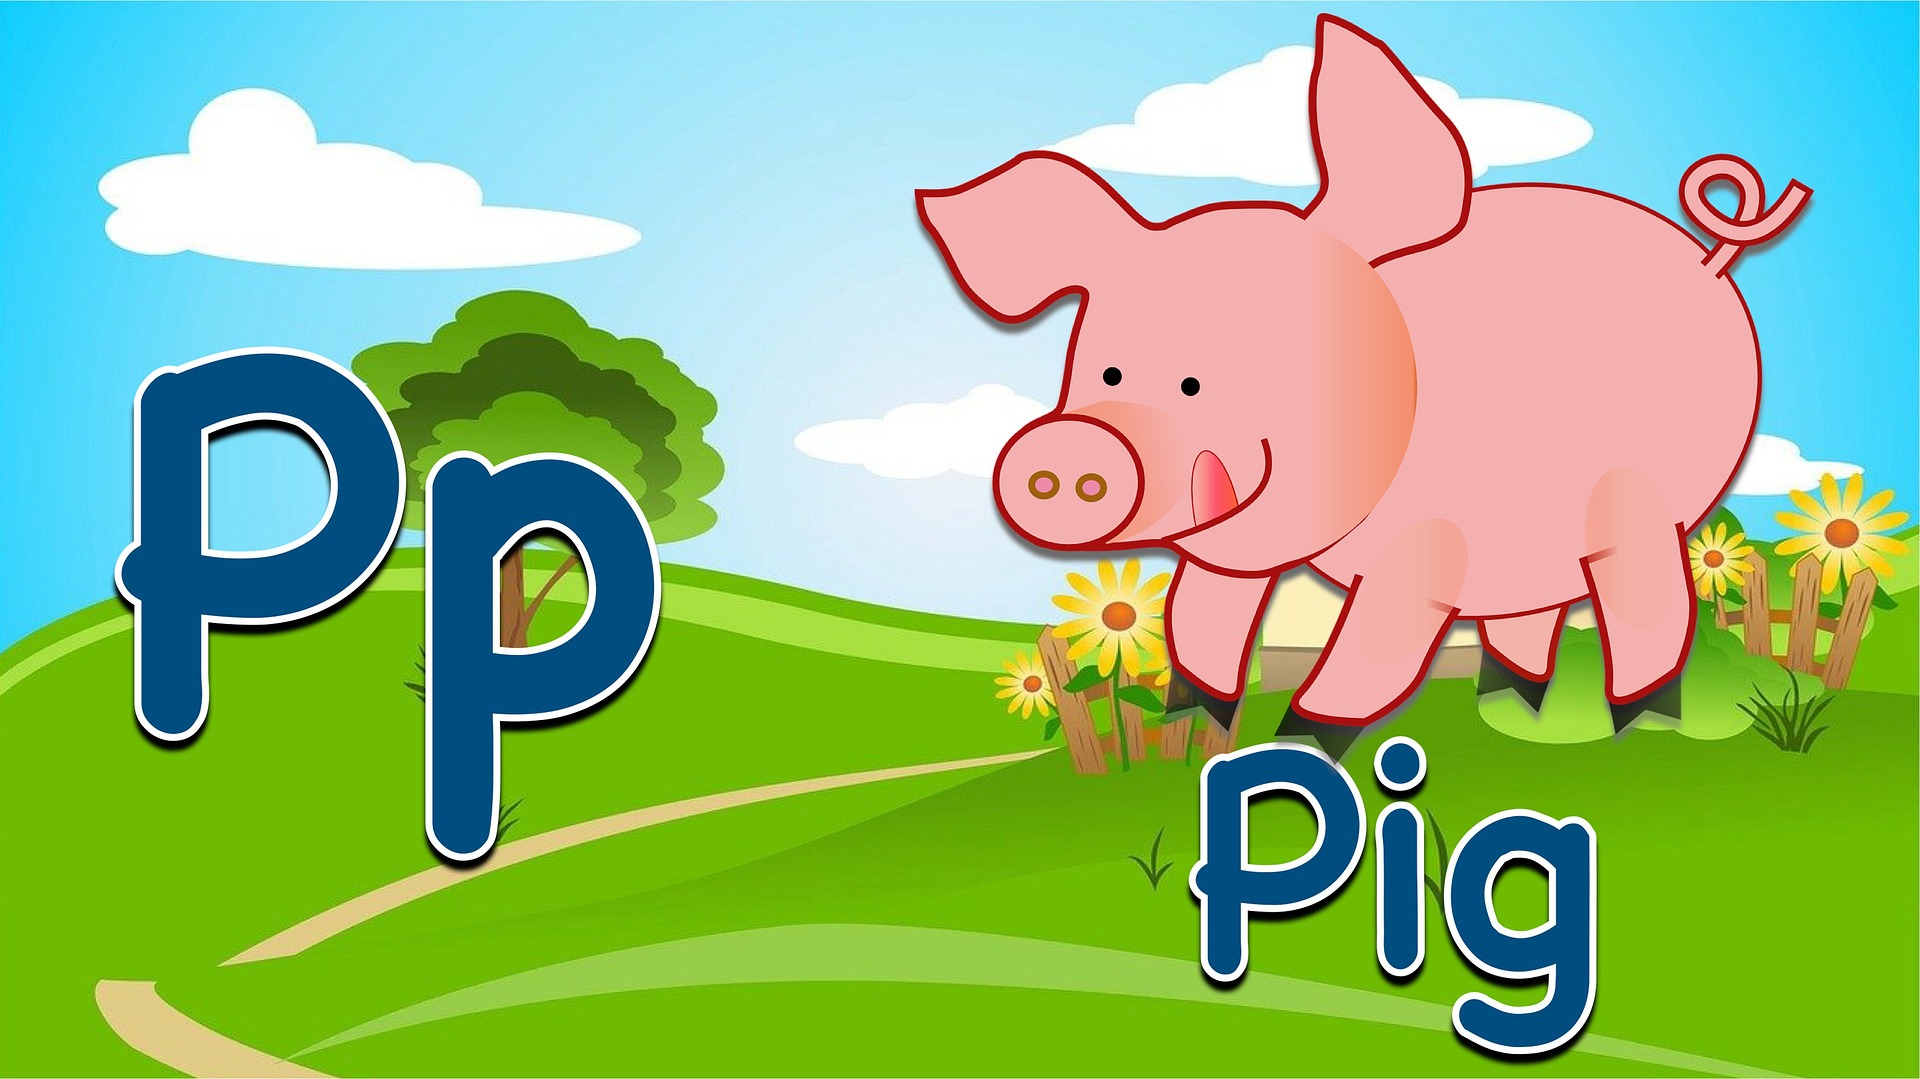
The teacher will first use this slide image to show a pig, ask the students “what is the first letter of this animal?”
-The students should respond- P! The teacher will respond, “yes! P-P-P-Pig!”

The teacher should first use the slide to show the picture of the panda and then show how Pig is written

Image by Alexa from Pixabay
Image by Vix MSF from Pixabay

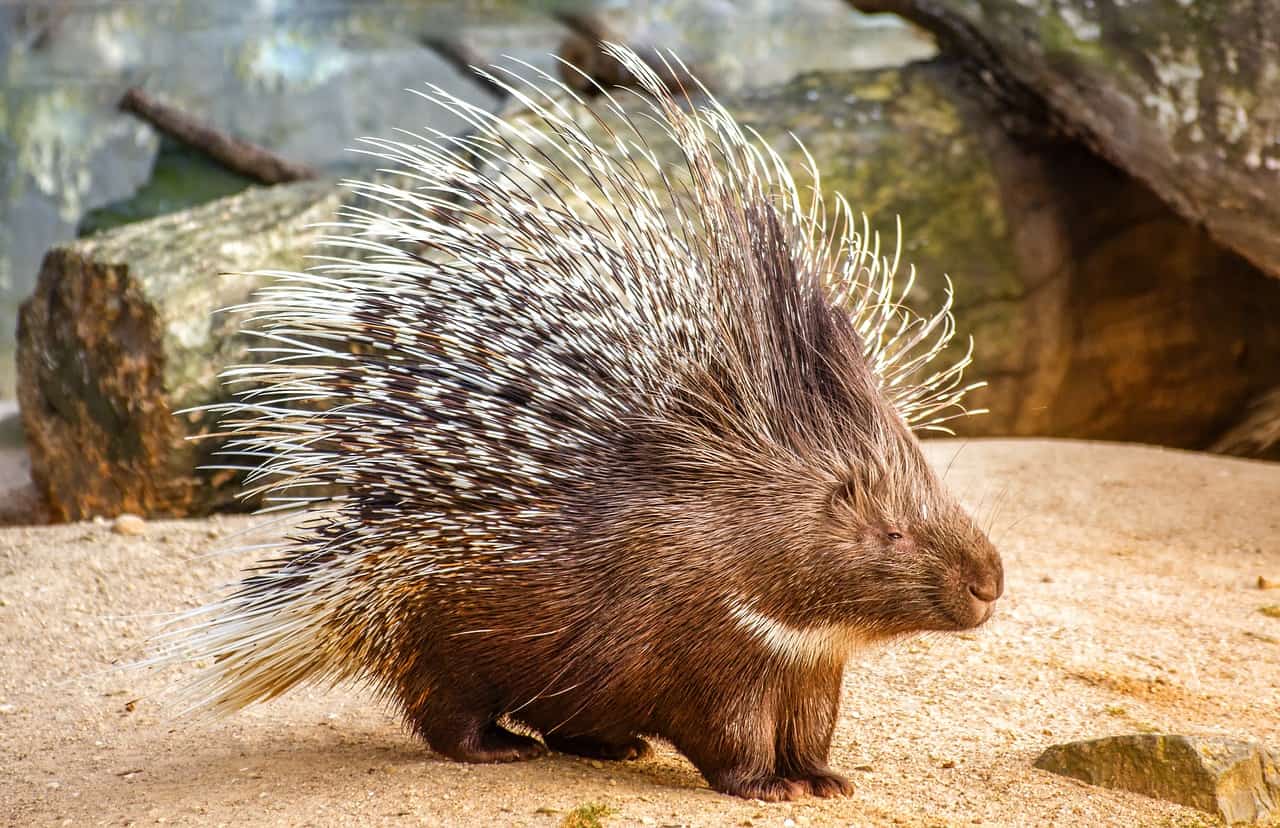
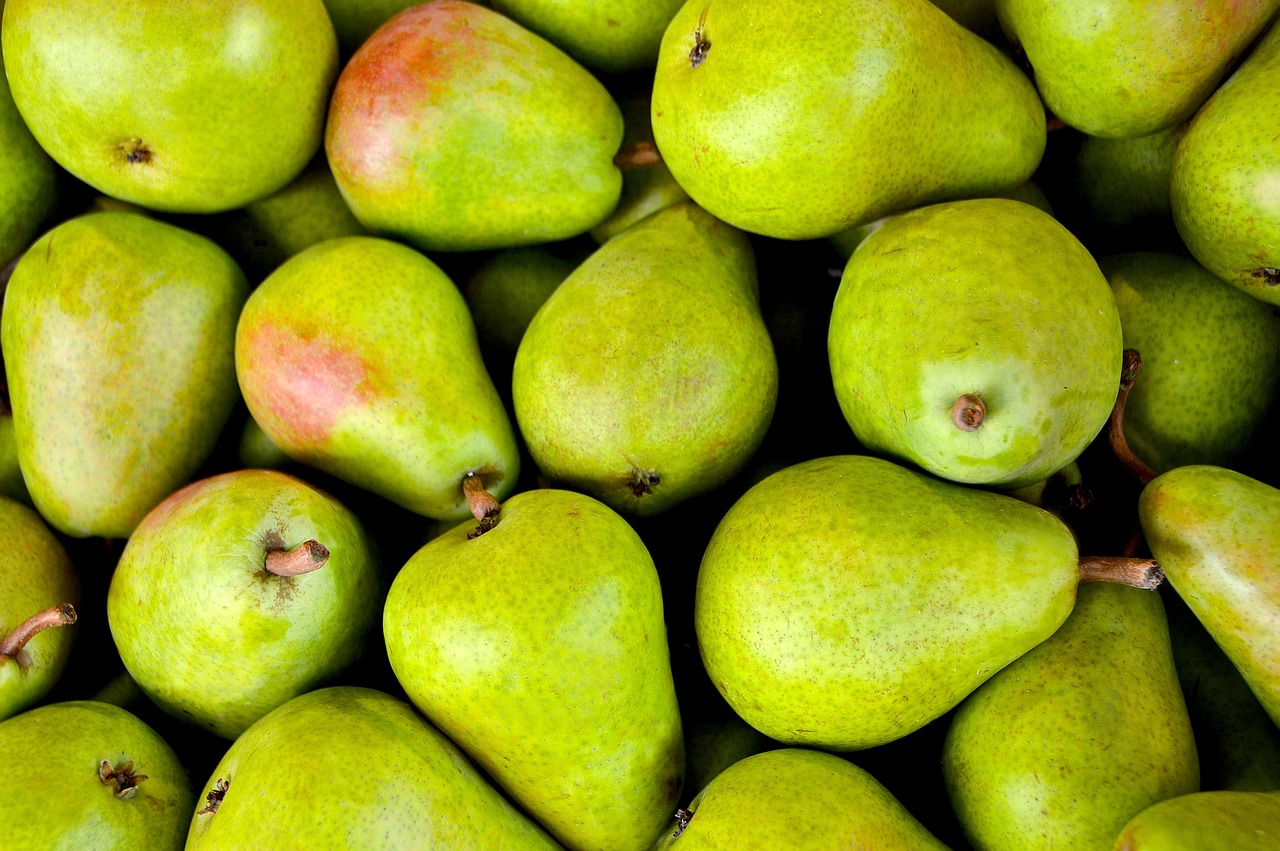
Next, the teacher will show them images with the letter “P” either at the beginning or end of the sentence. Next have to identify where in the word they hear “P.”

At the end of this lesson, students should get able to know what sounds the letter “P” makes.

SEL Predicting Feelings Lesson

By Miss Nicole Pagtakhan

Class Overview:
  1. Warm Welcoming Activity – Rock, Paper, Scissors
  2. Activity – How do I feel?
  3. Learning – We feel…
  4. Activity – Someone might feel…
  5. Optimistic Closing Activity – Bucket Fillers
Lesson Objectives:
  • Predict how others might feel as a result of their or another’s actions 
  • State the cause and effects of a given action 

Warm Welcoming Activity: Rock, Paper, Scissors
  1. Find a partner to play rock-paper-scissors with
  2. Play it, showing your hand on “shoot”
  3. The winner asks their partner a question that correlates to the winner’s hand signal

Rock: What is something that you can do to calm yourself down?

Paper: What is one example of a healthy way to deal with your emotions?

Scissors: What is something that dysregulates you?


Activity – How Do I Feel?

Today, we will be learning how to understand our feelings and how to predict how others may feel about different experiences and events. We will first start by understanding ourselves.

Think about a time someone has done you a favor, or given you a gift. What memory does that bring up? What changes do you notice in your body? In your thoughts?


Learning – We Feel…

Maybe you noticed that you became more relaxed, or you smiled when you were thinking about that memory. Our faces can show how we feel. Our bodies can tell us how we feel too. Look at each image, and think about how each child is feeling, and what might be causing them to feel that way.


Activity – Someone might feel…

We know about the golden rule…

“Treat others the way you would like to be treated.”

…but sometimes people don’t like being treated the same way as us. Some people are okay with being hugged, and some people aren’t. It’s important to understand what people are comfortable with, and their emotions are helpful in understanding it.

Read each scenario in the captions of the images. How would you feel? How do you think the other person is feeling in that scenario?


Optimistic Closing Activity – Bucket Fillers

We fill each other’s buckets with happiness when we act kindly towards others. If we try to fill other people’s buckets, ours gets filled too. How can you fill someone’s bucket today?


Image Credits

Fist by Uswa KDT from Noun Project

high five by Daouna Jeong from Noun Project

Peace by sandra from Noun Project

Photo by Nathan Dumlao on Unsplash

Photo by yang miao on Unsplash

Image by Victoria_Watercolor from Pixabay

Image by OpenClipart-Vectors from Pixabay

Photo by Andrew Thornebrooke on Unsplash

-Nicole Pagtakhan

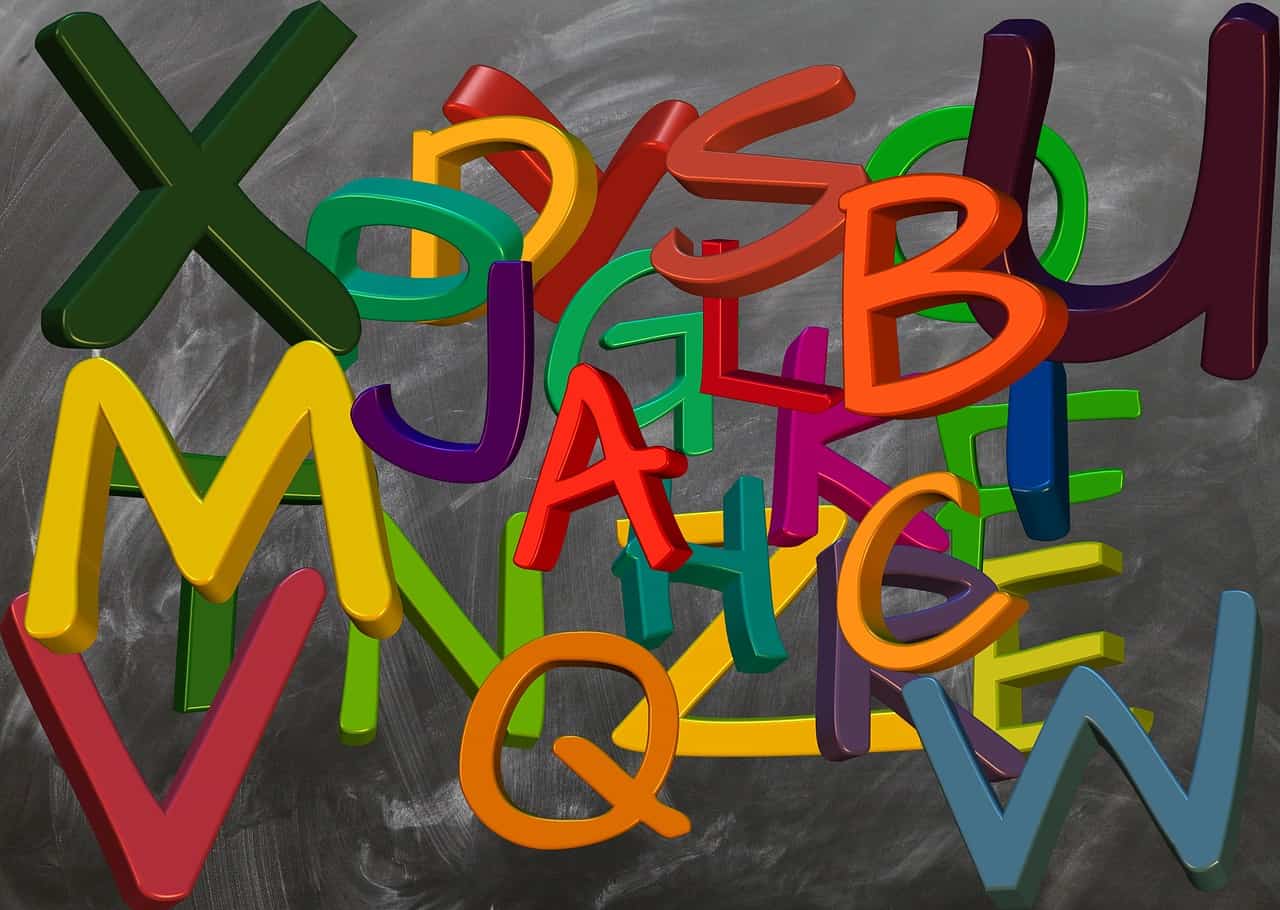
Phonics Lesson — Long Vowel A: Combos to stretch out that name!

Lesson #1: 2nd Grade Phonics

Vowels are pretty special and can make so many different sounds! But something else that makes them special is the amount of ways that you can spell the same sound using only one vowel. One of these is the “long a” . The sound a “long a” makes is its name! But there are so many ways that this sound can be made with your spelling! Let’s learn some of these different ways and play a game while we’re at it.

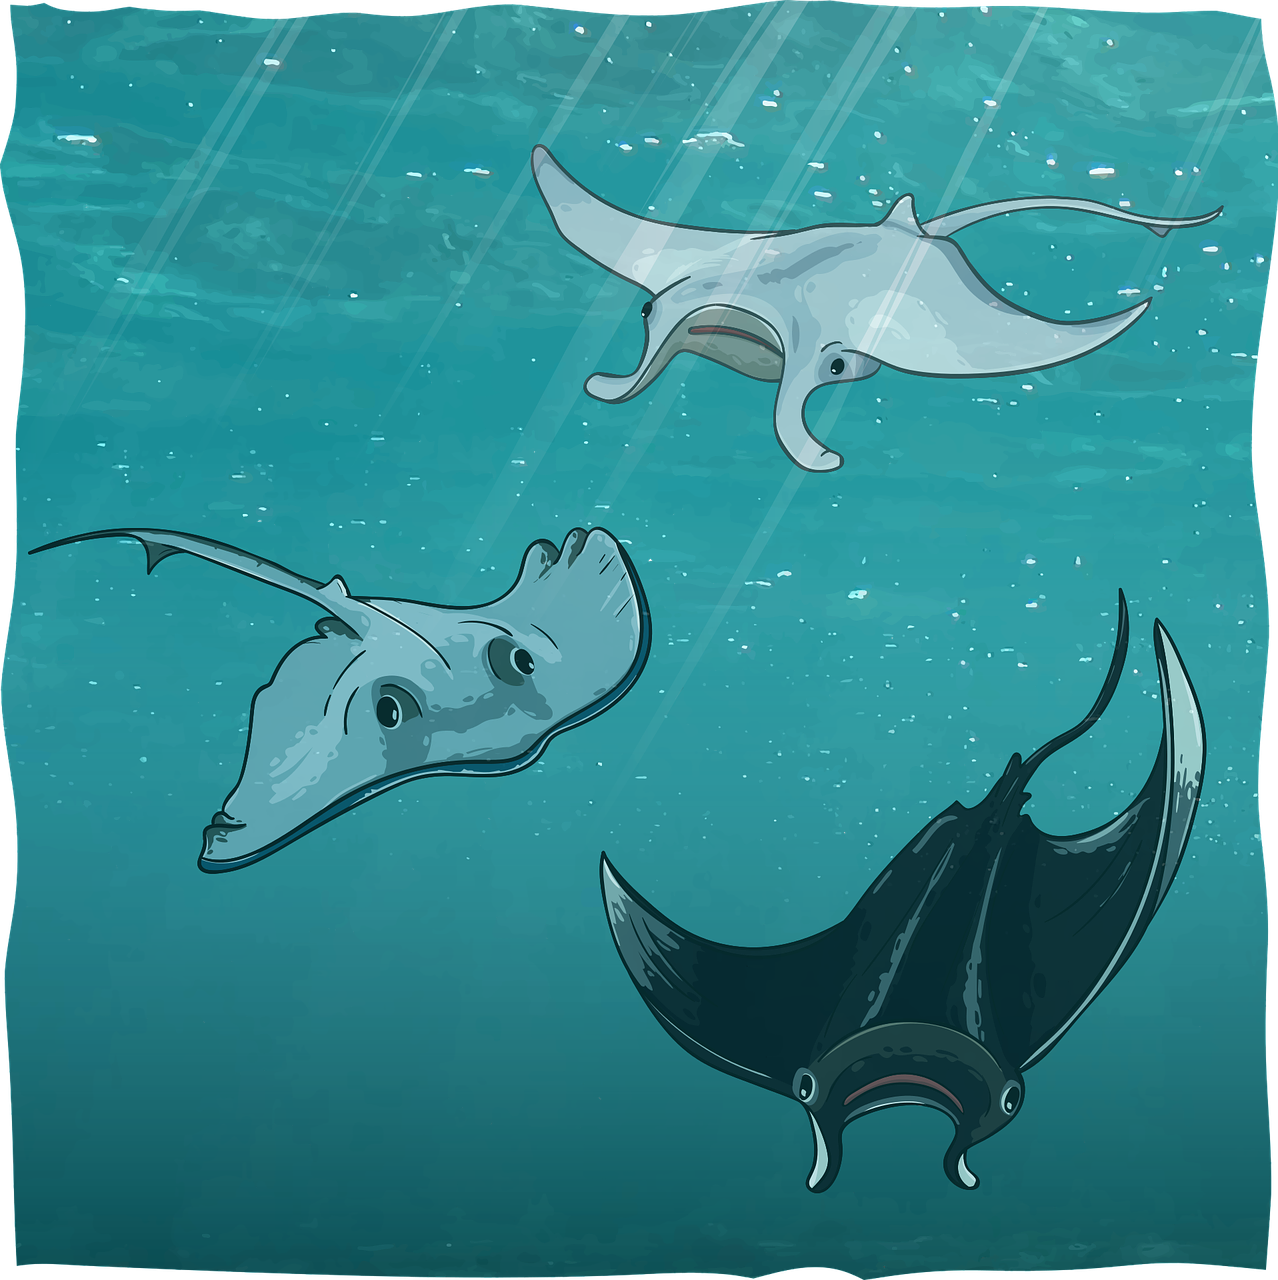
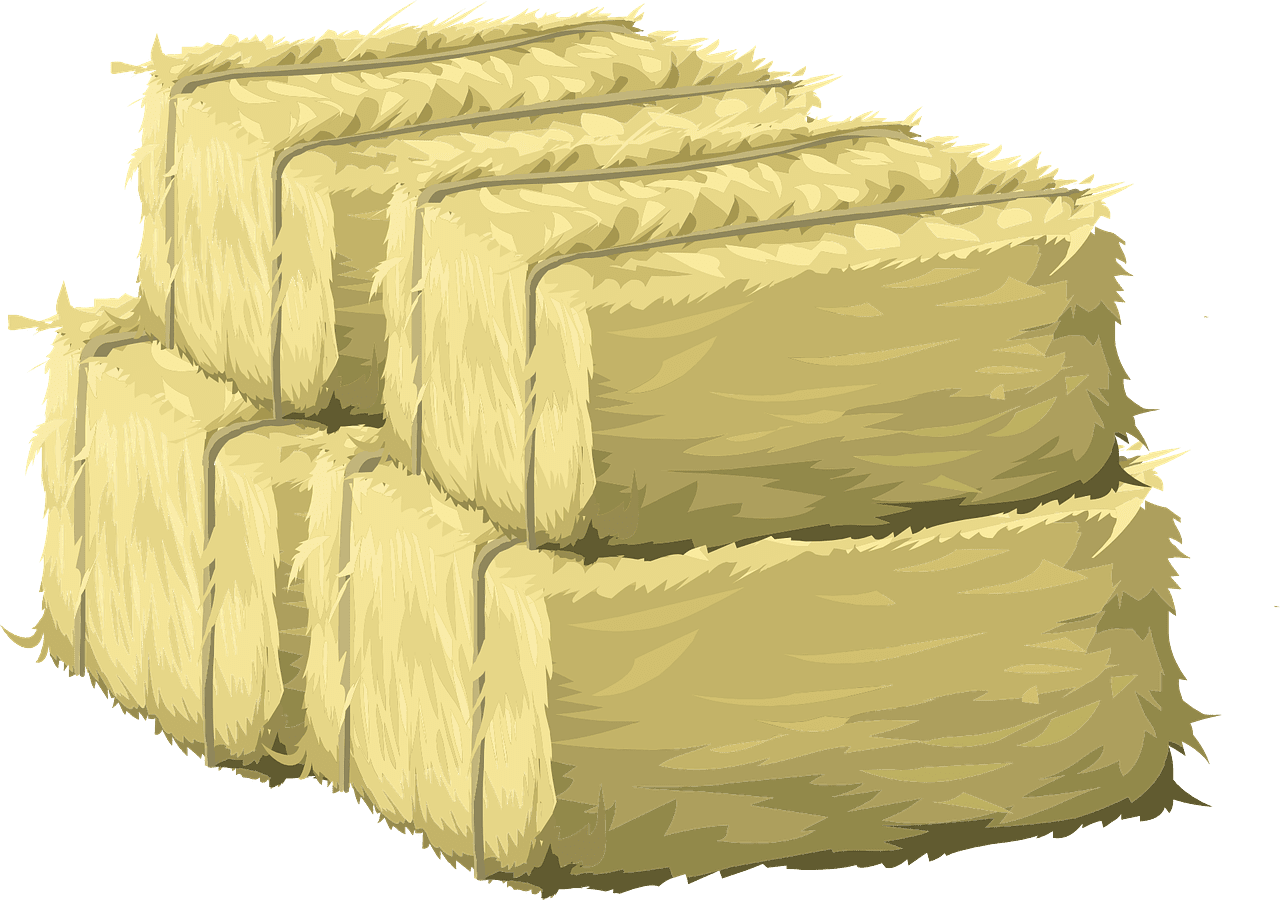
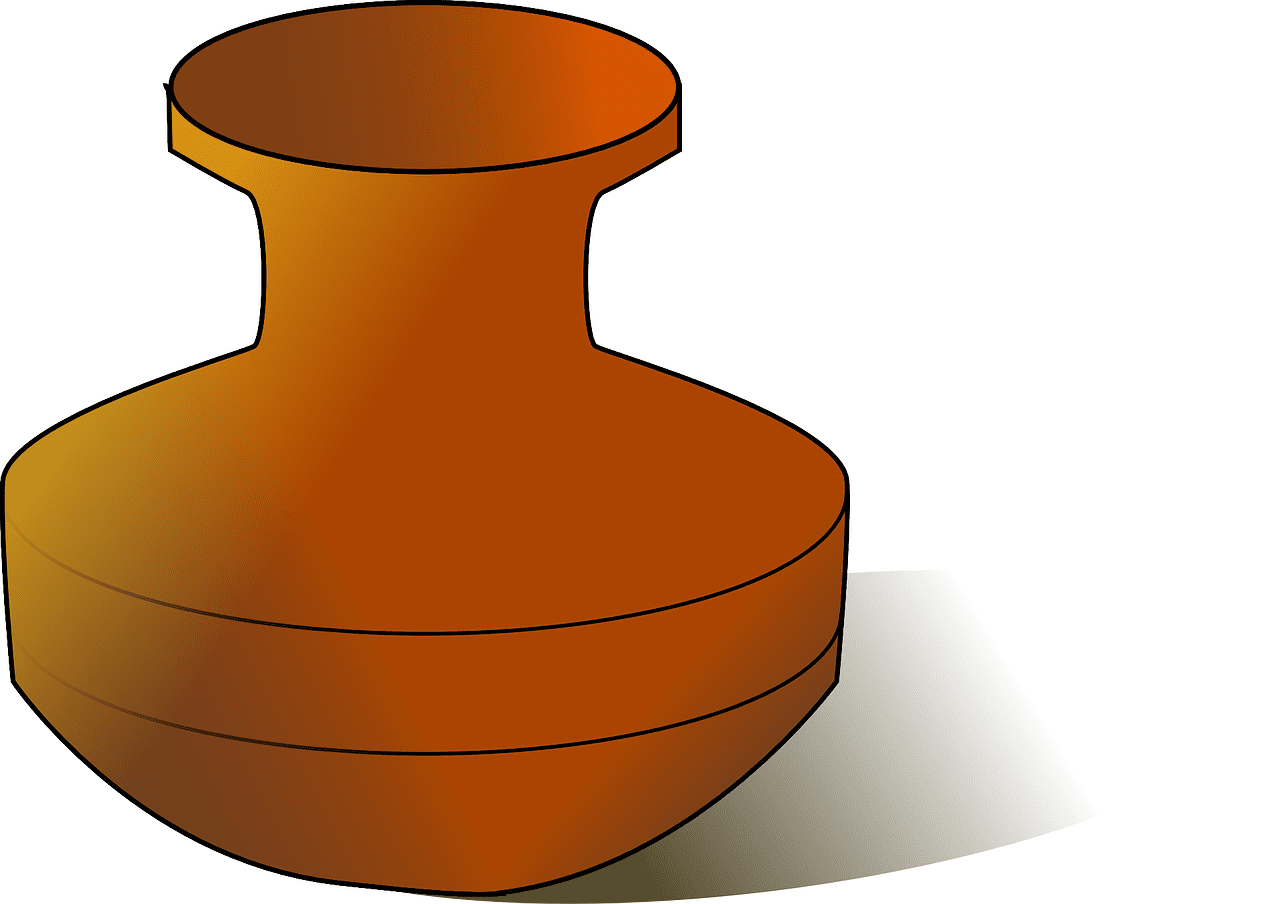
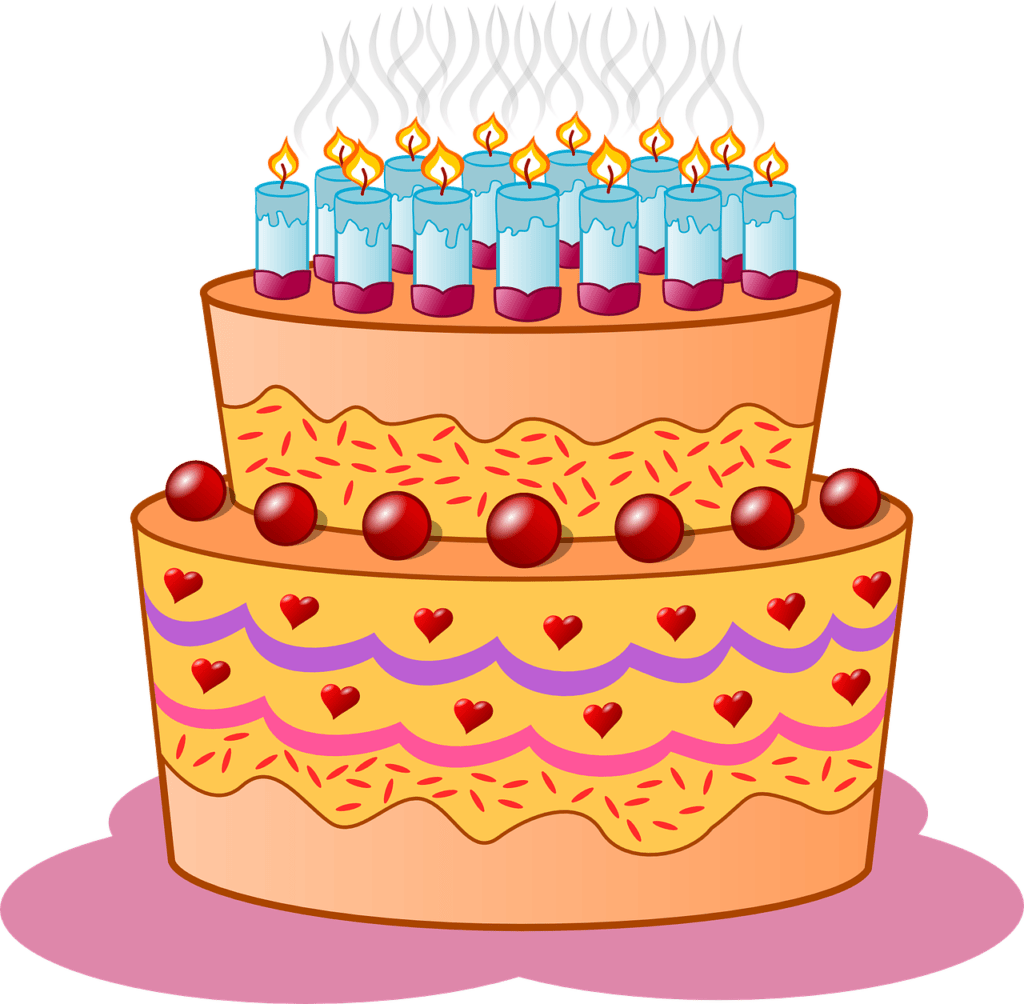
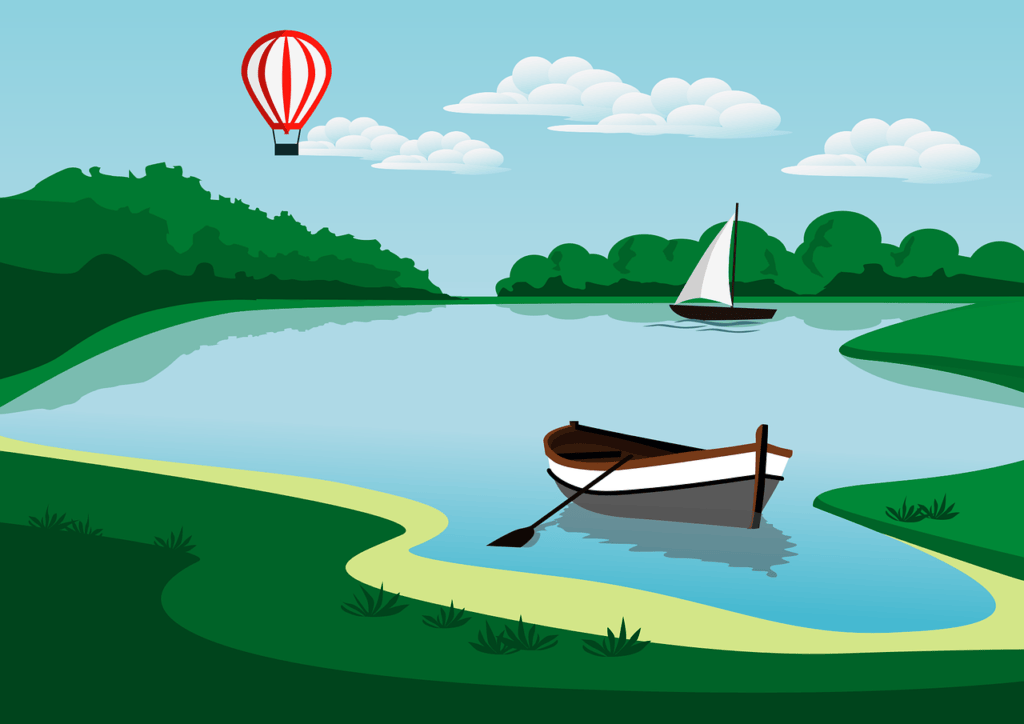
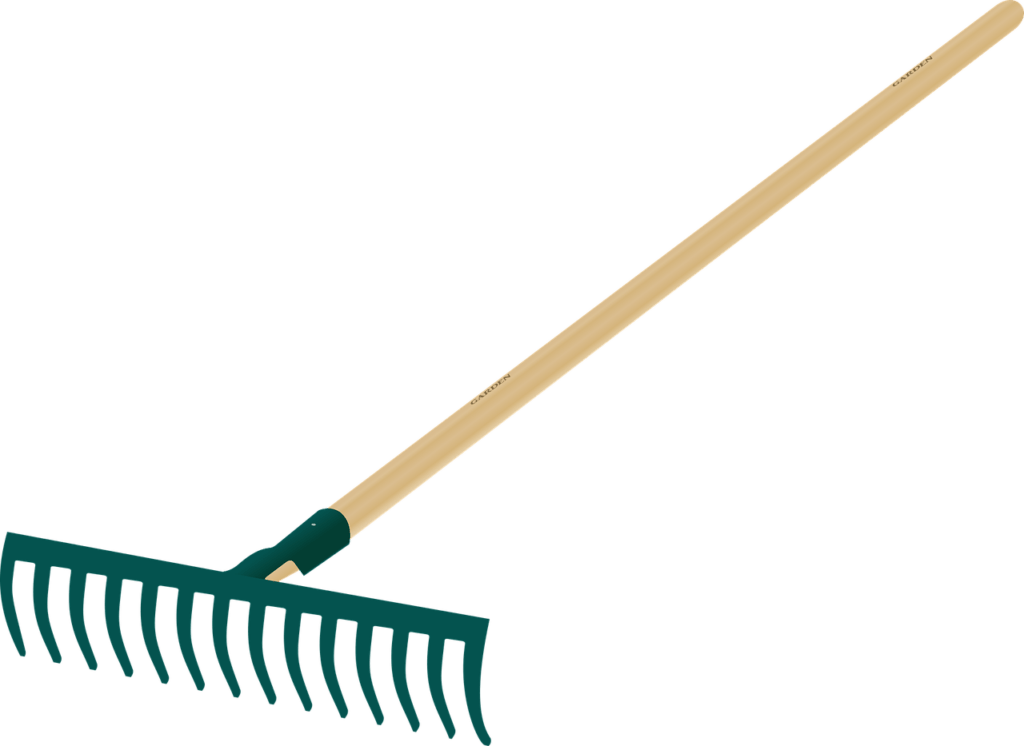
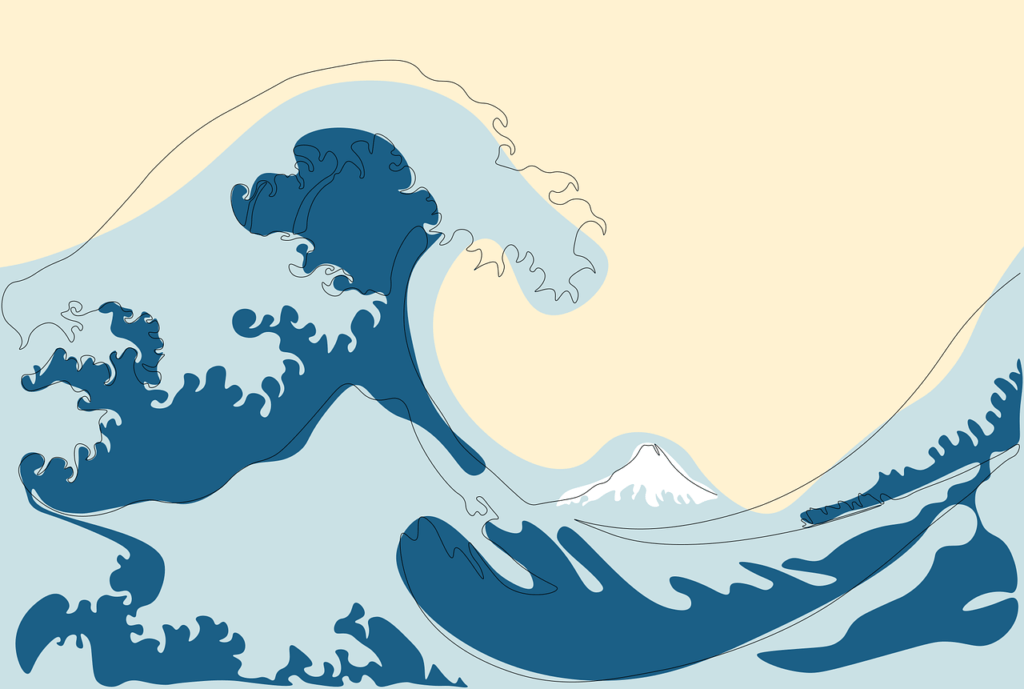
Beyond “a” there are actually a lot of different ways to make the “long a” sound. Can you figure out one way by looking at this group of images? What gives them their “long a”?

If you guessed that they all have an -ay at the end, you would be right! -ay is a special way of making the “long a” sound. The rule for -ay, is that it always is found at the end of a word! So remember, if you hear a “long a” at the end of a word, this may be how to spell it out!

Next, we have a different way to make “long a”, what’s the same about these picture’s and their spelling?

If you guessed that what they have in common is the “magic e” then you’ve almost got it! We call this method of making the “long a” sound “a consonant e” to show us that there will always be a letter between to give us that “long a” sound! On to the next way!

What makes these two objects similar? Certainly not their appearance! But how are they spelled?

If you guessed that both are spelled with an “ai” then you’d be right! “ai” is our last primary way of spelling “long a” and usually comes in the middle of a word! If you’re on the lookout for it, and start to hear that “long a” in the middle of a word, it just may be this one!

Citations:
Cover Image by Gerd Altmann from Pixabay

Gallery 1: Hay Image by OpenClipart-Vectors from Pixabay, Ray Image by Dmitry Abramov from Pixabay, Clay Pot Image by Dmitry Abramov from Pixabay.
Gallery 2: Cake Image by Clker-Free-Vector-Images from Pixabay, Lake Image by Łukasz Siwy from Pixabay, Rake Image by OpenClipart-Vectors from Pixabay, Wave Image by Loke from Pixabay.
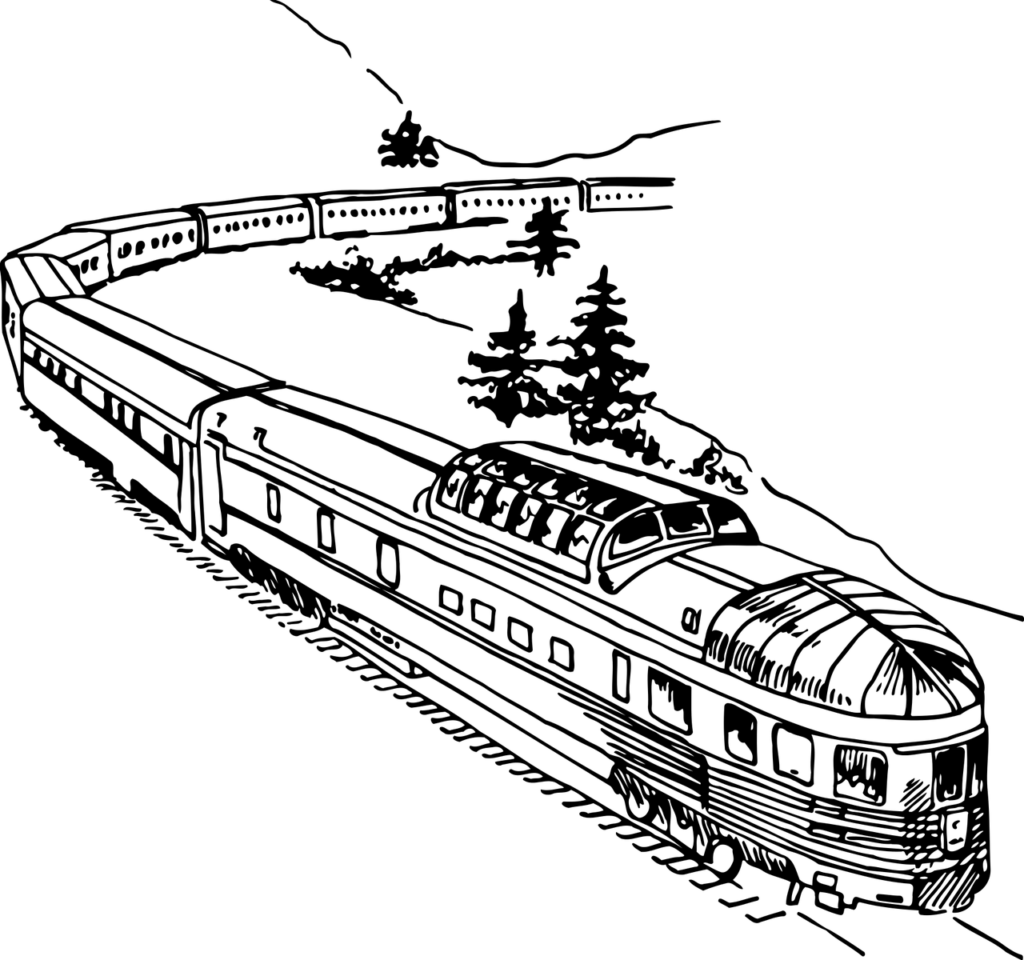
Gallery 3: Train Image by OpenClipart-Vectors from Pixabay, Rain Image by OpenClipart-Vectors from Pixabay

Any Way You Slice It!

Welcome 3rd Grade!
Students will be able to: identify equivalent fractions and use them to compare fractions.

Let’s Review!
Every fraction has two components: the numerator and the denominator.
The numerator is the top number and tells us how many pieces we have while the denominator tells us how many equal sized pieces we need to make 1 whole.

The numerator (in pink) represents the number of colored in pieces while the denominator (in blue) represents the total number of pieces that make up the whole circle.

What’s an equivalent fraction?
Fractions can be simplified into smaller fractions (lower number numerator and denominator) while representing the same value.

The top image represents the fraction 6/8. The bottom image represents the fraction 3/4. What do you notice about these fractions? Do they represent the same or different amounts?

If you said the pictures show the same amount of shading, you’re right! 6/8 and 3/4 are equivalent fractions! Both represent the same amount of shading when compared to one whole! Equivalent fractions can also be found by multiplying the numerator and the denominator by the same number!

In the second problem, we found that simplifying fractions also shows whether or not two fractions are equivalent. We can simplify fractions by dividing the numerator and the denominator by the same number. For example, 3/15 can be simplified into 1/5 by dividing 3 and 15 by 3.

Knowing equivalent fractions helps with comparing fractions!
We’ve talked before about comparing fractions with like denominators (1/4 compared to 3/4) and fractions with like numerators (2/3 compared to 2/7). But what happens when neither the denominator nor the numerator of either fraction matches? Let’s look at the example below:

Is 1/2 greater than, less than, or equal to 3/8? Use an equivalent fraction to compare.

When it comes to comparing fractions, you can use equivalent fractions as a benchmark. For the above example, maybe you saw that the denominator in 1/2 can be multiplied to be the same denominator in 3/8.

By multiplying the numerator and denominator of 1/2 by 4, you created an equivalent fraction that will make comparing 3/8 easier. And the solution is…3/8 < 1/2!

Great Work! Equivalent fractions make substitution possible without changing the overall amount! In addition to comparison, equivalent fractions can be used in our daily lives! Before we go, what are some activities that you might need to use equivalent fractions for? Hint: What activities require using measurements?

Credits:
Cover Image by joshuemd from Pixabay
Graphics by Author

Food pyramid/chain

Introduction

This lesson is made for 4th graders who are learning about the food pyramid and how it works.

Whenever we learn about animals we all know that there is a hierarchy among animals. We also know that there are two types of animals. Animals that strictly only eat plants are called herbivores such as cows, while animals that eat meat are called carnivores such as lions. There is a third group of animals that eat both plants and animals and they are called omnivores an example of this is pigs.

These are important vocabulary words to know when discussing the food chain because it allows us to know which animals to place on which tier of the food chain.

When building a simple chain we start with the plants then the herbivores and then the ominvores.

Image by Christian B. from Pixabay

Image by Antony Trivet from Pixabay

Image by Antony Trivet from Pixabay