Class 6. Individualize Learning with Google Slides and Forms

Featured Photo by Anne Nygård on Unsplash

Overview

Today’s class will be a deep dive into using Google Slides and Forms to individualize learning. We will explore techniques to use both formats to create learning experiences that allow student responses to direct students to new content. With modification they can be used to create quizzes that give students immediate feedback and remediation. Similar techniques can be used to give students a chance to choose their own path through content.


Differentiated Google Slides

1. Interactive quizzes via slides

Sample Interactive Quiz Link
Interactive Quiz Template Link

2. “Choose your own path” slides (also called “If /Then Adventures”)

The Secret Village Link
African Safari Link
Go for a Ride Link | Here’s how it was made Link

More detailed info on making “interactive” Google slides
Make a copy of a Planning Guide

How to Create a Choose Your Own Adventure Slide set


Differentiated Google Forms

Basics on making a Google Form

3. Self grading form – students will see how they did on each question. And you can provide feedback and “reteaching” for questions they missed.

Sample Self Graded Quiz Link
How to make Self Graded Quiz Link

Here’s a good how to on created a self-grading form

4. Differentiated form – it is self graded, except if as they get correct or wrong answers they follow different paths. For example if they miss question 1, they go to instructional info and then retake the question. If they get question 1 correct, they go directly to question 2. 

Sample differentiated quiz Link
Here’s one that adds images Link
Here’s one in French Link (scroll down)
Here’s a good planning tool for “choose your own path” Link

How to use Google Forms so students can choose their own path through content.

Assignment 6: Design an Interactive Lesson Using Google Forms | Form Lesson 21-A6

Design an interactive lesson for your next post – using Google Forms. It could be a self-graded form or a differentiated form. Your post should include:

  1. Title and featured image
  2. Target student group for lesson – grade level or subject
  3. Instructions for students
  4. Goal for lesson and how the form helps you meet the goal.
  5. Be sure to include student feedback via correct answers / differentiated path.
  6. Google Form can be embedded in WordPress. See instructions below for how to embed your Form in your post. 
  7. Also include a direct link to your Google Form in your post.

Resources

You will need to get an embed code from your Google form to use with the “Custom HTML” block in WordPress and embed in your post.

To get an embed code for Google Forms:

Class 6: Design Learning with Google Sites

Design Learning with Google sites

In today’s class we’ll learn how to create a website using Google sites. Sites are free and become part of your content stored in Google Drive. Sites can easily showcase content you have created using Google docs, slides, forms, MyMaps, Tour Creator or YouTube videos. Note: be sure to use the new (not classic) google sites.

We will begin by exploring some Hyperdoc lesson ideas (learning activities designed using the Google Suite.) Then we will have some basic instruction on creating a Google site and importing content from a variety of sources.

Assignment 5: Design a Google site | Sites 20-A6

Working solo or with a partner, design a learning activity that is supported by Google site. The Google site and WordPress elements

1. Google site – Start Page (Home Page)
Be sure to include:

  • Unique header image
  • Title of the lesson
  • Author (s) of the lesson
  • Target student group. Grade, course
  • Lesson context? – for example – introduction, pre-assessment, part of bigger unit, etc
  • The intent of the lesson –  for example – what would students know or be able to do? Or what feedback would teacher gain?

2. Google siteAt least 5 additional pages that provide resources and activities for the students
Be sure to include:

  • Unique header image for each of the pages
  • A pre or post assessment using a Google form
  • At least 4 content elements from the following Google suite: Slides, Forms, Docs, My Maps, Tour Creator, YouTube Videos (made by someone else)

3. A WordPress post that showcases the site.
Be sure to include:

  • Fun title and featured image
  • An image of the site that serves as hyperlink (see how to video below)
  • A brief write up about the site that includes – material from your start page list above

Resources

How to create an image link to your Google site and put it into WordPress

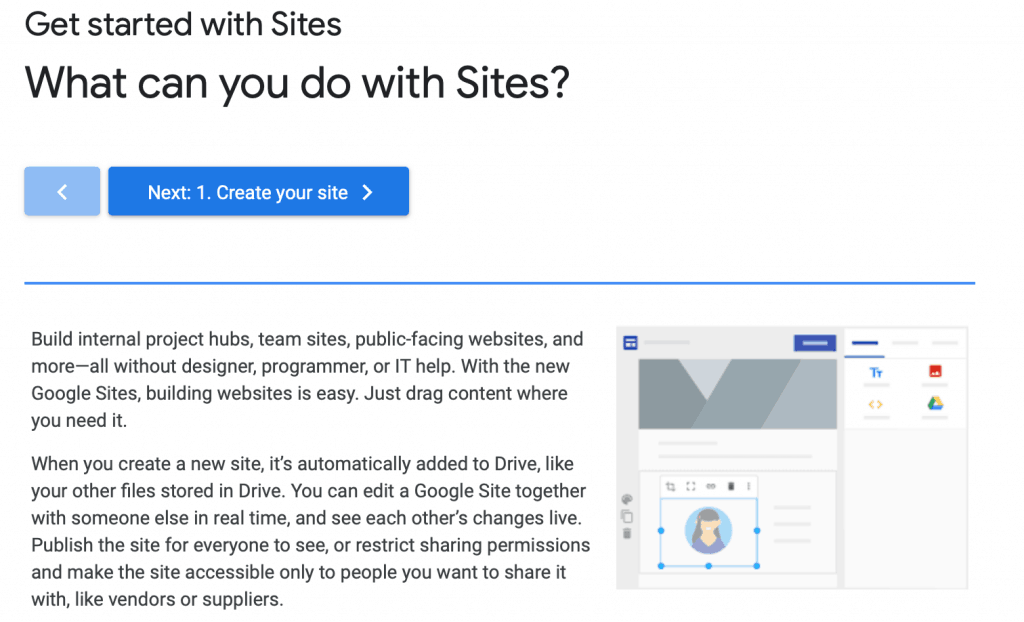
Get started with Google Sites


G Sites Learning Center


Class 3: Create Interactive Lessons with Google Slides

Lesson 2: Interactive Lessons with Google slides

We will begin our look at Google tools with Google Slides. Students will work in teams to explore some sample Google slide activities here. 

They will select one of the activities and prepare a short presentation to class on: 

  • How is it designed – features, interactions, navigation, external assets.
  • It’s instructional goals
  • What they liked / disliked about it. For example, ease of use?
  • How it could be modified and used in other learning activities.
ASSIGNMENT 3: DESIGN A LEARNING ACTIVITY WITH GOOGLE SLIDES | Slides 20-A3

Working alone, or in a team of two, students will design a learning activity using Google slides. They will embed the slide activity in a blog post that describes

  • Target student audience
  • Lesson goals
  • How you would use it with students
RESOURCES for adding your Google slide show to WordPRess post
Step 1: Set up sharing and get an embed code to use on WordPress.
Step 2: Use HTML Snippets on WordPress with an embed Code

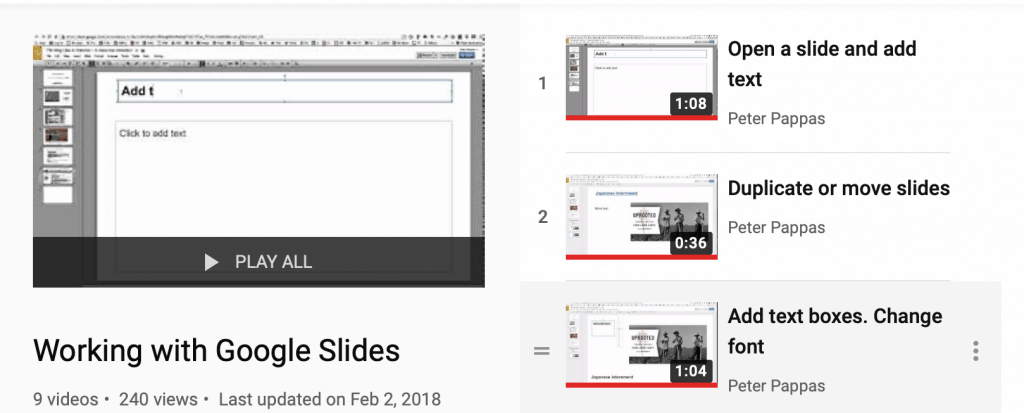
Video guides working with Google Slides
Working with Google Slides

Class 3: Interactive Lessons with Google Slides

We will begin our look at Google tools with Google Slides. Students will work in teams to explore some sample Google slide activities here.

They will select one of the activities and prepare a short presentation to class on:

  • How is it designed – features, interactions, navigation, external assets.
  • It’s instructional goals
  • What they liked / disliked about it. For example, ease of use?
  • How it could be modified and used in other learning activities.
Assignment 3: Design a learning activity with Google slides | Completed work 19-A3

Working alone, or in a team of two, students will design a learning activity using Google slides. They will embed the slide activity in a blog post that describes

  • Target student audience
  • Lesson goals
  • How you would use it with students
Resources
Set up sharing and embed finished slideshow in WordPress post

Use This “Make a Copy” Trick When Sharing Google Drive Documents

makeuseof.com

Video guides working with Google Slides

Class 4: Collaborate With Google Slides

Collaborative Lesson Design with Google Slides

This week’s class kicks off a multi-class exploration of Google Tools. First up Google Slides. As a pre-assessment we will jump into a shared GSlide and edit it using whatever features we know. Then we’ll present the collaborative slide show using Google Slides “Q and A Presenter mode.”

Next we’ll have some training in using Google slides. We will also share some ideas for using Google Slides in the classroom. Here’s some important links

Assignment 4: Due Feb 14 | completed work

Work with one or two partners to  design a learning activity using a Google Slide. It could be material you develop for students using Google Slides or an activity that you would expect students to create using G Slides.

Each team can collaborate on a blog post (or team members can write separate individual posts). Either way include an embed of the slide presentation and describes how you or the students might use the slides in a learning activity. You may also want to add some comments about what you learned from the lesson.

Note: You can assign multiple authors to one post by using box at bottom of WordPress new post page. Just start typing the name and click it to activate and add as co-author.


Image source: Štefan Štefančík / Adobe Spark Post

Class 12: Google Hackathon

In today’s class we will explore the ever-changing world of Google apps for education. I’ve created a Google site with a section devoted to Google tools – docs, forms, MyMaps, slides, sites and more. After spending some time exploring the resources, students will have the chance to create an activity using a Google app.

Assignments
  1. Use a Google tool to design an activity. Create a blog post that explains the intent of the activity and includes an embedded version of the Google tool.
  2. Prepare for using iBooks Author to showcase your critical thinking lesson. Check this page for getting your content ready for using iBooks Author

Image credit: Google photos icon link

Class 7: Create and Share Content

Note: We will begin class by using this Google form to assess progress on our Critical Thinking Design Project.

Today’s class is the second in our three-class exploration of blended and flipped learning. Last week we looked at options for screencasting / slidecasting. This week we’ll look add a few more options for teachers or students to create content. Students will practice their skills in preparation for our next class where we will look at how to incorporate blended / flipped content into lesson design.

There many options for creating content – but here’s two categories and some free tools that will have many application for lesson designers.

Techniques we’ve already used

  1. Create content using VoiceThread and share with student. Shoot your own video – edit with iMovie. See class 5.
  2. Use Mac’s QuickTime Player or CaptureSpace to create a screencast / slidecast. See class 6

Create and share slides

  1. Export Powerpoint or Keynote slides to Slideshare  – sample by former student Peter Gallagher. Peter’s extensive collection of Slideshares.
  2. Here’s how to add an audio narration to a PowerPoint or a Keynote slide show.
  3. Use Google slides  – here’s an example of how to animate a math problem. Here’s a hack for adding a narration to Google slides.

Create and share videos

  1. Add narration to  PowerPoint or Keynote (#2 above) Then export as videos which can be shared as files or uploaded to YouTube. This is the technique Jeremy used to make his slidecast)
  2. Create a Paperslide video
  3. Create an animation using Toontastic 3d. It’s fun and a free tool from Google that works on smartphones, tablets, and select Chromebooks. Other animation creation options with free intro levels are Plotagon or Powtoon.

Host video content (created by you or found online) in a lesson
Add your commentary / questions, monitor student responses.

  1. Use EDPuzzle (includes library of lessons you can use)
    – Works with YouTube, Vimeo.
    – Has shortcuts to many popular videos series including: , Khan A, Numberphile, Crashcourse, National Geographic and more.
    – Can be embedded.
    – Sample Grade 3: Mathablanca
  2. Use TEDed (includes library of lessons you can use)
    – YouTube content only.
    – Cannot be embedded.
    – Sample: Who’s the Historian in Your Classroom

To simply share your YouTube or Vimeo videos without nuisances such as annotations and related videos using SafeShare.TV

Image credit: Creative Commons / Adobe Spark