Class 15: Finishing our iBook

This week we will finalize our critical thinking lessons for inclusion into our collaborative iBook.

TECHNICAL ASPECTS

The iBooks will be designed using iBooks Author in the Mac lab. Students will bring digital versions of their project content – including all image and sound files, text files, citations and URLs. Here’s a quick guide to managing your files to get ready for iBooks Author: edtechMethods Tool Kit: iBooks Author

I’ve created a YouTube channel with some short tutorials that students may wish to refer to. See iBooks Author Tips.

We’ll take a look at Adobe Spark / Posts for making some graphics to add to our project.

End of Semester Checklist
  1. Complete course assessment at SmartEvals
  2. All blog posts completed – see list here.
  3. Finished iBook Author file uploaded to our shared Google Drive
  4. When in iBooks Author you can create a PDF version – Select Share / Export / Then choose PDF. Then take your PDF and upload to TaskStream for final assessment.

Class 14: Working with iBooks Author

Digital technologies have put us in charge of the information we access, store, analyze and share.  Creating an iBook harnesses those motivational factors into an engaging learning experience. The ease of distribution across the world (via iTunes) means students can communicate with a broader, and more authentic audience than just their teacher and class peers.

This week we will wrap up our first drafts of our critical thinking lessons for inclusion into our collaborative iBook.

Technical aspects

The iBooks will be designed using iBooks Author in the Mac lab. Students will bring digital versions of their project content – including all image and sound files, text files, citations and URLs. Here’s a quick guide to managing your files to get ready for iBooks Author: edtechMethods Tool Kit: iBooks Author

I’ve created a YouTube channel with some short tutorials that students may wish to refer to. See iBooks Author Tips.

We’ll take a look at Adobe Spark / Posts for making some graphics to add to our project.

Assignment

Students should write a brief blog post that serves as a course reflection. Begin by re-reading your first post in response to the prompt “What do you want to learn about edtech?” What progress have you made? Successes, frustrations? Suggestions for this course?

Please post by April 27th.


Image credit: Adobe Spark

Class 12: Google Hackathon

In today’s class we will explore the ever-changing world of Google apps for education. I’ve created a Google site with a section devoted to Google tools – docs, forms, MyMaps, slides, sites and more. After spending some time exploring the resources, students will have the chance to create an activity using a Google app.

Assignments
  1. Use a Google tool to design an activity. Create a blog post that explains the intent of the activity and includes an embedded version of the Google tool.
  2. Prepare for using iBooks Author to showcase your critical thinking lesson. Check this page for getting your content ready for using iBooks Author

Image credit: Google photos icon link

Class 10: Teaching with Data Visualizations

Quite often edtech tools are used by the teacher rather than the students and don’t do much more than make things prettier.

Think: Teacher at Smartboard as replacement for the overhead.

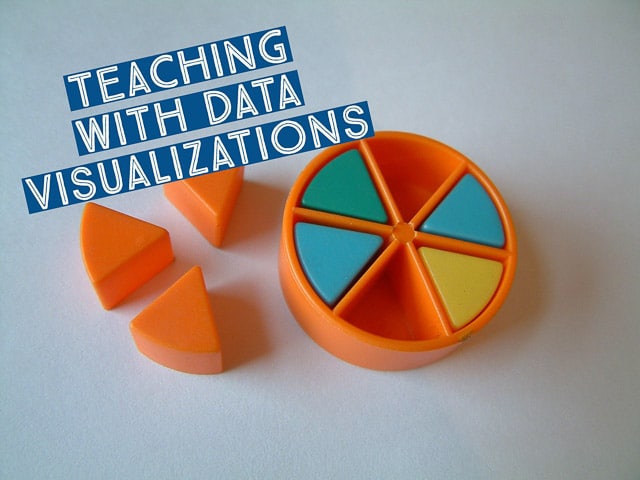
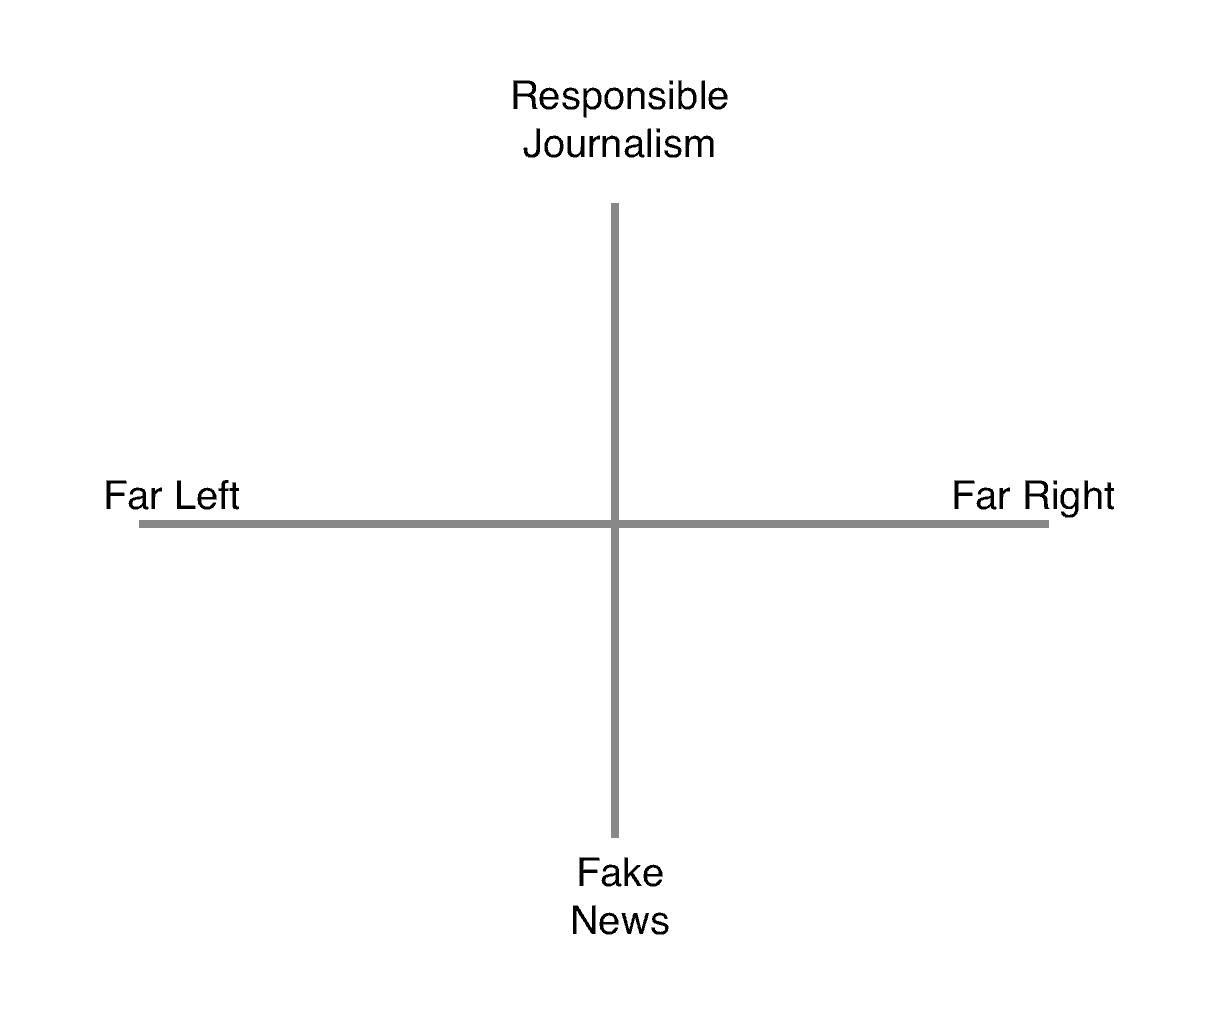
New digital technologies allows us to “see” information in new ways.

Think: Students analyzing text using Wordle

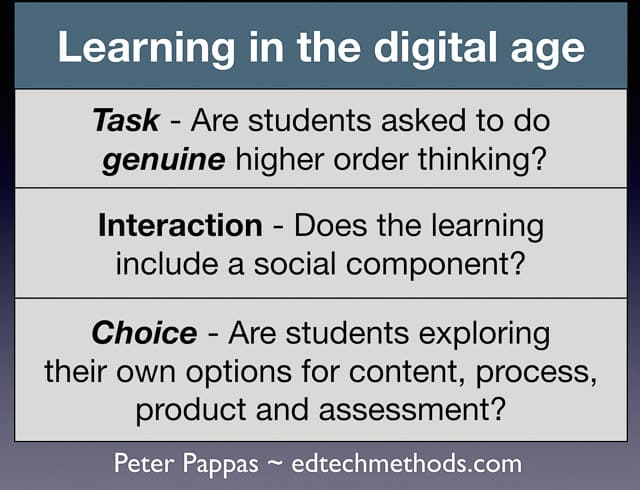
Many apps and websites can be a great tool to introduce the research method – form a hypothesis, gather and analyze data, revise hypothesis (as needed), draw conclusions, assess research methods. Working in teams students can easily pose research questions, run the data, revise and assess their research strategy. Students can quickly make and test predictions. They can then present and defend their conclusions to other classroom groups. All skills called for by the new Common Core standards.

In today’s class we will explore a sampling of free online data visualization tools that can be used in the classroom. Students will be asked to incorporate one of these tools into a lesson design.

GapMinder World: manipulate moving bubble graphs, select x and y axis from a variety of data sets

 NGram Viewer: online research tool that allows you to quickly analyze the frequency of names, words and phrases -and when they appeared in the Google digitized books. Ideas for classroom use Books Ngram Viewer.  For more advanced searches using NGram Viewer click here.

Chronicling America has digitized newspapers from across America from 1836-1922. You can search word frequency here.   Search Chronicling America and visualize the results across space and time at USNewsMap project

Bookworm: a collection of simple and powerful way to visualize trends in repositories of digitized texts.

  • Movies: dialogues of movie and TV shows
  • ArXiV: science publications
  • US Congress: bills, amendments, and resolutions (by political party)

Timelapse: is a global, zoomable video that lets you see how the Earth has changed over the past 32 years.

Metrocosm: All the World’s Immigration Visualized in 1 Map

Combine multiple online tools for research: For example, Black History in America:
Map of White Supremacy mob violence here
Mapping the “Negro Travelers’ Green Book” here

Assignment

Choose one or more of these digital tools (or use a favorite our yours) and blog about how you would use it in an activity, lesson or unit. A few things to keep in mind:

  1. Be sure you design a lesson that allows your students to be using the tool
  2. Be sure to include an embed of the tool (if possible) or at least a screen shot.
  3. Blog post due: 3/30

Image credits:
Header: AdobeSpark public domain
Insert: Teaching with a SMART Board / Flickr

Class 8: Flip content means more time for student interaction

Introduction

From Are We Innovating, or Just Digitizing Traditional Teaching?

“A few months ago, I noticed an increased amount of discussion around the notion of blended learning. Many of these conversations started on a similar note: “We’re blended—all of our teachers use Google Classroom.” However, in probing further, I often discovered that these tools had merely digitized existing content and classroom procedures.

Instead of filling an inbox on the teacher’s desk with packets and worksheets, students now completed the exact same procedures online. Rather than write homework assignments on the board, teachers posted them to the students’ digital news feeds. While blended learning brings with it the promise of innovation, there is the peril that it will perpetuate and replicate existing practices with newer, more expensive tools.”

Flipped and blended learning can easily fall victim to edtech’s fascination with faster. Better. Shinier. Instead, we will utilize our new skills in digital content creation to design a lesson that utilizes additional class time to foster greater student interaction.

Class overview

Class will begin with a brainstorm session where we consider how we can use flipped and blended resources to enhance classroom interactions. After pitching some ideas to one another, students will get down to developing an outline of how they could design an activity, lesson or unit. Those designs will be incorporated into a blog post due 3/23.

Note: Some class time will also be devoted to updating our critical thinking design project and previewing iBooks Author which will be used for showcasing our lesson.

Assignment

Next week (3/16) there’s no class because of  break. Students have two assignment due when we return. (3/23)

  1. Be prepared to give a 5 min demonstration of your critical thinking lesson.
  2. Complete your flipped / blended model lesson as a blog post.

See my sample lesson blog post here

Flipped / blended model lesson should include the following elements. See sample completed assignment here.

  1. Learning objective – content and or skills students will know or be able to do by end of the lesson
  2. Digital resource(s) you’ll use for flipped / blended elements. Note: it’s not necessary to develop them – you can describe it.
  3. Active learning strategies employed with freed up class time (follow this link for lots of ideas)
  4. How the digital resource integrates into other instructional elements of lesson – what’s the flow of the lesson?
  5. Benefit for student content mastery, collaboration or learning workflow – why is it worth it flip / blend some of the content.

Class 7: Create and Share Content

Note: We will begin class by using this Google form to assess progress on our Critical Thinking Design Project.

Today’s class is the second in our three-class exploration of blended and flipped learning. Last week we looked at options for screencasting / slidecasting. This week we’ll look add a few more options for teachers or students to create content. Students will practice their skills in preparation for our next class where we will look at how to incorporate blended / flipped content into lesson design.

There many options for creating content – but here’s two categories and some free tools that will have many application for lesson designers.

Techniques we’ve already used

  1. Create content using VoiceThread and share with student. Shoot your own video – edit with iMovie. See class 5.
  2. Use Mac’s QuickTime Player or CaptureSpace to create a screencast / slidecast. See class 6

Create and share slides

  1. Export Powerpoint or Keynote slides to Slideshare  – sample by former student Peter Gallagher. Peter’s extensive collection of Slideshares.
  2. Here’s how to add an audio narration to a PowerPoint or a Keynote slide show.
  3. Use Google slides  – here’s an example of how to animate a math problem. Here’s a hack for adding a narration to Google slides.

Create and share videos

  1. Add narration to  PowerPoint or Keynote (#2 above) Then export as videos which can be shared as files or uploaded to YouTube. This is the technique Jeremy used to make his slidecast)
  2. Create a Paperslide video
  3. Create an animation using Toontastic 3d. It’s fun and a free tool from Google that works on smartphones, tablets, and select Chromebooks. Other animation creation options with free intro levels are Plotagon or Powtoon.

Host video content (created by you or found online) in a lesson
Add your commentary / questions, monitor student responses.

  1. Use EDPuzzle (includes library of lessons you can use)
    – Works with YouTube, Vimeo.
    – Has shortcuts to many popular videos series including: , Khan A, Numberphile, Crashcourse, National Geographic and more.
    – Can be embedded.
    – Sample Grade 3: Mathablanca
  2. Use TEDed (includes library of lessons you can use)
    – YouTube content only.
    – Cannot be embedded.
    – Sample: Who’s the Historian in Your Classroom

To simply share your YouTube or Vimeo videos without nuisances such as annotations and related videos using SafeShare.TV

Image credit: Creative Commons / Adobe Spark

Class 6: Screencasting Techniques

We will open our class with a student updates on their progress on our critical thinking design project and agree to some firm due dates. Then we will turn our attention to a new skill – screencasting.

Screencasting / Slidecasting

Edtech guru, Kathy Schrock defines screencasting as “the capture of the action on a computer screen while you are narrating. Screencasts can be made with many tools and are often used to create a tutorial or showcase student content mastery.” A related practice is slidecasting (creating a slideshow and then screencasting your narration of it as it plays on the screen). Kathy’s screencasting resources.

I make use of many edtech tools in my classes and workshops. Rather than teaching an edtech tool to everyone in a whole class setting, I think it is more efficient to make a short screencast and post it to my YouTube collection. That creates many flexible learning “tutorials” that I can use as part of flipped or blended lessons.

Here’s a few tips for screencasting:

  • I favor taking complex instructions and turning them into multiple shorter videos covering specific aspects of the task. Some students know one thing and not another. Why make them sit through a long how-to.
  • I use a plug in mic (just a standard iPhone earbud mic) rather than the microphone built into my Mac. (The built-in mic on my desktop sounds distant and echoes because of it’s placement in a corner of my office.) I check the volume level and mic position first to get sound level right and make sure I’m not “popping” when I say my “Ps.”
  • I first practice the skill a few times to find efficient ways to demonstrate and describe what I am doing.
  • If I will be entering much text as part of the task, I create a text document first so I can copy/paste text into the app I’m demonstrating ( I hate watching videos of people typing.)
  • I make sure any images, websites or other content I will use in the video are readily available.
  • I try and do the screencasts in one take. I don’t worry too much about flubbing words – hey, it’s only a screencast.

I typically use Quicktime Player, which is built into the Mac OS. It’s easy to use and quickly uploads to my YouTube account.  Here’s a screencast I made on how to use Quicktime Player to make a screencast. (very meta)


Screencasting with CaptureSpace

This week we’ll explore how to screencast / slidecast using the CaptureSpace tool that’s built into UP’s MediaSpace. It’s a robust app that opens up a few more options for capture and editing that using Quicktime Player.  It also provides a place – MediaSpace – where student’s can upload the finished product.

Note you might also want to check out video tutorials on Microphone setup and how to Edit Your Screencast Before Upload

Assignment

Student’s will use class time to design and record a screencast (or slidecast)  using CaptureSpace. If they use Quicktime Player, they should plan to load it up to there YouTube account. It could be related to our critical thinking design project, an upcoming lesson they hope to use in their placement, or just some content or skills they would like to describe.

After creating and uploading the video to UP MediaSpace, students should write and upload a blog post that describes what they hoped to accomplish with the video and what they see as the challenges and opportunities of screencasting / slidecasting. They should use the MediaShare “Share” function to create an embed code so they can include to their screencast in the blog post.

Here’s a how-to video explaining how to do that (made with QuickTime)

 Image credit: Adobe Spark public domain media

Class 5: VoiceThread and iMovie

This week students will report directly to the Digital Lab in Clark Library for training in using VoiceThread and iMovie.

They will learn to use VoiceThread commenting on our Critical Thinking Brainstorm presentation.

Our iMovie training will give students a chance to remix some classic WWII public domain propaganda films and cartoons. Such as Oscar nominated “Mr Blabbermouth” (1942):

Class 4: Elevator Pitch and Design

Today’s class will be our first brainstorm / design session building on Assignment 3: Brainstorming Critical Thinking Across the Curriculum

Class will open with each student giving a 5-minute “elevator pitch” followed by feedback from peers.

Next we will see if there are some common themes or approaches that tie all the individual ideas together.

Finally students will begin to capture some of their thinking on this shared Google Slide presentation.

Image credit: Flickr: Marco Wessel – Elevator Pitch for Katie

Assignment 3: Brainstorming Critical Thinking Across the Curriculum

During our discussion of Fake News, we realized that our students need more practice in the critical evaluation of information. We saw an opportunity to create a collection of lessons that teach critical thinking in various disciples such as math, science, history and English. Here’s a great example from math How to Lie, Cheat, Manipulate, and Mislead using Statistics and Graphic Displays. 3.9MB pdf

Assignment:

Come to class with ideas to share. You will have 5 mins each to give an “elevator pitch.”

So this coming week all students will brainstorm what content those lesson might cover, and how we might deliver the lessons. They might be standalone lessons or we might try to pick a common theme and approach it from different disciples. We’ll see.

This will likely be a multi-week project and a chance to use some new tech tools in a project-based approach. Plus when we are done, we’ll have a showcase product to share.

Here’s some content ideas we got started:

  1. Visual literacy – looking at images
  2. Map how to read news article
  3. Design and read infographic
  4. Lie with statistics
  5. Mr DNA guide (that guy from Jurassic Park)
  6. English – propaganda, world of text and author
  7. History – how narrative can be used to frame events from point of view. How do you look at evidence.
  8. Bad examples of critical thinking.

Delivery ideas:

  1. PDFs
  2. Blog posts
  3. Prezi, Powerpoint, Keynote
  4. Infographics
  5. Cartoon characters like Toontastic 3D
  6. Tests – Kahoot
  7. Memes
  8. Games
This project serves a number of purposes:
  • Work on our digital literacy skills
  • Focus first on good instructional design
  • Explore design and deliver of  PBL
  • Interdisciplinary approach allows all students to contribute from their perspective
  • Address an issue of critical importance
  • Provide a vehicle for utilizing a variety of tech tools
  • Provide an opportunity for assessing the efficacy of our methodology and tech tool selection

Image Credit: Flickr: Chris Potter 3D Bright Idea
ccPixs.com

Class 3: Fake News

“In search of answers, many of us ask our kids to “Google” something. These so-called digital natives, who’ve never known a world without screens, are the household’s resident fact-checkers. If anyone can find the truth, we assume, they can. Don’t be so sure.

True, many of our kids can flit between Facebook and Twitter while uploading a selfie to Instagram and texting a friend. But when it comes to using the Internet to get to the bottom of things, Junior’s no better than the rest of us. Often he’s worse.”

~ “Why Students Can’t Google Their Way to the Truth” Education Week  Reporting on 2016 research project with 7,804 students in middle school through college. Evaluating Information: The Cornerstone of Civic Online Reasoning link to 3.4 MB pdf

Today’s class will  explore the world of “fake news” with a focus on its implications for democracy in the digital age. This will serve as a kick off for our first extended lesson design project.

In class activities: we review social media feeds and used the graph below to classify some of the news stories.

Source for social media stories:

  • Our own social media feeds.
  • Searching Twitter (which shows content even w/o a Twitter account)
  • Blue Feed, Red Feed: See Liberal Facebook and Conservative Facebook, Side by Side ~  Wall Street Journal

Takeaways:

  • We are better at discerning right/ left continuum than responsible/fake news journalism continuum.
  • Fake news success at spreading information relies on an absence of critical thinking skills
Project: Media Literacy / Critical Thinking Design

We will begin a extended PBL focused on publishing a suite of lessons for teaching media literacy and critical thinking to intermediate – high school students. Flooded with information from the “post-truth world” of “alternative facts,” students will need to develop their own skills in recognizing “truthiness.”

This is a great vehicle for exploring critical thinking across the curriculum. Good critical thinking skills are the best defense against “fake news.” Here’s a model that might inspire us How to Lie, Cheat, Manipulate, and Mislead using Statistics and Graphical Displays 3.7MB pdf

Good starter article Evaluating Sources in a ‘Post-Truth’ World: Ideas for Teaching and Learning About Fake News

ASSIGNMENT:

Come to class with ideas to share. You will have 5 mins each to give an “elevator pitch.”

So this coming week all students will brainstorm what content those lesson might cover, and how we might deliver the lessons. They might be standalone lessons or we might try to pick a common theme and approach it from different disciples. We’ll see.

Image credit:  Graphic on Fake news website issue made by VOA News. Wikimedia Commons

Class 2: Digital literacy

This class will lead off with a review of our thinking on this pilot course design. We will gather our ideas using this shared Google Doc.

Next, Peter will do a presentation “Teaching and Learning in a Digital World.” It explores the impact of new technologies and answers the question: Digital literacy handout 2.1 MB pdf

“So what happens in schools, now that life’s become an open book test?” 

We will explore the “new digital literacy:”

  • Find, decode and critically evaluate information
  • Curate, store and responsibly share information

To hone our digital literacy skills, we will explore search techniques with a focus on finding public domain or Creative Commons licensed content: including images, video, and audio. For more information on public domain searches visit our edtech methods toolkit / Digital Hygiene

We will incorporate some note taking tools to explore digital storage and curation – Microsoft OneNote, Evernote, Google Keep and Google Spaces. This will allow us to also do a comparative analysis of these note taking tools.

Homework

See assignment page – Find, Curate, Store