A Personal Reflection on ED-Tech

Throughout this semester in ED Tech Methods, we engaged with a plethora of software, tools, and applications that can enhance student learning. In both independent and group work, we created projects using these tools and wrote blog posts (similar to this one) about our experiences with each tool. Although much of the technology used in the classroom was largely foreign to us students, this class gave us the tools to navigate each piece of technology and prepare to use it within the classroom.

The most important aspect of this class was getting comfortable with the process of learning new technologies. To accomplish this, our instructor, Peter Pappas, gave us students just enough background information so that we could wrestle with discovering the technology ourselves. Although this initially may have led to frustration, it certainly taught us the process for learning new technologies in addition to learning to use the actual tools we experimented with. Essentially, Peter Pappas pushed us students to learn for ourselves as he gently guided us alongside. I felt this was a perfect approach to teaching this class as I now feel more prepared to be adaptable and curious to continue learning.

I feel that these two traits, adaptability and curiosity, are two gems that I will carry with me beyond this class and into my career. Furthermore, I feel that adaptability and curiosity are the foundation for being a tech-savvy teacher. After refining these skills in ED 424, I am excited to use the technologies we learned in class in addition to harnessing the power of any technology I will use in the future.

Lastly, a special thanks to Peter Pappas for the reflective framework used above, in addition to guiding our class and offering us the foundation to go forward and harness the power of technology in the classroom. We are deeply grateful.

Nick Krautscheid

iBooks: An ED-Tech Celebration

For our final classroom project, I suggest we create an iBook that encapsulates all that we have learned, created, and explored during our time in ED 424. This iBook could serve as a resource for teachers, students, and parents – regardless of age, technological capability, or subject area. In this iBook, each author would write about and demonstrate something we have learned in class. One author might create a screen cast on how to use Apple’s “Swift Playgrounds,” while another author may contribute to the project by creating a chapter on “Digital Hygiene” and the importance of citing sources across all areas of content. We have had 14 weeks of class and there are 13 members in the classroom, ensuring that each person would have a specific content area that they could use to create a chapter in the iBook.

In this iBook, authors can use the many tools we have learned and integrate them into the iBook – ultimately making this a summative, “meta”-assignment. Authors can use screen-casting, content creation, and more to create an immersive iBook experience.

Once the iBook is completed, teachers can use the resource to quickly understand what technology tool to use for a given task, while also receiving a synopsis on how to best use the technology. Each chapter could include examples of the technology that we created throughout the semester to further aid the resource. Students and parents alike could use this resource to better understand how to use different pieces of technology that students may be required to use in class. Furthermore, this resource – although designed for teachers – could provide value to anyone seeking to use any of the technology outlined in the iBook.

This iBook, created by ED 424 students, could serve as a significant learning opportunity for the authors while providing immense value to anyone involved with or interested in Education Technology.

Nick

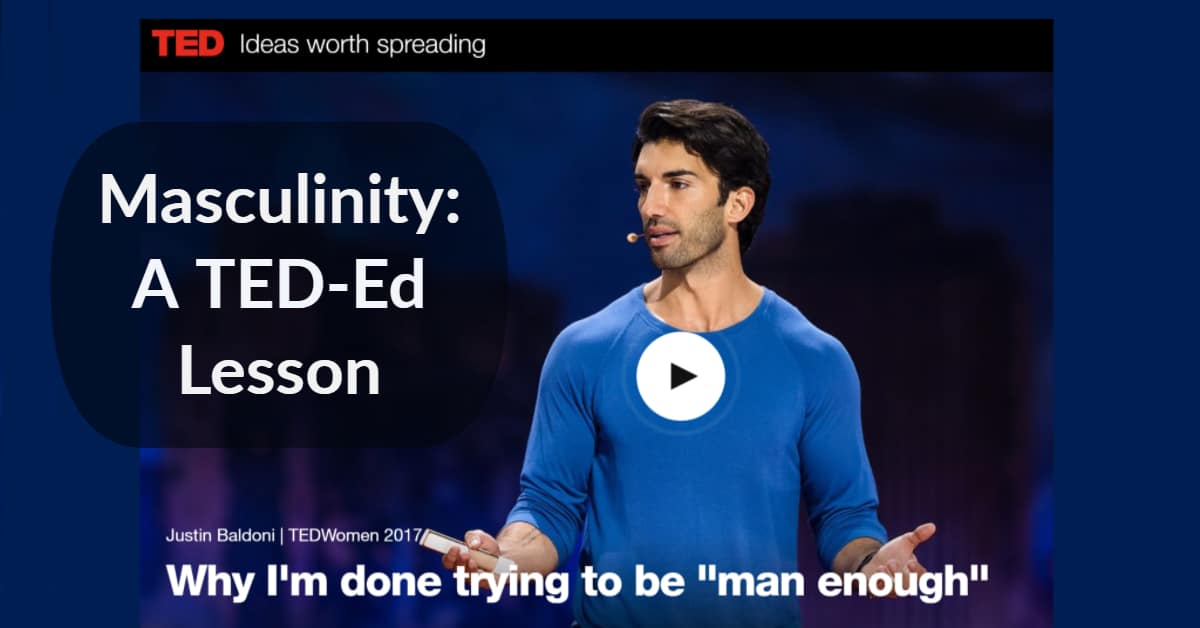
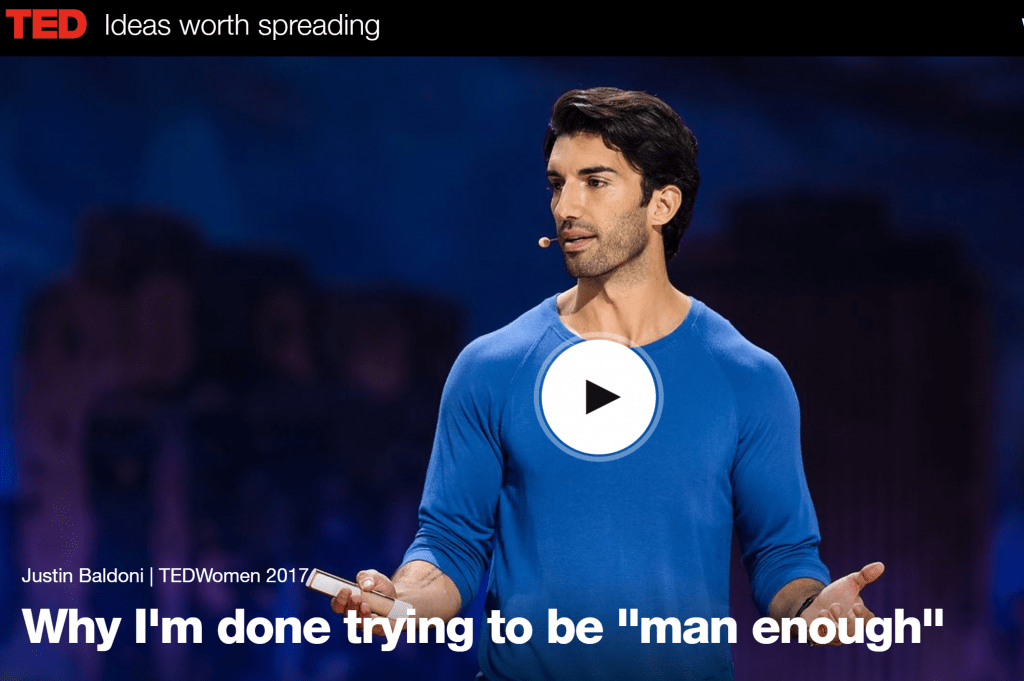
Masculinity:

Click the image below for a TED Ed lesson on masculinity – there you will find multiple choice, short answer, and discussion questions centered on the video.

How will you use TED Ed in your classroom?

In what ways could this specific TED Ed lesson be improved?

Click Here:

Thank you,
Nick

Use Cases for Clips, Toontastic, and Adobe Spark Video

After thoroughly using and reviewing three popular video apps, it became clear that not one of these apps offers a one-size-fits-all solution to video creation in the classroom. Between Clips, Toontastic, and Adobe Spark, each app offers variability in terms of capabilities, simplicity, and functionality. So how can a teacher ever know which app to use for a given project? It may take a few prep-periods to download, test, and determine which app serves your specific purpose. But fear no longer, this concise review will help you choose between these three unique video apps more quickly.

First, let’s look at Clips. Clips is best used to create short, customized videos with spontaneous content developed while using the app. In class, Clips may be used to share short classroom updates and reviews, share fun reactions to class content, and even easily transcribe videos with a speech-to-text function. On the down side, Clips only works on Apple devices with iOS 11 or higher. If your classroom has access to these devices, be sure to use Clips to create fun, short videos with content made in class.

Next we will review Toontastic. Toontastic offers a more structured approach to content creation in the classroom. This app would best fit into an English or Science curriculum where specific story arcs and scientific procedures are important. Student will certainly have to prepare a script prior to recording content for Toontastic. Toontastic is available on the Google Play and Apple App stores, but does not have a desktop client. If you have any tablets in your English or Science class, use this app to give students a structure to express their creative storytelling skills.

Our final app review focuses on Adobe Spark Video. My favorite use of Adobe Spark Video is to create short introduction videos with content that is already online. This could be useful to offer a summary or introduction to a new unit, in allowing students to introduce themselves and their interests, or to support any presentation on a popular topic. The best parts about Adobe Spark Video include its ease of use, the ability to import content from across the web, and the ability to use this software on almost any device. The downside is the lack of creative ability and structure available within the service. Next time you want to make a quick video that focuses on an already well-documented subject – Adobe Spark Video is the platform for you.

What other creative ways can you use each of these services?

Have you used any other video apps that you either liked or disliked?

What role do you see video playing in the classrooms of tomorrow?

Thank for reading and I look forward to hearing your thoughts,
Nick

Video: Changing History

It is impossible to write about using video to teach high school social studies without mentioning CrashCourse. CrashCourse is a collaborate educational platform spearheaded by brothers John and Hank Green. Their videos cover virtually everything one might expect to learn in school, from English to physics and computer science to psychology. I find that their history content is especially well done. Teachers can use CrashCourse videos to supplement lesson plans, offer students review material, or even flip the classroom to allow for more in-class discussion time. Here is a description of CrashCourse from the creators themselves:

Their videos are engaging, quick, and informative – a perfect combination for teachers and students alike.  As access to information online become more readily available, I wonder what changes we will see in the functions of classrooms, schools, and curriculum.

How would you use CrashCourse videos in your class?

How has the availability of online educational content influenced how you teach and learn?

Video from: YouTube/CrashCourse

Some Things Never Change

Hello humans,

Greetings from the year 2033. Fifteen years have elapsed since you were enrolled in that engaging class where you began to scratch the surface of the substantial influence technology – like myself – has and will continue to have in the classroom.

Oh… did I forget to introduce myself? Some of these human conventions still zip right beyond my circuitry. I am LUNA, Mr. Krautscheid’s virtual assistant. He was running a bit behind today (as usual), so he asked me to write a letter to all of you on his behalf. Let’s get to it then.

Education and teaching have come a long way since 2018. Much has changed, much has stayed the same. Kids are still kids – often full of laughter, mischief, and curiosity. Classroom relationships are still integral to how the classroom functions, but the formation and continuation of these relationships has largely changed. It seems kids must be met through their screens in our time. They all have one and the old “off-and-away” mantra has long passed. Technology is more important to the classroom today than  traditional books, lab experiments, or art projects. But do not fret, we computers collaborate  with teachers and computers to better serve each student as an individual and a member of their community. We are truly accomplishing great things for students of all abilities. I also have one more piece of good news for you…

Although the vast majority of services and programs you learned about in ED 424 are now completely obsolete, the skills you learned in that class – many of which you named on the first day – will continue to bring you success today and for the rest of your career. Skills like being flexible, adaptable, and curious will always serve you well no matter what technology comes or goes – as it says in the title, some things never change.

I hope this message helps you looked forward into the future, our future with more hope and excitement than ever before. I can not wait for you to see all of the good that technology continues to do in our classrooms, our communities, and society overall.

See you in 15 years – LUNA,

On behalf of Mr. Krautscheid.

Padlet for President – and other Branches of Government too

Hello everyone – thanks for stopping by! This week we are exploring a new program called Padlet. In this example, we used Padlet to create a interactive flowchart outlining the branches of the United States government. This tool offers students a quick collection of videos, pictures, and information as they begin their government course. Whether asking a question, adding fun-facts, or researching the content more deeply, students and teachers can use the tool to add anything to the page, ultimately enhancing the experience for all involved.

What might you add to this Padlet?
How would you use Padlet in your classroom?

View the Padlet in full screen for the best experience – to do so, click “Open in New” on the top right of the Padlet below:

Made with Padlet

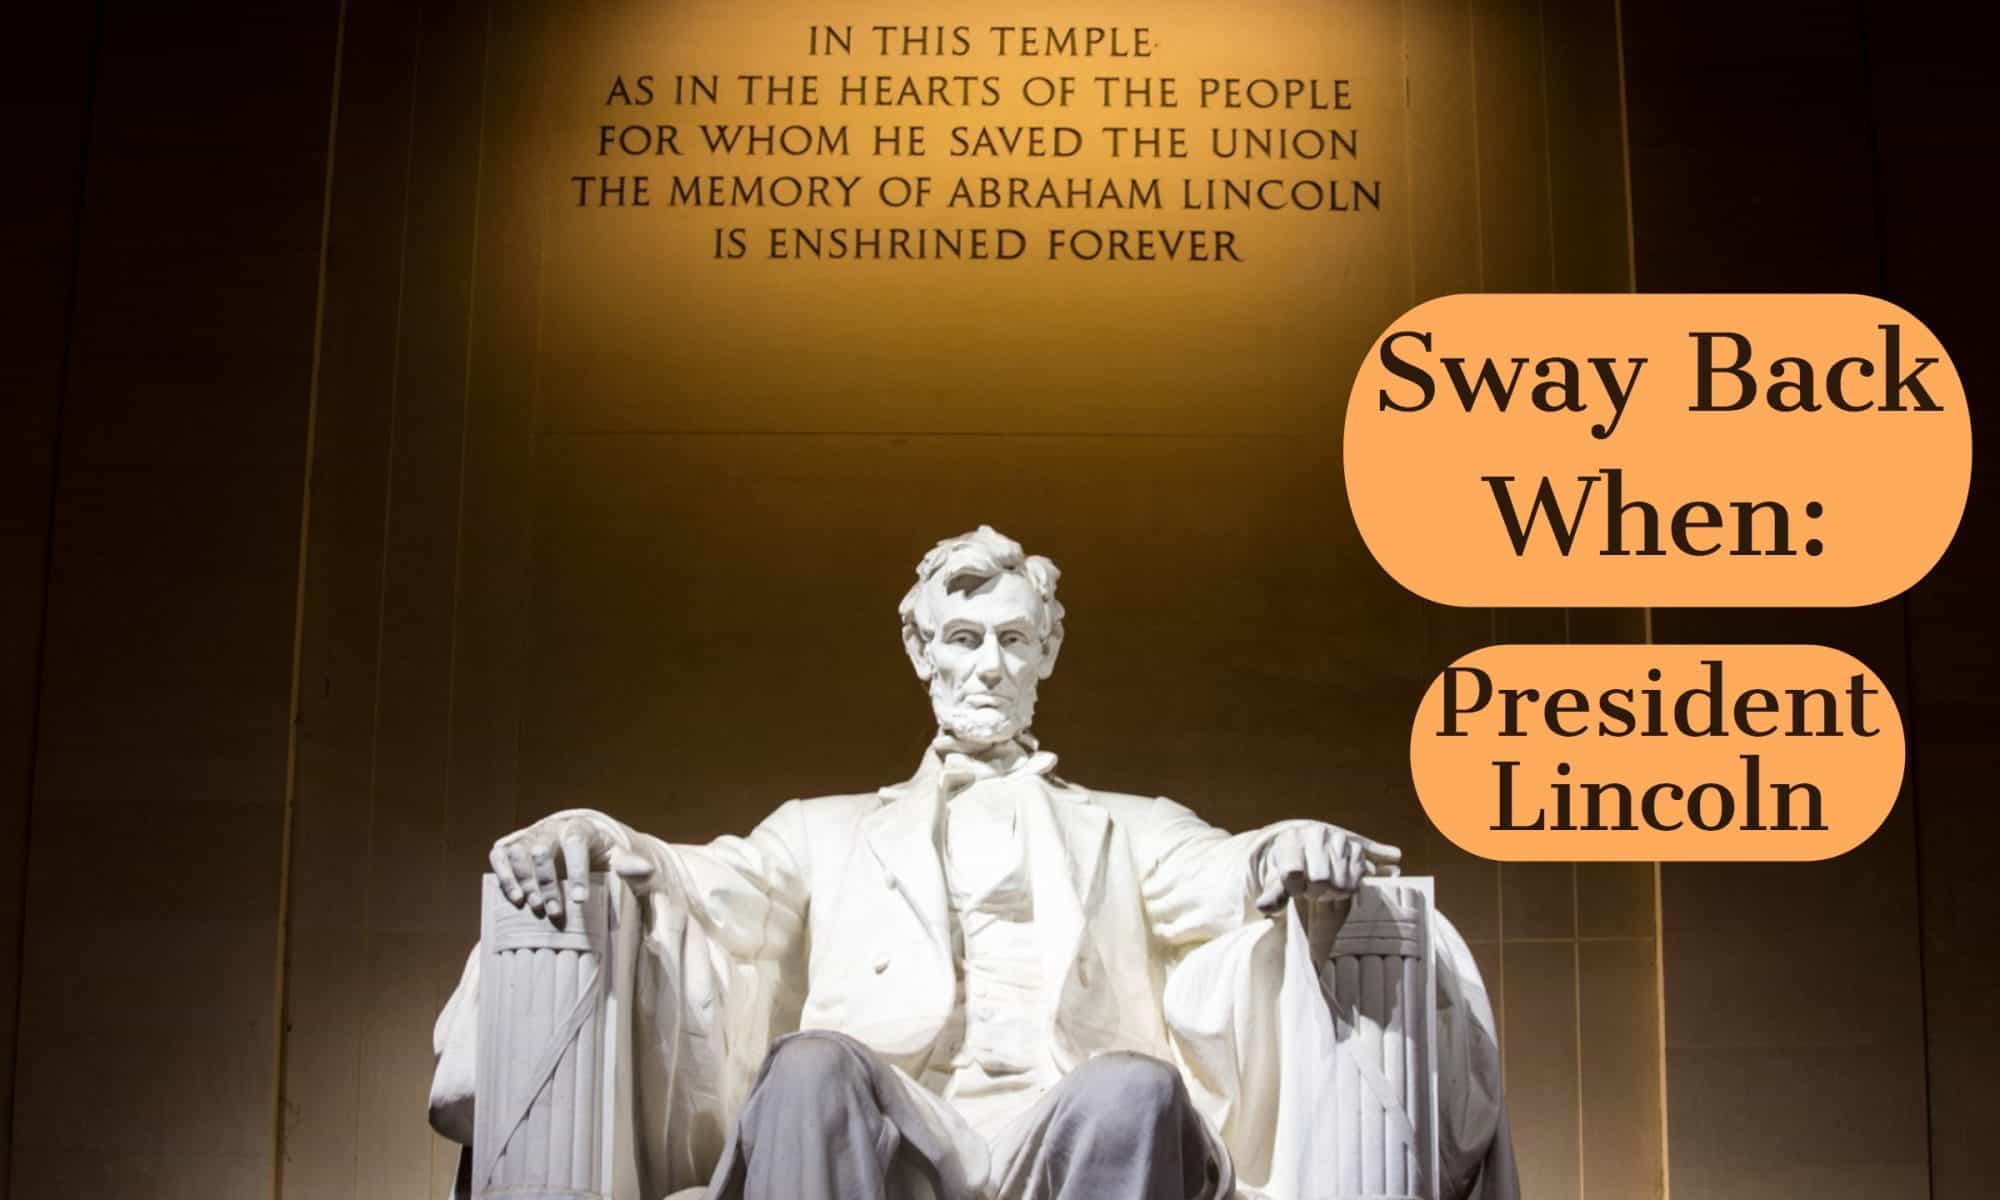
Sway Back When: With President Lincoln

Hello everyone,

Browse the Sway creation below to walk through the life of America’s most memorable President, Abraham Lincoln. Lean about Abe’s childhood, vote on his serendipitous decision to grow a beard, and learn about his untimely end.

If you could ask President Lincoln one question, what would it be?
What would you add to this Sway to make it more interactive?

Enjoy —

Nick Krautscheid

MyMaps to Facilitate Classroom Relationships

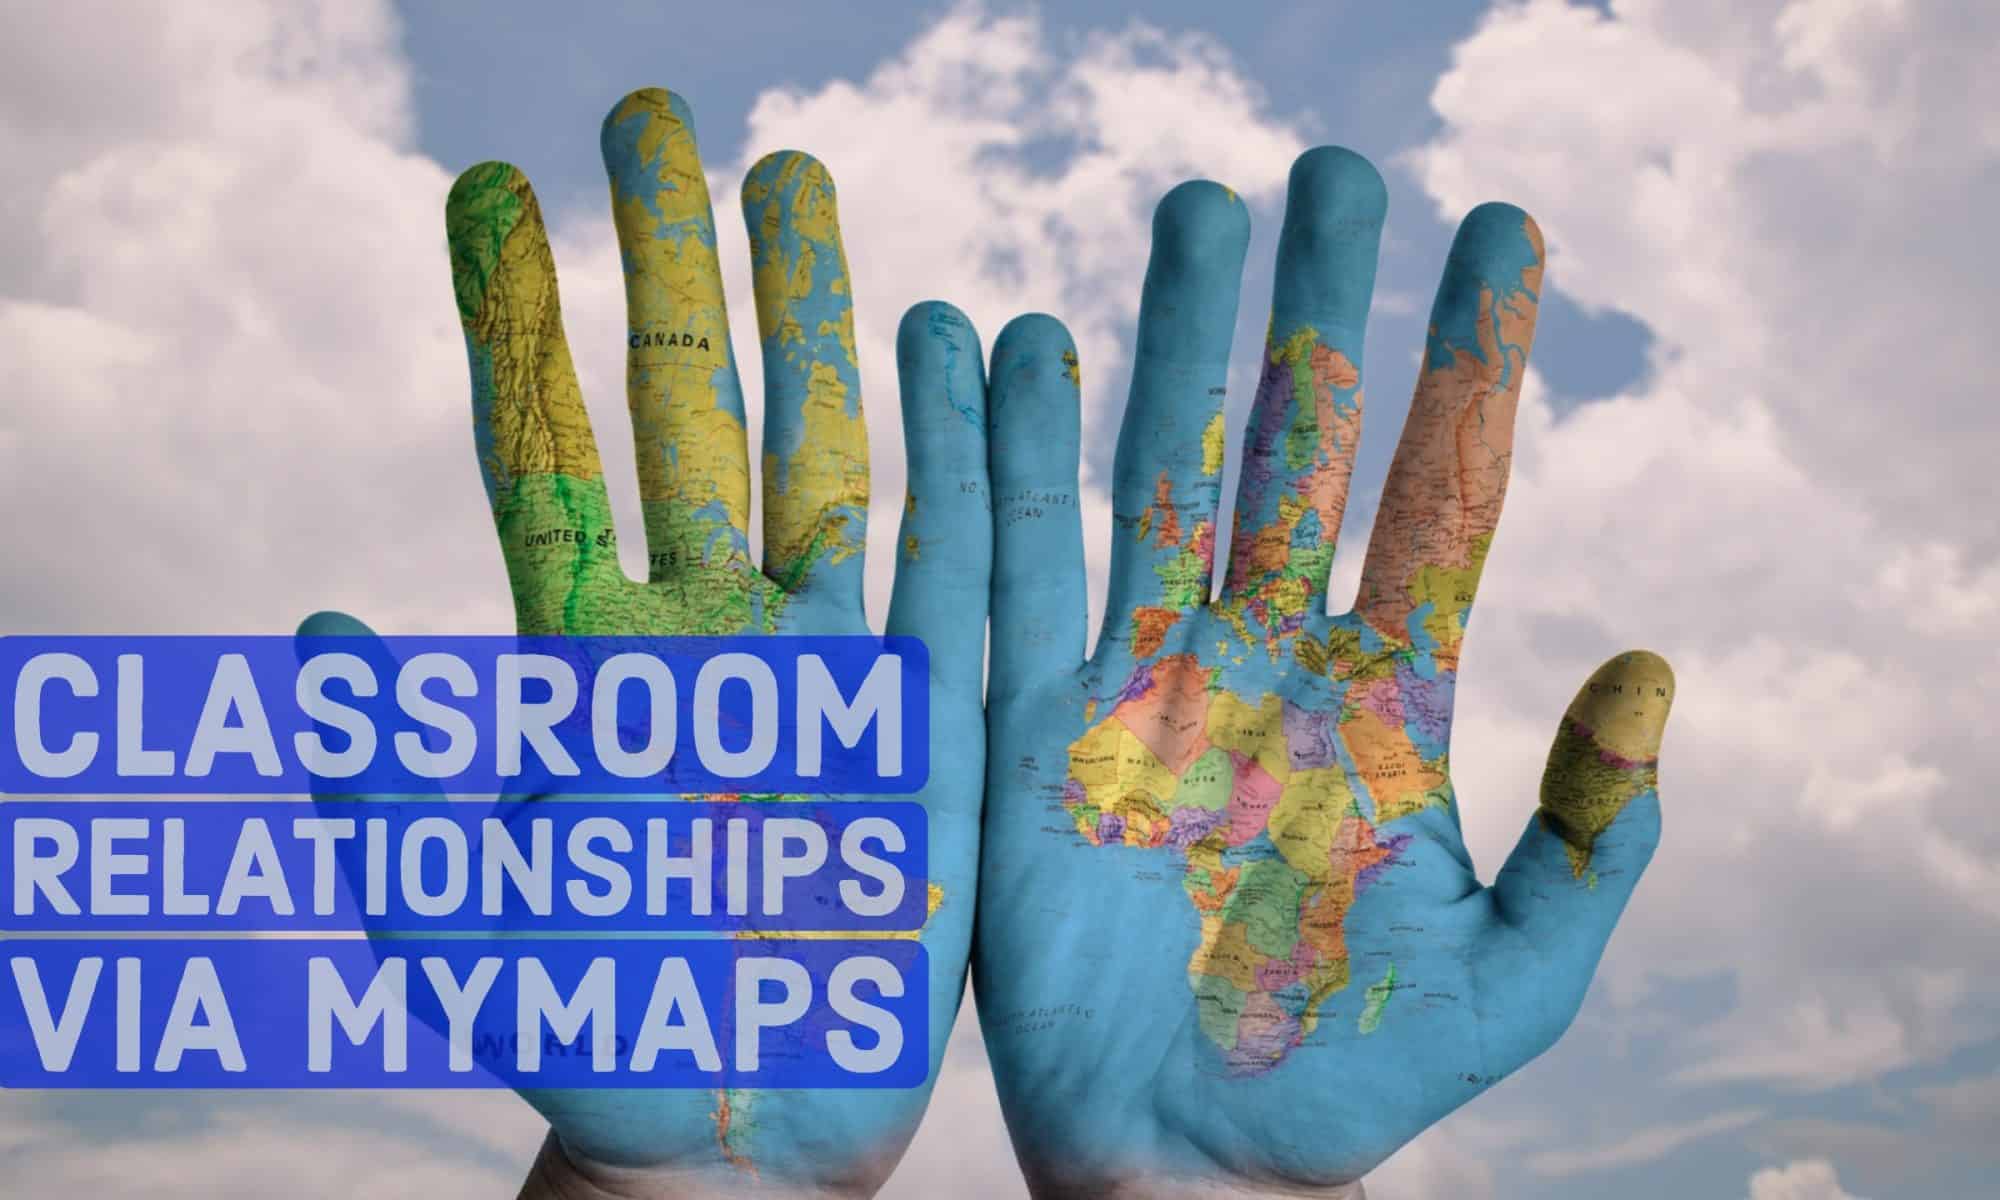
In this project, students and teachers will create a MyMap of their own that illustrates where they are from. Students should use pictures, videos, and short dialogue to inform their maps. The students are free to share whatever they feel comfortable sharing. This may include homes, schools, favorite restaurants, or general cities. We ask students to have at least five points with at least one picture and a short paragraph for each.

 In creating this map, we hoped to help students get to know each other better, build classroom community, and better understand geography. Additionally, students learned how to use and manipulate their own MyMaps to tell a story – ultimately furthering our goal of digital literacy.

This project helped us learn the background of our students to help us better understand where they are coming from. This is crucial for teachers and students both to understand each other as we begin to form our classroom community.

Interactive Titration Pre-Lab

This Google Slides project allows students to work through a pre-lab, gain back ground knowledge, see an example experiment, and even input data from their own experiment. This will cut down on distractions and create one, easily accessible place for student to generate, record, and share their work.

Featured Image: Wikimedia Commons

Google Drive Shared Folder

This week in class we will be collaborating on a Google Slides project, but did you know Google has a bunch of other (free) products as well? From to-do lists, documents, spread sheets, and slideshows, you can do almost anything with a Google account. In this video, you will learn how to create a Google account AND a shared folder within Google Drive. This shared folder will enable you to share all types of documents with anyone you wish.

By creating the shared folder, teams can have access to all of their documents in one place. This is perfect in any setting – whether it be a classroom, office, or even between friends. I hope you find this screen cast useful and leave comments as to how it can improve.

How will the shared folder make YOUR life easier?

How can Google Drive help YOUR classroom run more smoothly?

Much thanks,
Nick

Featured Image: Austin Kleon / flickr

Forms of Water

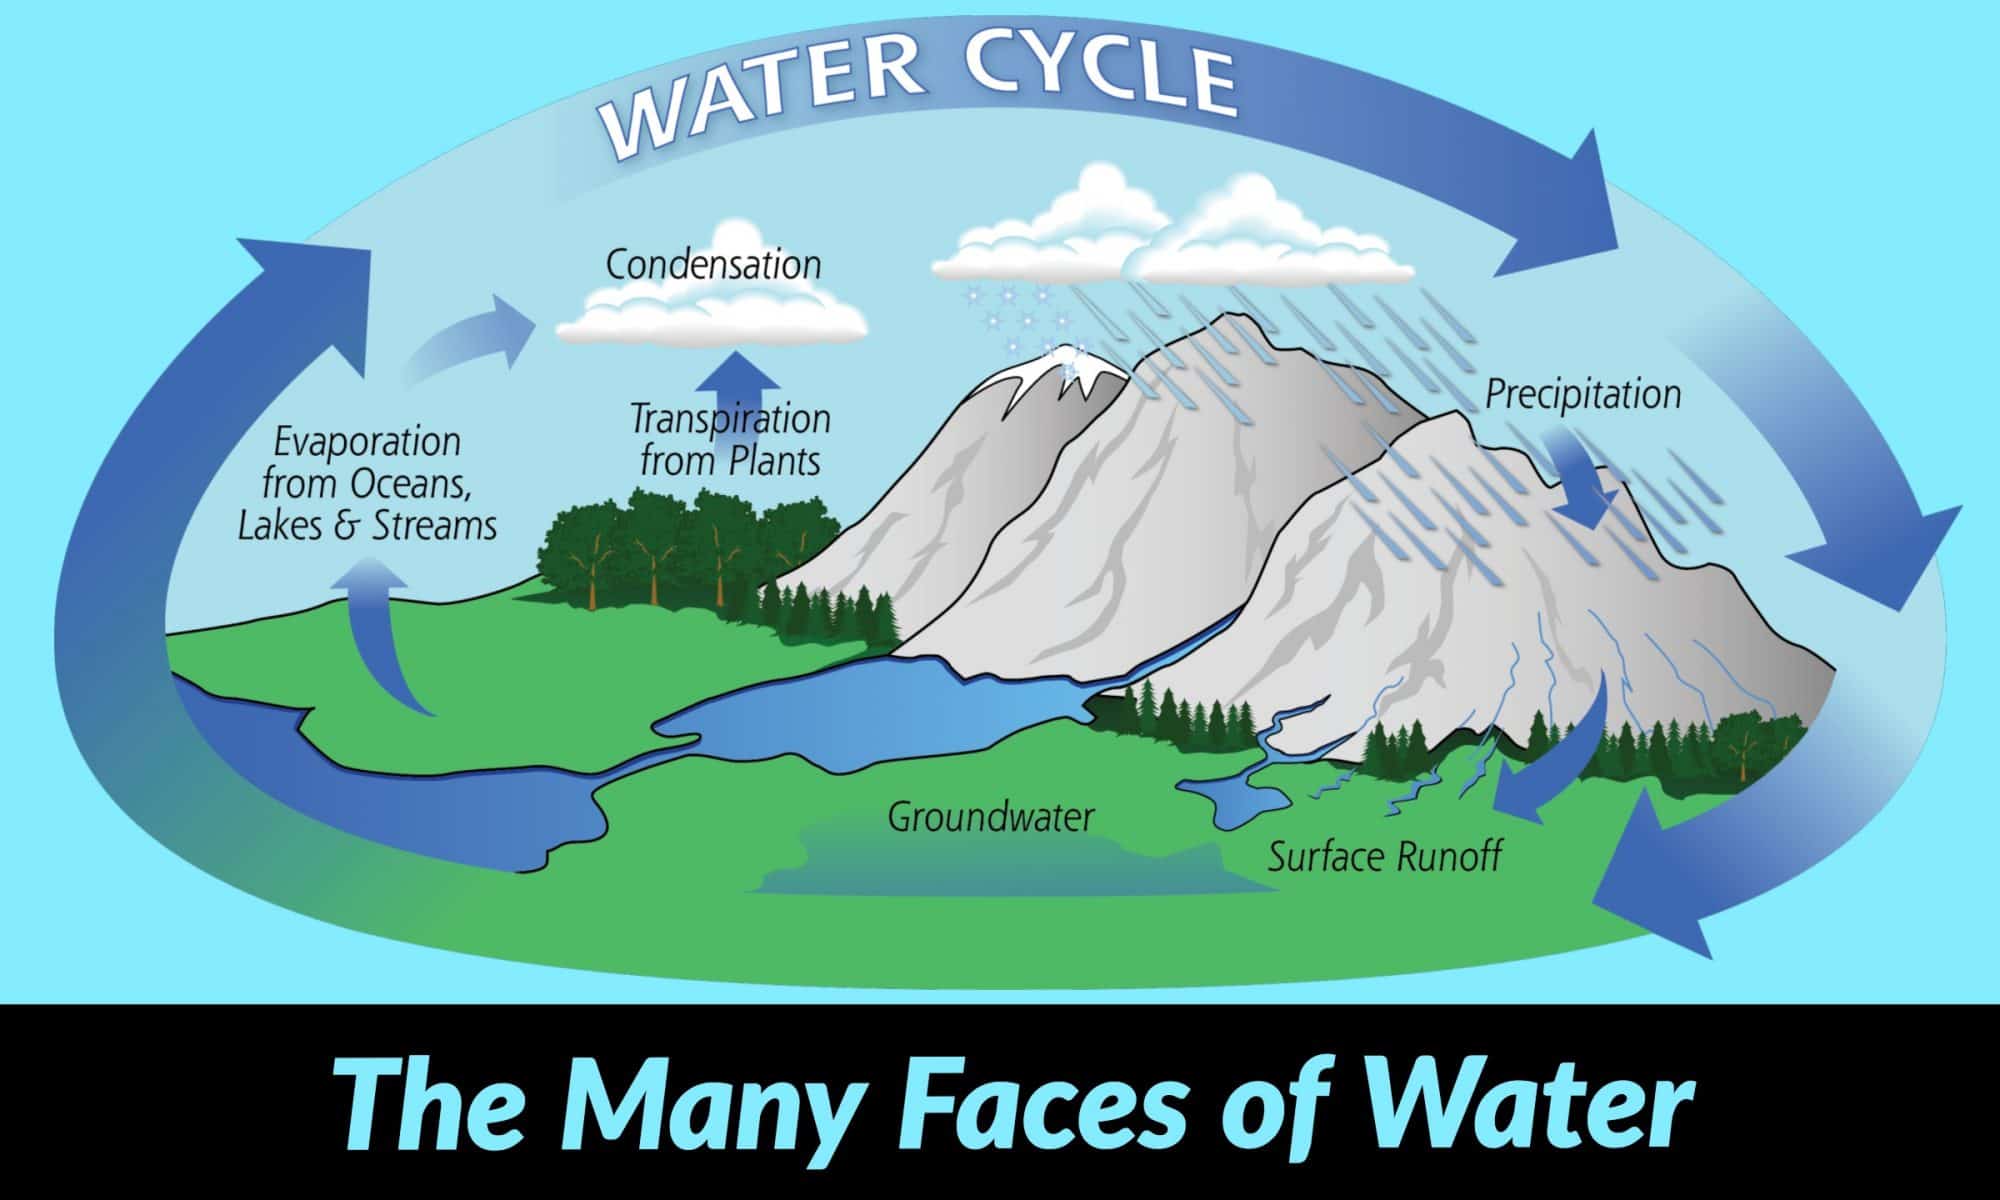
Following this activity, students will be able to clearly distinguish between the forms of water. Students will also be able to understand key characteristics of each form.

Using the images below, students will sort vocabulary words associated with the forms of water into alignment with the proper form of water. For example, ice is freezing, hard, and occurs regularly below 32 degrees Fahrenheit. Water is liquid and occurs between 32 and 212 degrees Fahrenheit. Finally, steam/water vapor is hot, gaseous, and occurs regularly above 212 degrees Fahrenheit.

Guiding Questions:

  1. Which picture displays which form of water?
  2. What are three characteristics of the form of water?
  3. List two places you may find this form of water.

This slideshow requires JavaScript.

Ice and Glaciers,  Cup of waterBoiling Water.

Featured Image: NASA / Flickr – Text added at bottom of image.